
I’m again with Half 2 of this “methods to reupholster a chair” tutorial, and buckle up, as a result of there are an entire lot of photographs coming your manner!
After eradicating all the outdated cloth, that is what the chair seemed like…

As I stated within the final put up, the material goes on within the reverse order through which it got here off. So reupholstering a chair at all times begins with the seat. First, we wrapped the seat with a brand new layer of batting, tucking it in on the again and sides and pulling it by means of. And it simply wrapped round and beneath the chair on the entrance.

It needed to be lower and break up on the corners to wrap across the wooden body of the chair.

I didn’t hassle stapling on the batting individually. I stapled the batting and the material collectively. So after the batting was smoothed out, we added the material. Since this chair has a separate seat cushion, I used the velvet cloth solely on the entrance portion, after which plain (cheaper) cloth on the again portion that may be lined with the cushion. However I simply adopted the sample that I had created with the outdated cloth, which was made this manner as effectively. I smoothed out the material and tucked it in on the again and the perimeters. You possibly can see my mother sitting behind the chair and pulling the material to the again as I made positive the velvet was lined up straight on the seat.

As soon as it was lined up straight and smoothed out, I flipped the chair onto its again facet and stapled the entrance of that piece onto the chair beneath the entrance edge.

On the entrance of the chair, the material simply went proper as much as the sting on the nook. The material piece for the arm would later cowl this uncooked edge.

After stapling the entrance of that piece, I sat the chair upright once more, and stapled the again of the material that had been pulled by means of to the again of the chair.

And at last, I stapled on the perimeters of that piece.

As soon as all 4 sides have been stapled on, we lower off the surplus cloth.

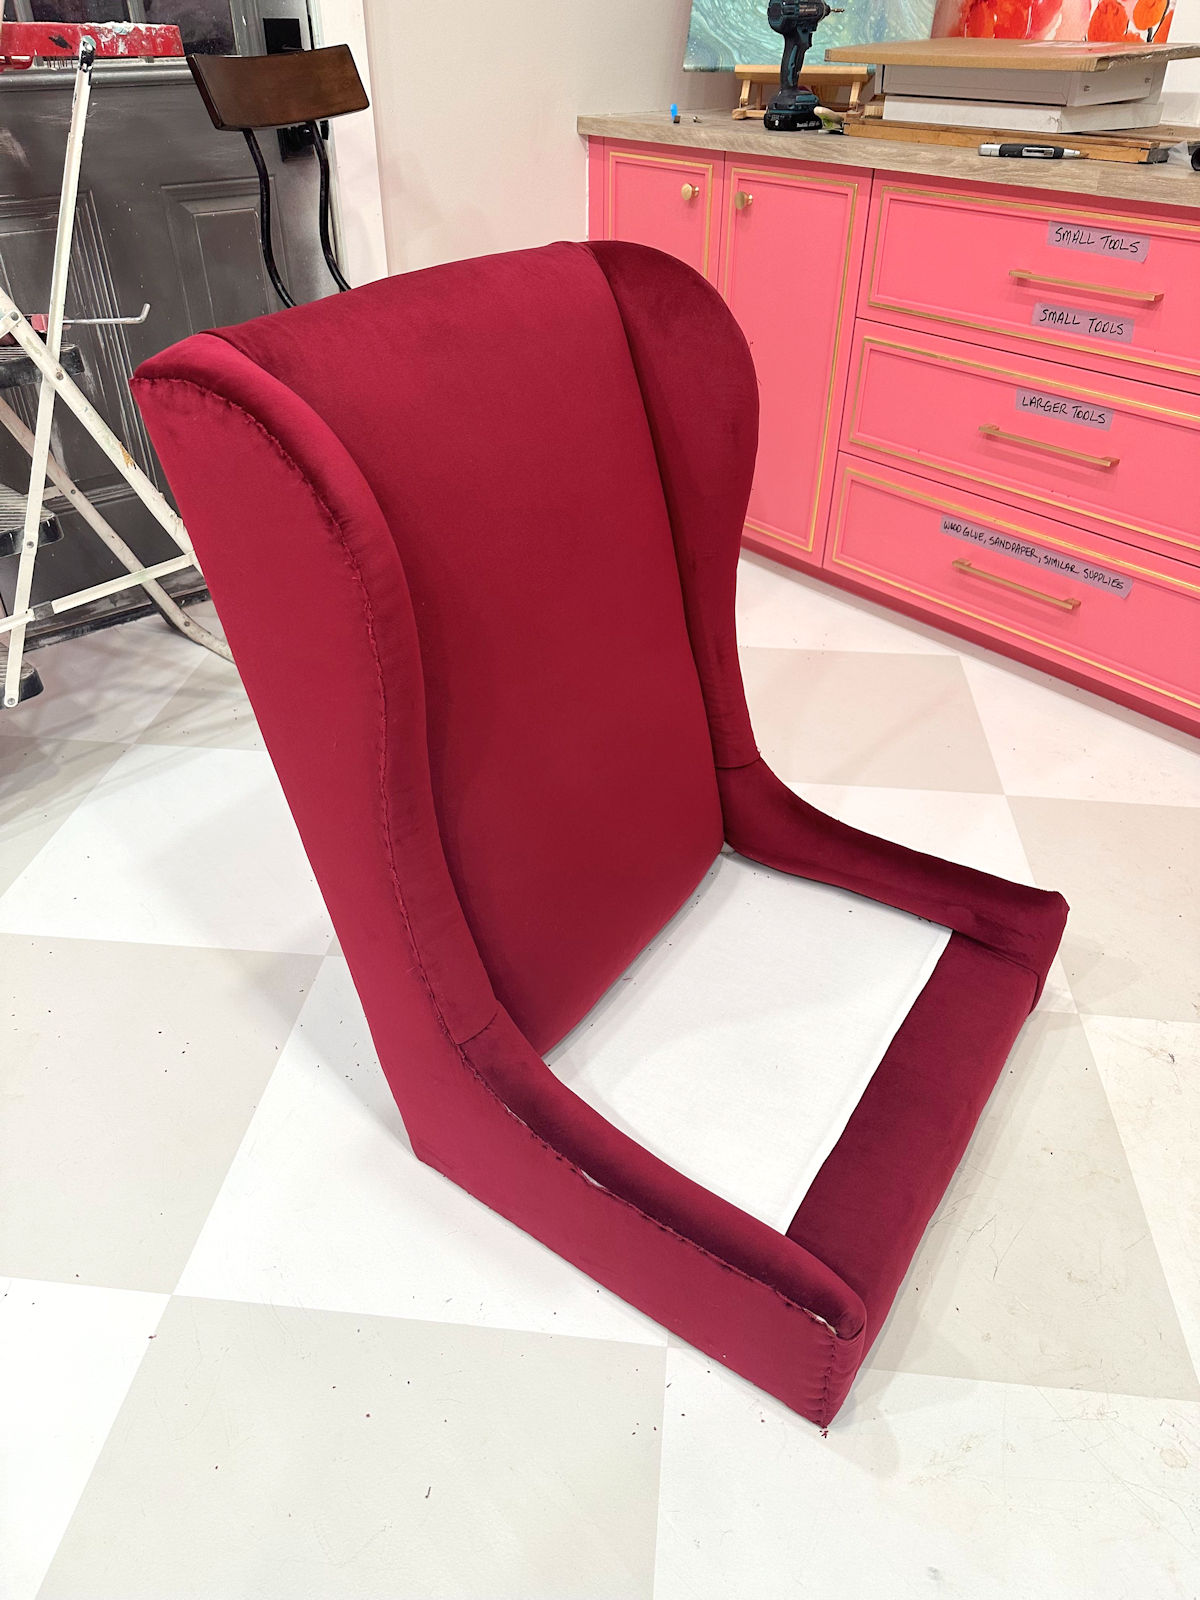
Right here’s how the completed seat piece checked out this level.

Subsequent, we moved on to the within of the arms and wings, and that is the place we bumped into large bother. I began through the use of the outdated cloth as a sample, stitching on the cheaper cloth in keeping with the unique cloth sample. (Once more, I went over methods to make these patterns within the first put up, and methods to annotate them so you already know the place to position seams, the place to stitch on the cheaper cloth, and many others.)

With this piece prepped, we acquired it lined up on the within of the arm and wing, pulled the white cloth by means of to the again, and commenced stapling on the backside and dealing our manner up.

However for some cause, irrespective of what number of aid cuts we lower on the sting of the material, we couldn’t get that cloth to wrap across the curve of the wing and lie flat. I imply, I lower so many aid cuts! Nothing labored. I don’t know why, and I’m positive knowledgeable may have simply finished this in a single piece, however we’re not professionals. So we ended up reducing this piece off on the arm, after which utilizing a separate piece of material for the wing. Right here’s the place we lower the material off, after which I put a aid lower on the high within the center in order that the material wouldn’t create a dent within the foam.

Simply take a look at all these aid cuts! And I had finished that every one the best way up the wing, and it nonetheless wouldn’t lie flat.

Right here’s what it seemed like after we acquired the arms wrapped (however not trimmed).

Right here’s the view from the again facet of the chair the place you’ll be able to see the place the arm cloth was pulled by means of and stapled.

So then we used a separate piece of material to cowl the wing on both sides.

You possibly can see on the arrow the place this piece of material was folded beneath to cover the uncooked edge, after which positioned over the arm cloth to cover the uncooked edge and the aid lower. After which the left facet was tucked in and stapled on the again, and the proper facet of the material was wrapped and stapled.

Right here’s a better take a look at the place it was folded beneath.

And right here’s how the facet seemed as soon as the material was stapled on, however earlier than the surplus cloth was trimmed.

Right here’s a glance from the again the place the material was pushed by means of between the wing and the chair again, and stapled alongside the again of the body.

As soon as all the extra cloth was trimmed off, it seemed like this…

And right here’s a take a look at the completed within the wing…

On the high of the wing, the material needed to be notched to suit across the body.

I left this uncooked flap of material protruding that may be tucked beneath the again piece.

Subsequent we connected the entrance piece on the chair again. I connected cheaper cloth on the perimeters and the underside of this piece, in keeping with the sample I constructed from the unique cloth.

The white items on the perimeters didn’t prolong to the highest of the velvet because the white needed to wrap across the body to the again, however the velvet needed to additionally wrap across the high fringe of the chair.

So we tucked the white items in on the perimeters and the underside and began stapling these onto the again of the body. After which on the highest edge, we folded the uncooked edges beneath, made positive these have been protecting over the uncooked flaps from the wing cloth, after which wrapped and stapled the highest fringe of the material onto the again facet of the body. Right here’s a take a look at that completed piece.

Right here’s a view of the facet cloth from the again of the chair the place it’s pulled by means of and stapled to the body.

It needed to be notched to go round that center help piece.

After which you’ll be able to see the place it was pulled by means of on the backside and stapled to the body.

Right here’s a take a look at the highest the place the uncooked edge was folded beneath, after which the material was wrapped to the again and stapled to the body on the again.

We didn’t get it completely wrinkle-free, however it’s fairly darn shut!

And right here’s how the highest seemed on the again of the chair as soon as it was stapled into place.

And at last, we have been able to the skin of the chair. I began by reattaching the again cardboard piece which was lined with a really skinny piece of froth. I used just a few staples to connect this piece.

I additionally reattached the skinny foam to the perimeters, ensuring that the perimeters of the material that had been wrapped round and stapled on the within of the arms and wings have been hidden beneath the froth.

After which we added a brand new layer of batting. I began on one facet, utilizing as few staples as doable to maintain the batting in place.

After which I flipped the chair to wrap the batting and connect it to the again, after which flipped the chair once more and connected it to the opposite facet. Then we trimmed off all the extra batting.

And at last, we connected the again and facet cloth. On this explicit chair, the again and facet items have been sewn collectively on the unique chair and connected as one piece, in order that’s what we did. On some chairs, you may discover that the again piece is connected individually from the skin arm items. That’s why it’s vital to take away the material rigorously, seeing precisely how they’re connected as you disassemble them, and marking them rigorously in an effort to know the way all the pieces matches again collectively.
After stitching these three items collectively to make one massive, we lined up the seams on the corners of the chair, after which beginning in the midst of the again, I stapled the material in place, after which labored my manner out and across the wing and arm. I used to be stapling as my mother was pulling the material taut and pulling out the wrinkles. We didn’t get it excellent, however we have been more than happy with it.

Right here’s how this facet sorted stapling the material in place throughout the curves of the wing and the arm, after which wrapping and stapling the material on the underside edge.

Right here’s a better take a look at the material stapled into place. That is the place the trim will go to cowl over that uncooked fringe of the material, however I’ll share that course of in Half 3 of this tutorial.

As soon as that half was finished, I began again in the midst of the again of the chair, and repeated that course of, working my manner in direction of the opposite wing and arm.

Right here’s what the unfastened facet piece seemed like, so you’ll be able to see simply how a lot adjusting, tugging, and pulling was required to get it into place in order that it may very well be stapled. This actually was a two-person job. My mother did all the inserting, pulling, and tugging, whereas I did all the stapling.

And with that second facet stapled into place, we had an upholstered chair!

The exhausting half is finished at this level. From right here on out, we get to do the enjoyable and fairly straightforward half, which is including all the trim that may cowl these uncooked cloth edges, including the nailheads, and making the separate chair cushion.

It’s getting there! I’m so enthusiastic about how that is trying. This velvet cloth is attractive!

The colour is so deep and wealthy with out being darkish and dreary. It’s simply excellent for my desk space.

So I’ll get this chair completed right now, and I’ll be again tomorrow to indicate you Half 3 of this tutorial, in addition to my completed chair!


Addicted 2 Adorning is the place I share my DIY and adorning journey as I rework and adorn the 1948 fixer higher that my husband, Matt, and I purchased in 2013. Matt has M.S. and is unable to do bodily work, so I do nearly all of the work on the home on my own. You can learn more about me here.
Trending Merchandise


