

In yesterday’s submit, I shared Half 1 of how you can make lined, pinch-pleated curtains. You can click here to see Part 1 of this tutorial. Immediately, I’ll end up that tutorial and present you each element of how you can end the curtains and cling them. I need to say up entrance that this submit comprises an absurd quantity of images (74 to be precise), however please don’t let that intimidate you! This course of isn’t tough in any respect, however I wished to incorporate numerous images in order that you possibly can simply perceive each little step of the method. However once more, including pleats and ending up a material panel isn’t tough. Simply take it one small step at a time, and also you’ll get it!
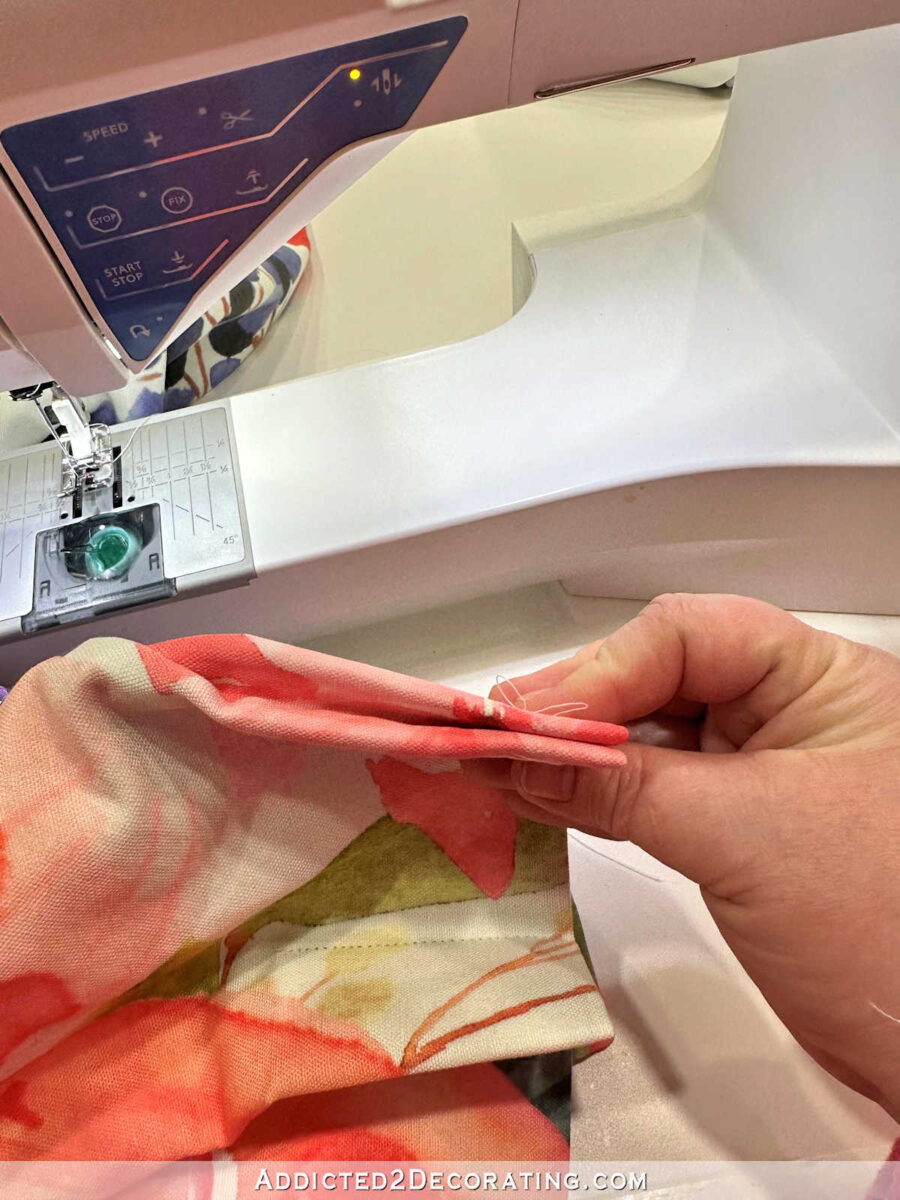
Yesterday, I left off with the physique of the material panel completed for probably the most half, and unfold out on my work desk like this. The hems had been completed, the face cloth and the liner had been sewn collectively, and I used to be virtually able to deal with the pleated header.
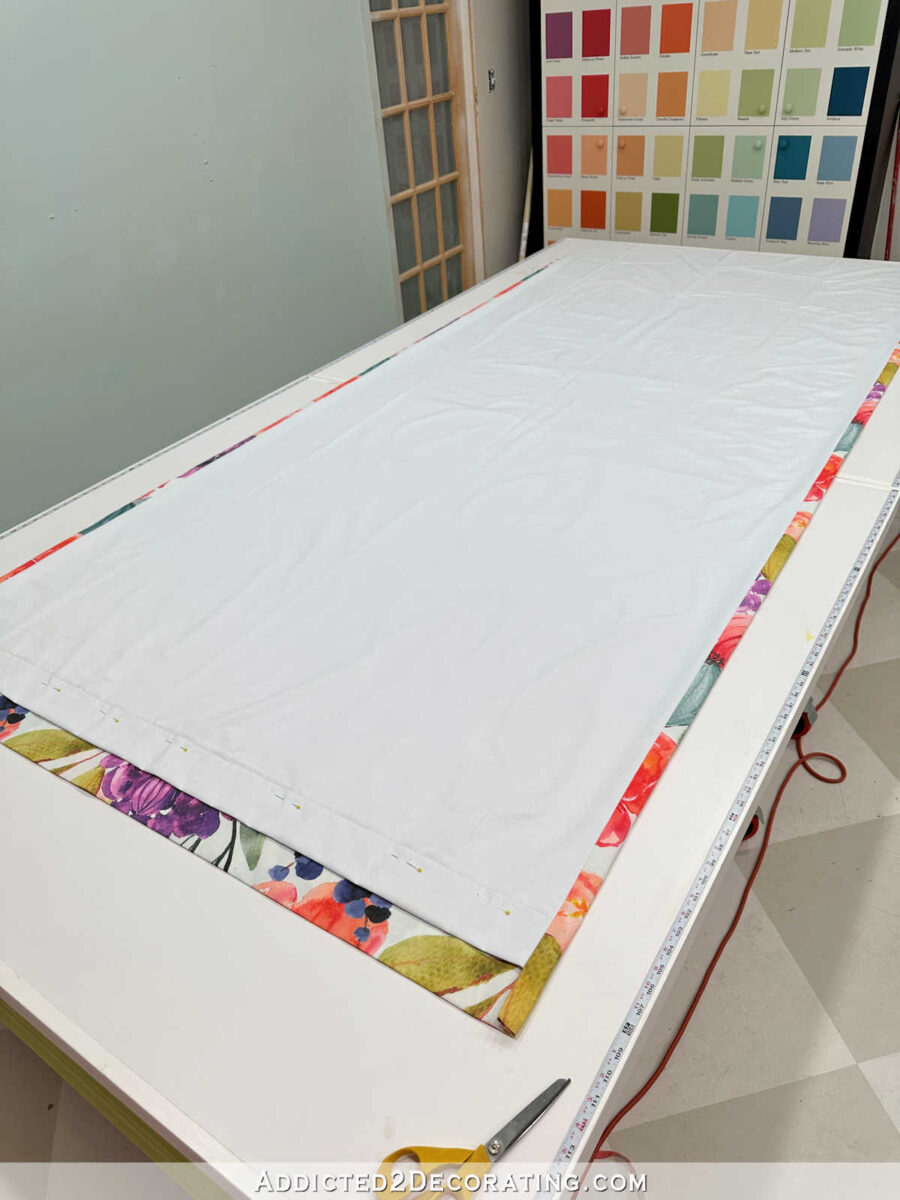
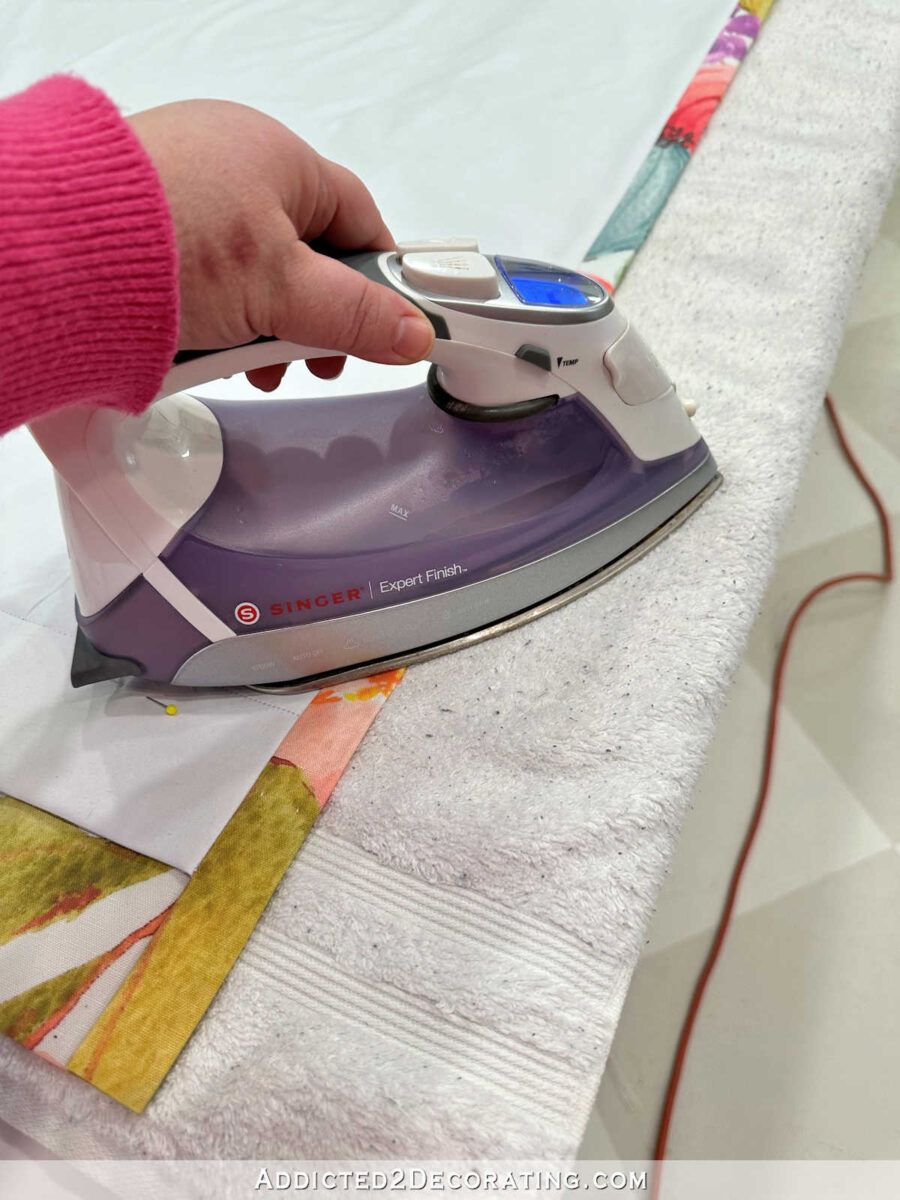
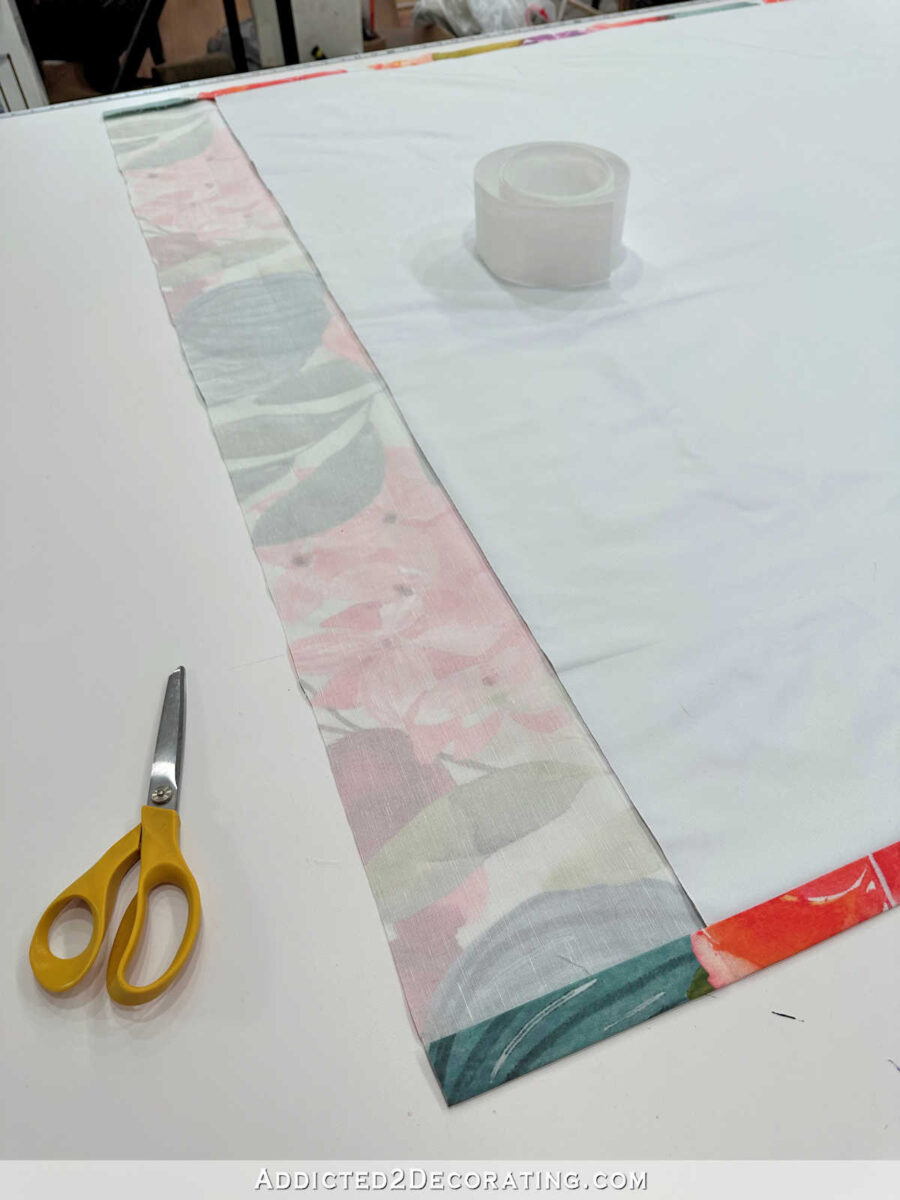
The one factor I nonetheless wanted to do earlier than engaged on the pleated header was to iron within the aspect seams to get that actually sharp crease on the aspect edges of the panel. I actually took my time with this and didn’t rush this step as a result of these sides must be proper to ensure that the material panel to hold correctly. And once more, that lining wants to increase all the way in which to that outdoors ironed-in crease alongside the very edge. All the folds are within the cloth, not on the liner.
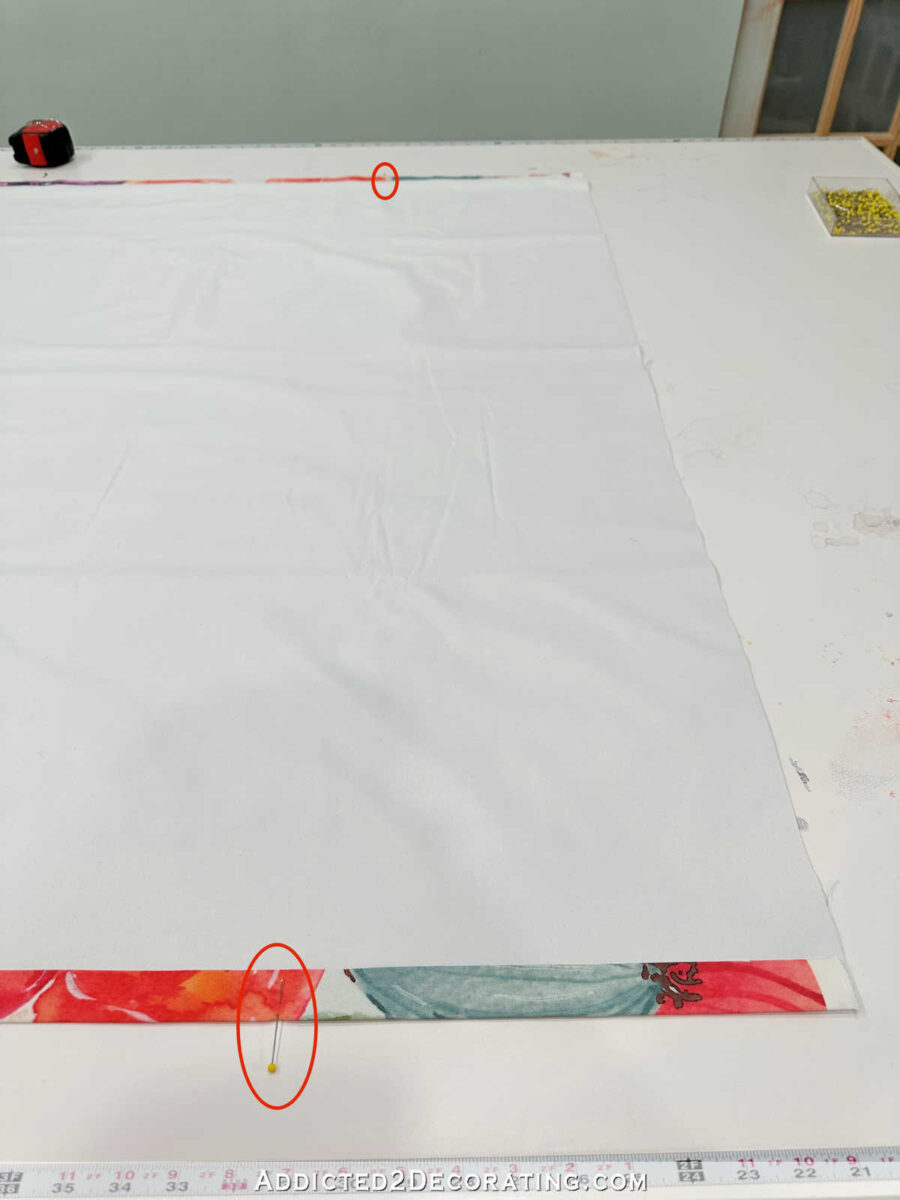
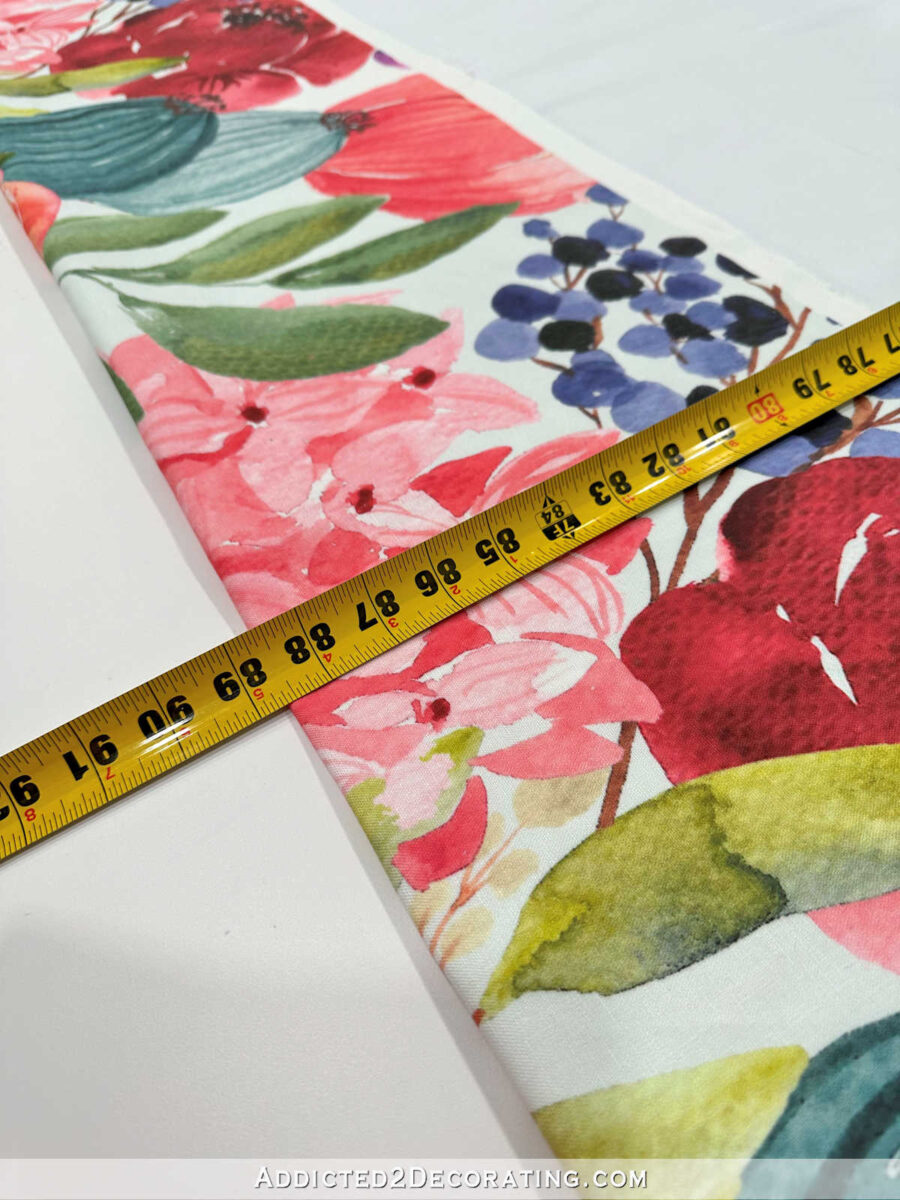
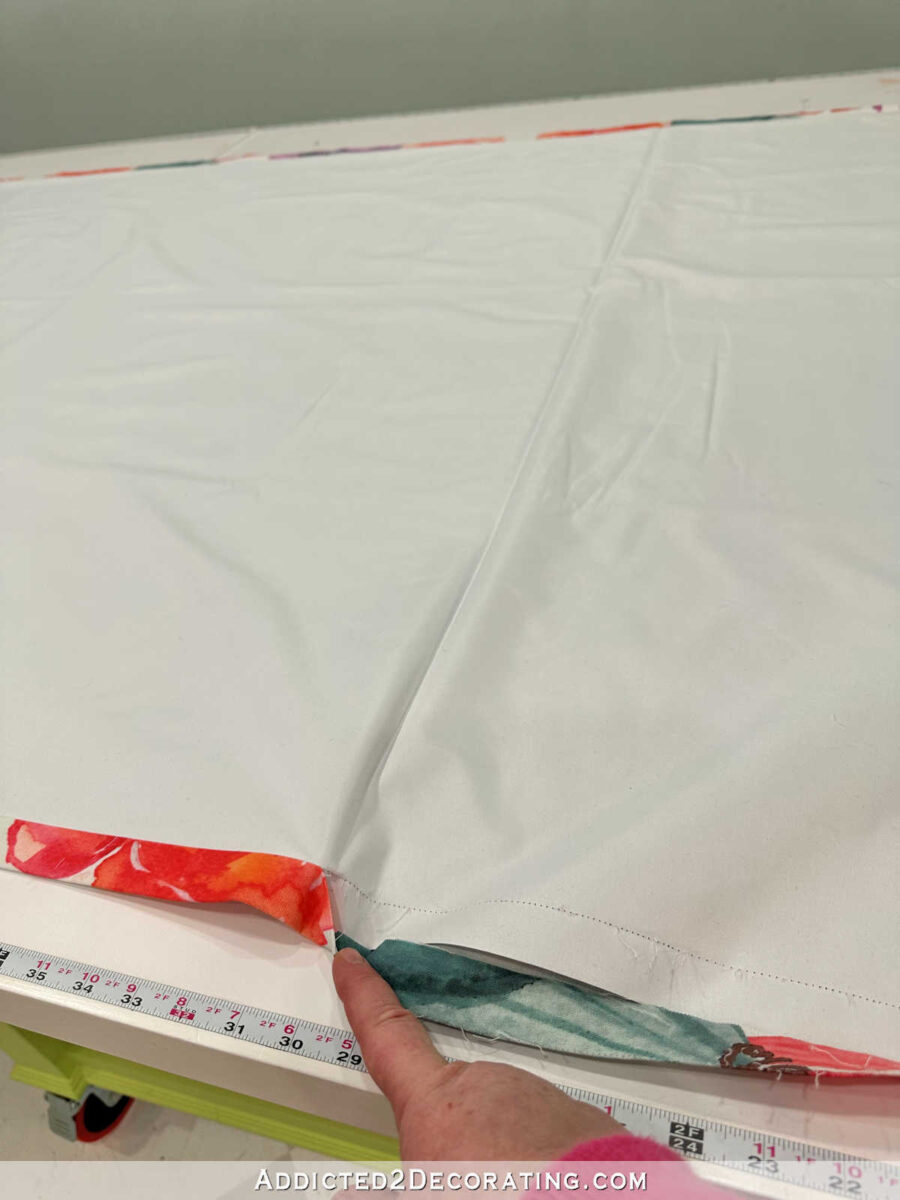
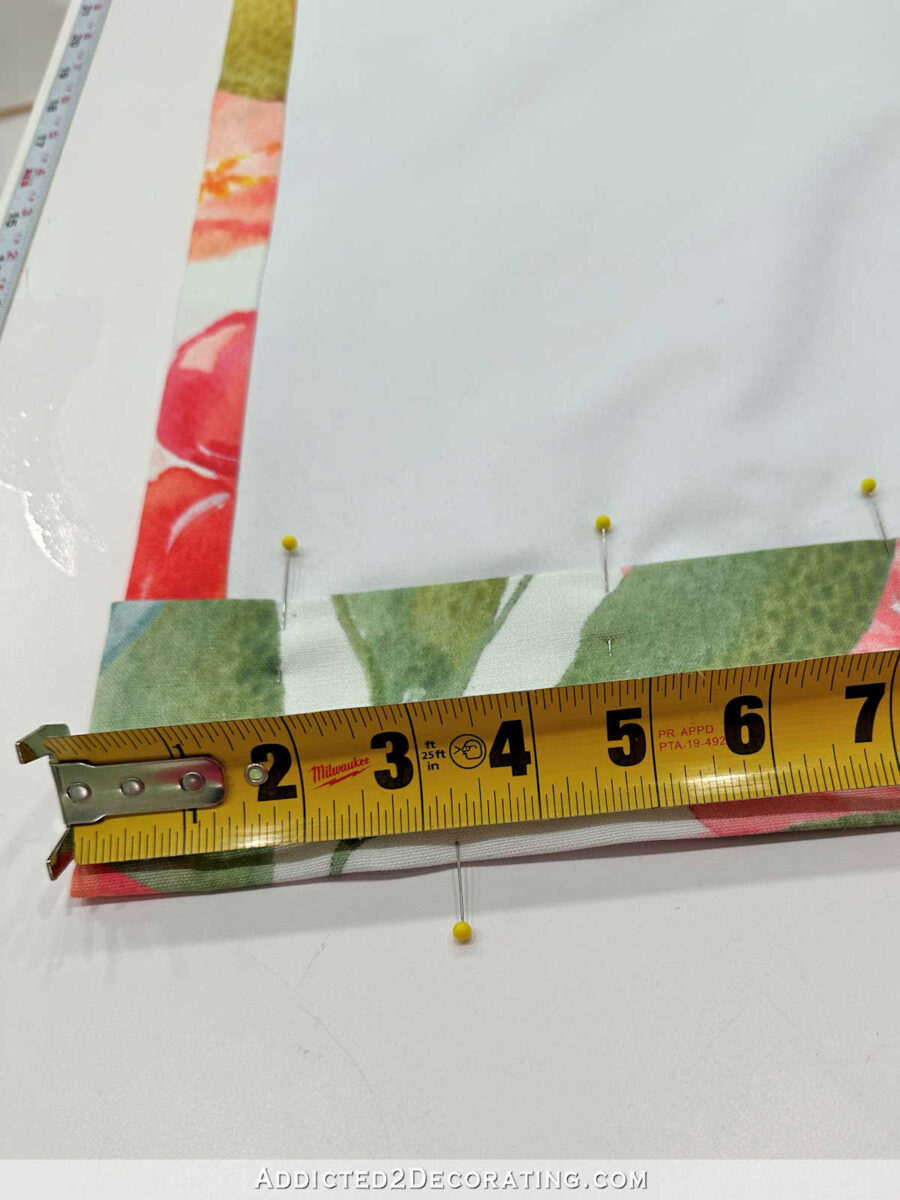
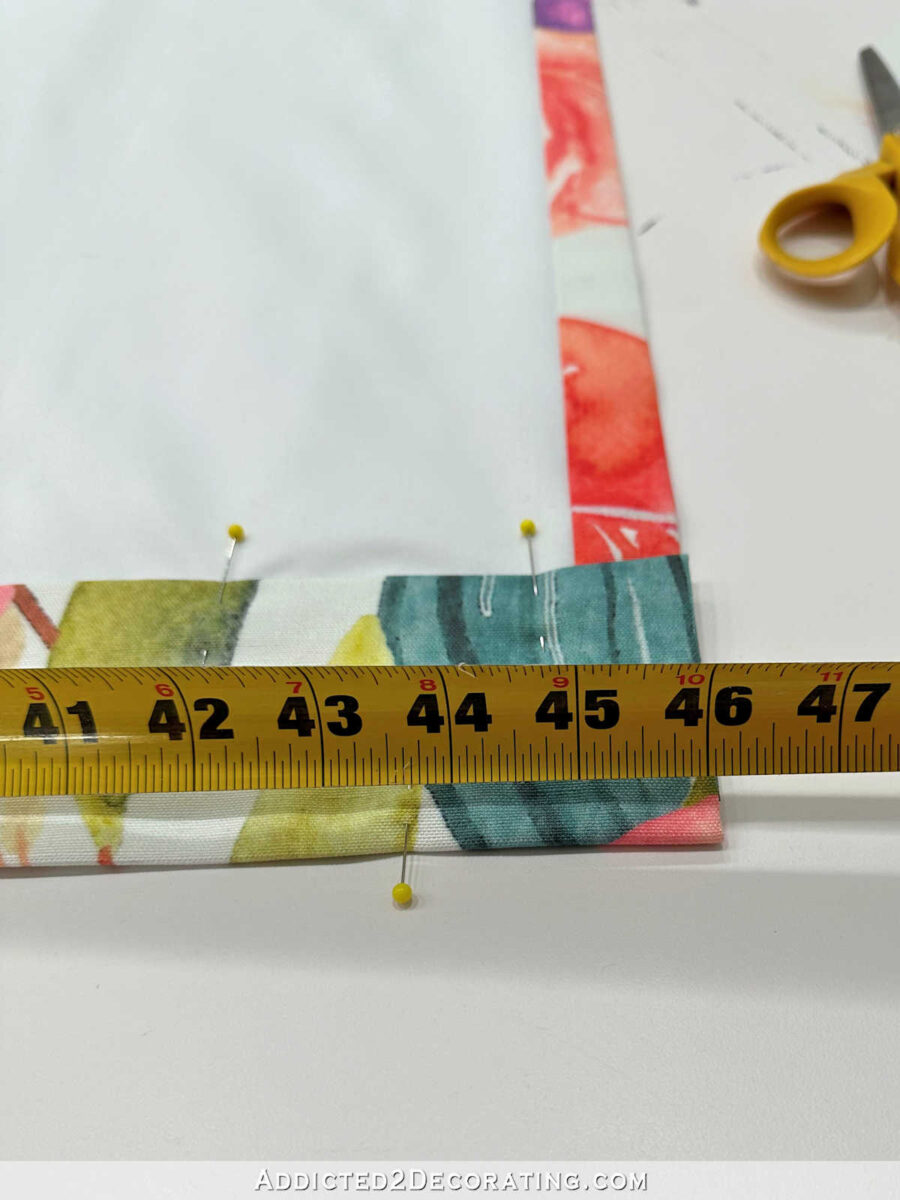
With these sides ironed and the panel mendacity flat, face cloth down and lining up, I measured and marked my completed material size. If you happen to’ll bear in mind, I had taken this measurement proper on the very starting. You can refer back to Part 1 if you don’t remember.

My completed material panel size was 88 5/8 inches, so I measured and marked both sides of the panel with a pin at that measurement.

For now, I simply did one measurement and one pin on both sides of the panel.
Subsequent, I folded the material over proper at these pins and repinned both sides into place by way of all layers of the material.

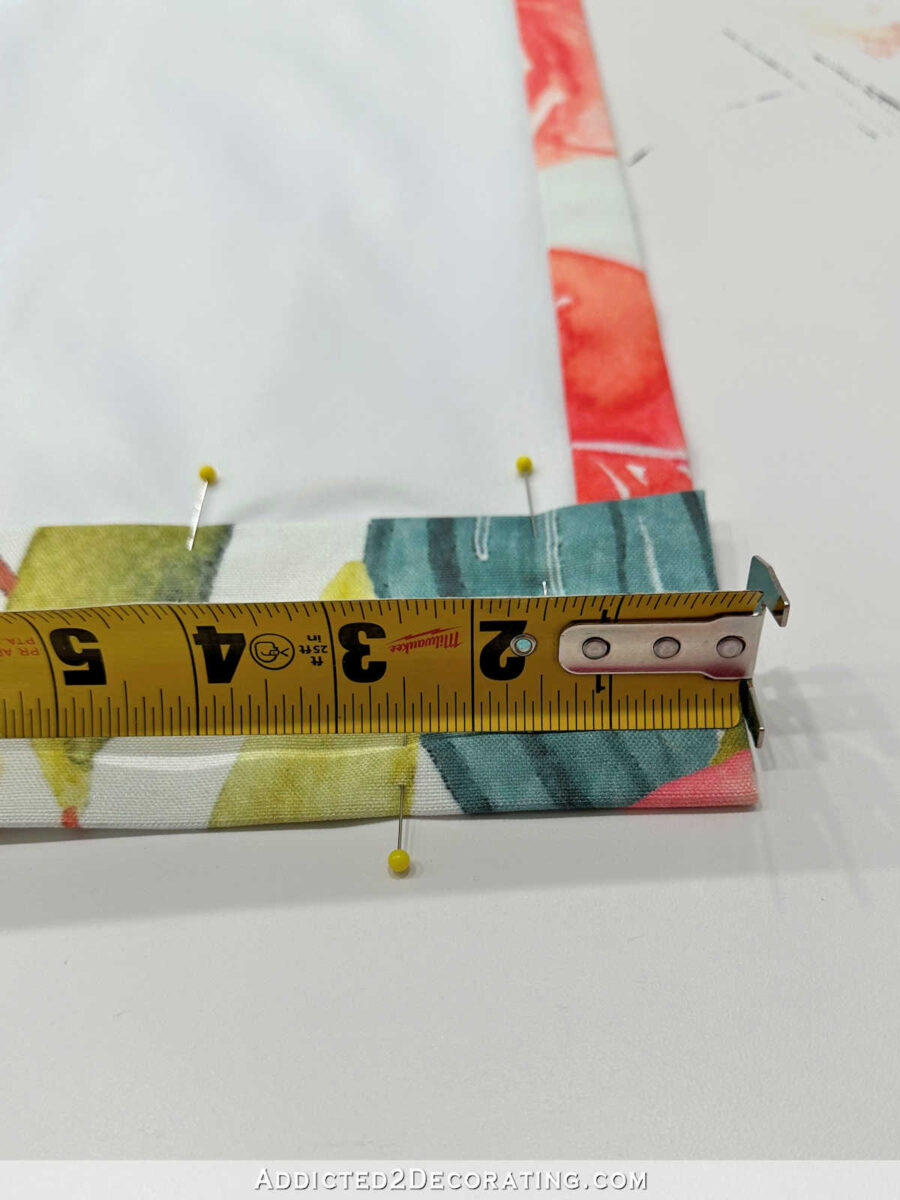
After which I measured and pinned the completed peak on the remainder of the panel.
I solely wanted to make solely slight changes within the fold as I moved my method throughout the highest of the panel.
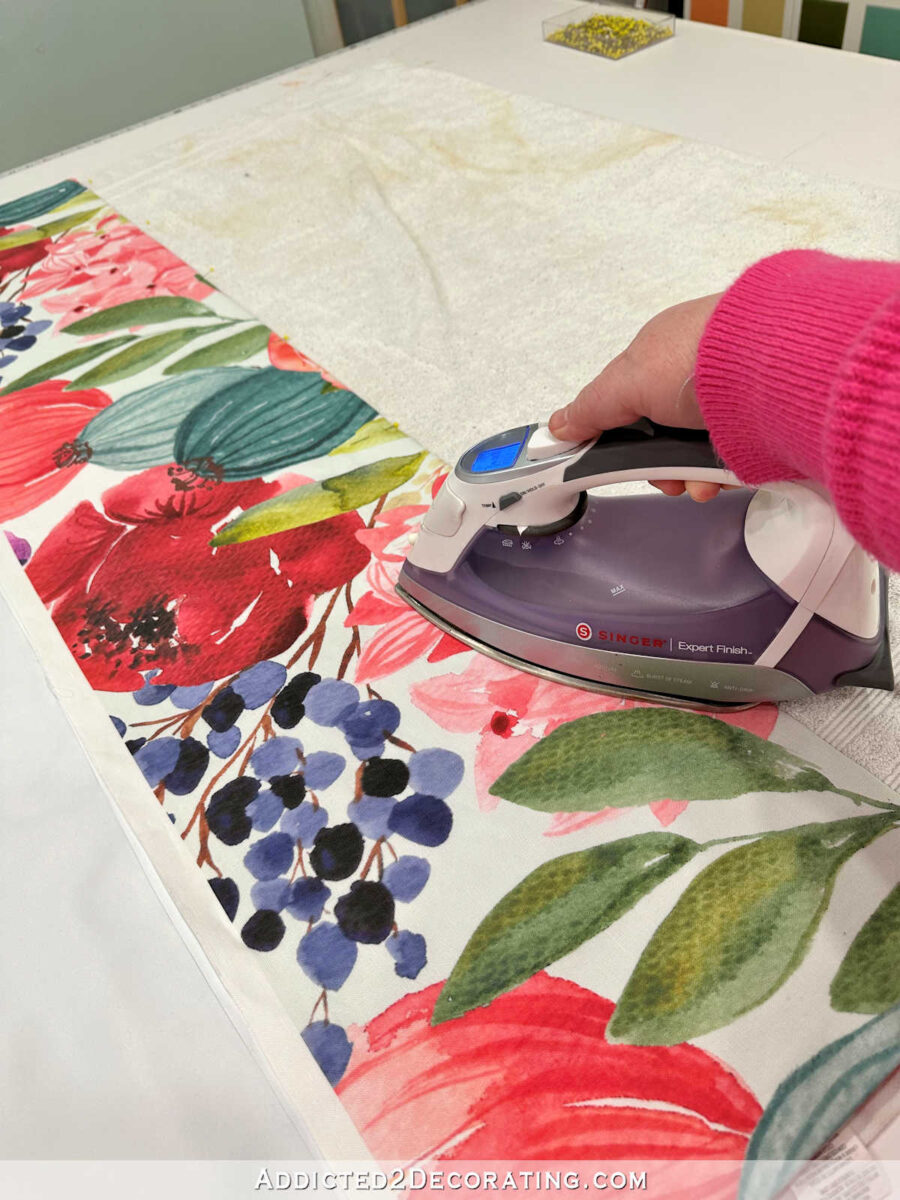
As soon as I had your entire prime folded to the right measurement and pinned into place, I steam ironed that fold within the prime, eliminated the pins, and ironed it once more to verify I had a really sharp crease.
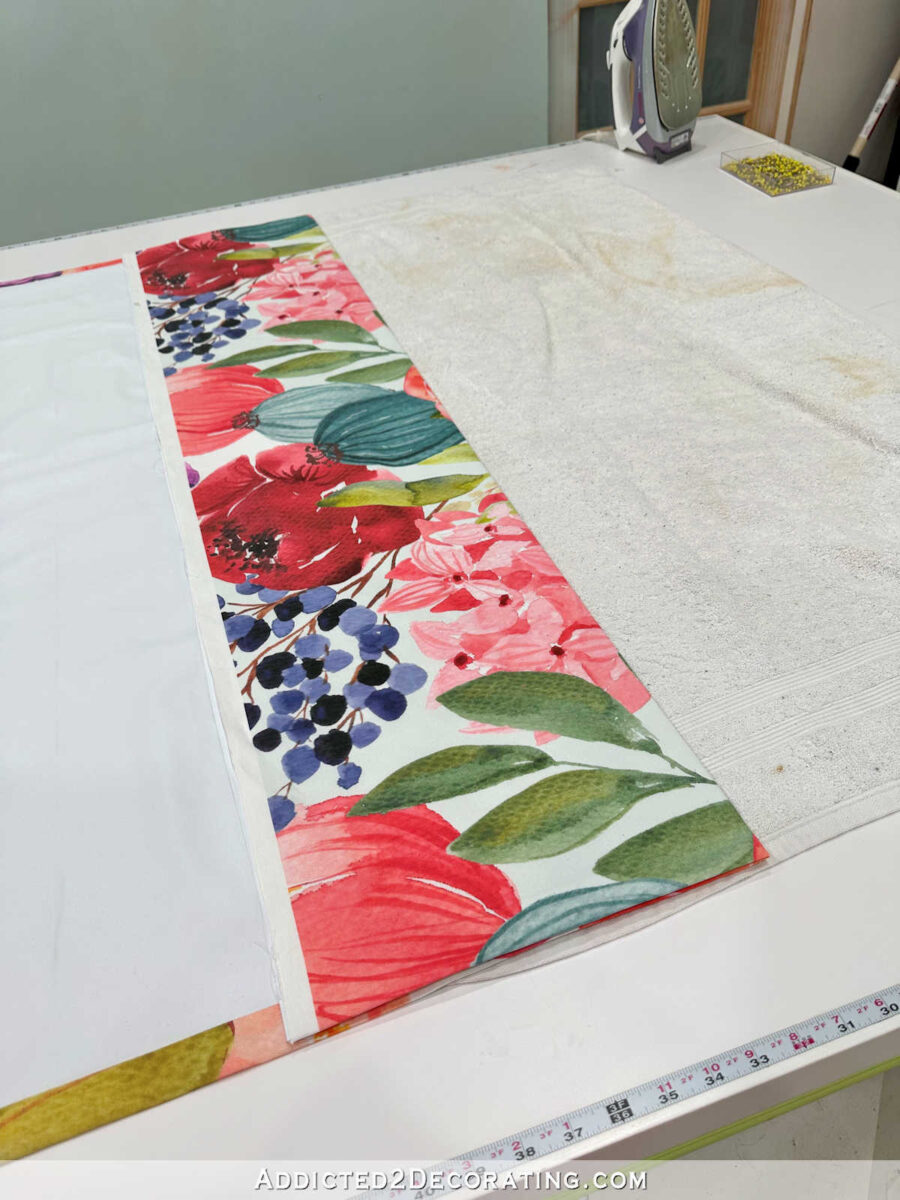
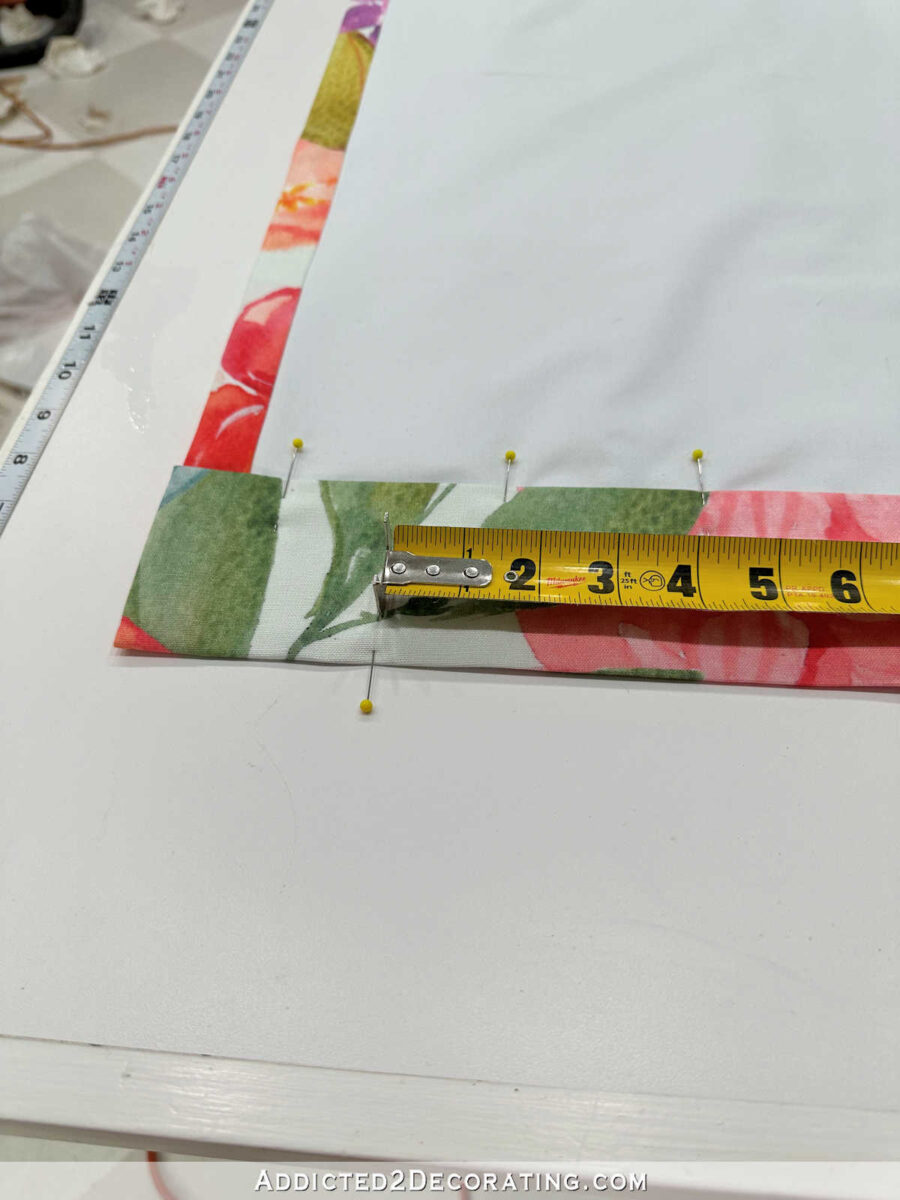
So at this level, right here’s what the highest of the panel regarded like from the again — no pins and a really sharp ironed-in fold alongside the very prime fringe of the panel.
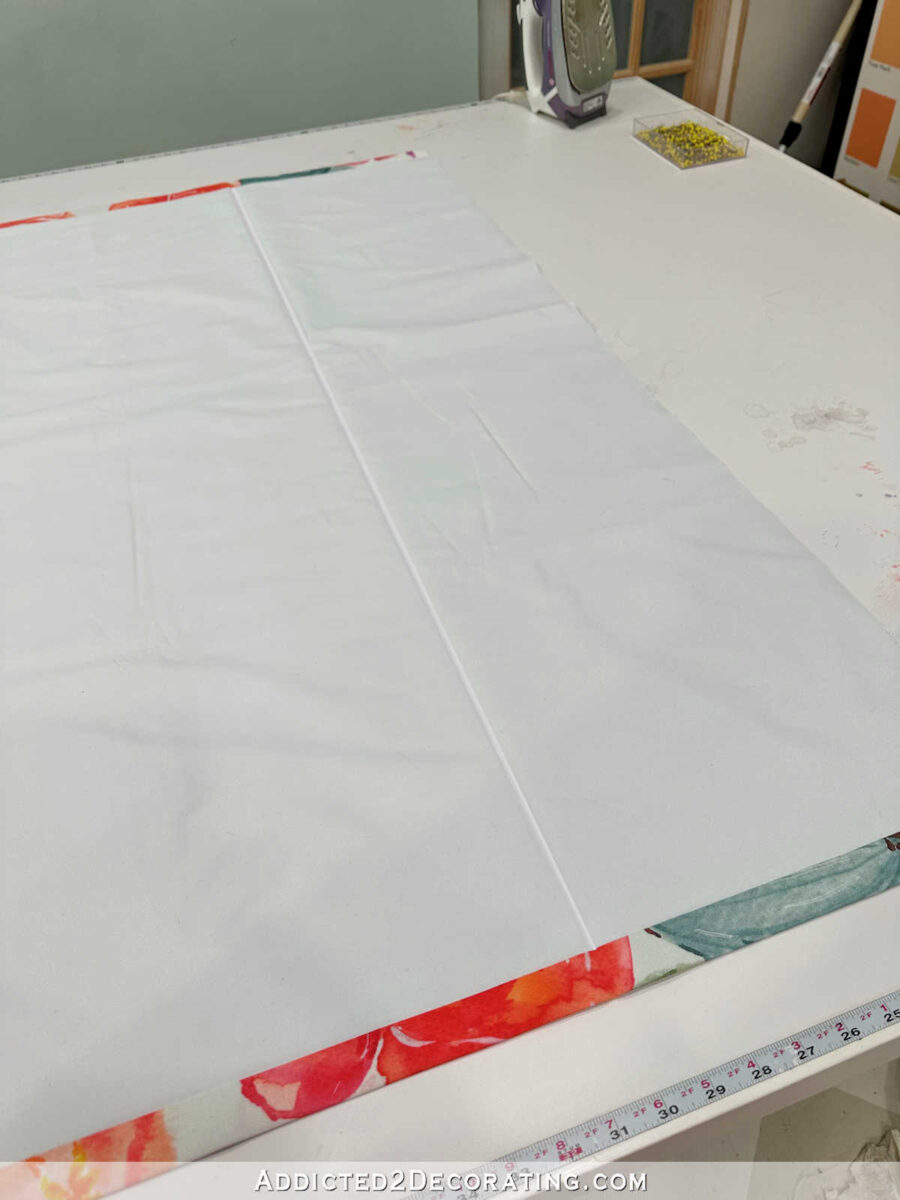
Subsequent, I unfolded the highest and made positive I may see the crease all the way in which throughout the panel. (I edited this photograph to boost the road in order that you possibly can see it. In particular person, the ironed-in crease was very straightforward to see.)
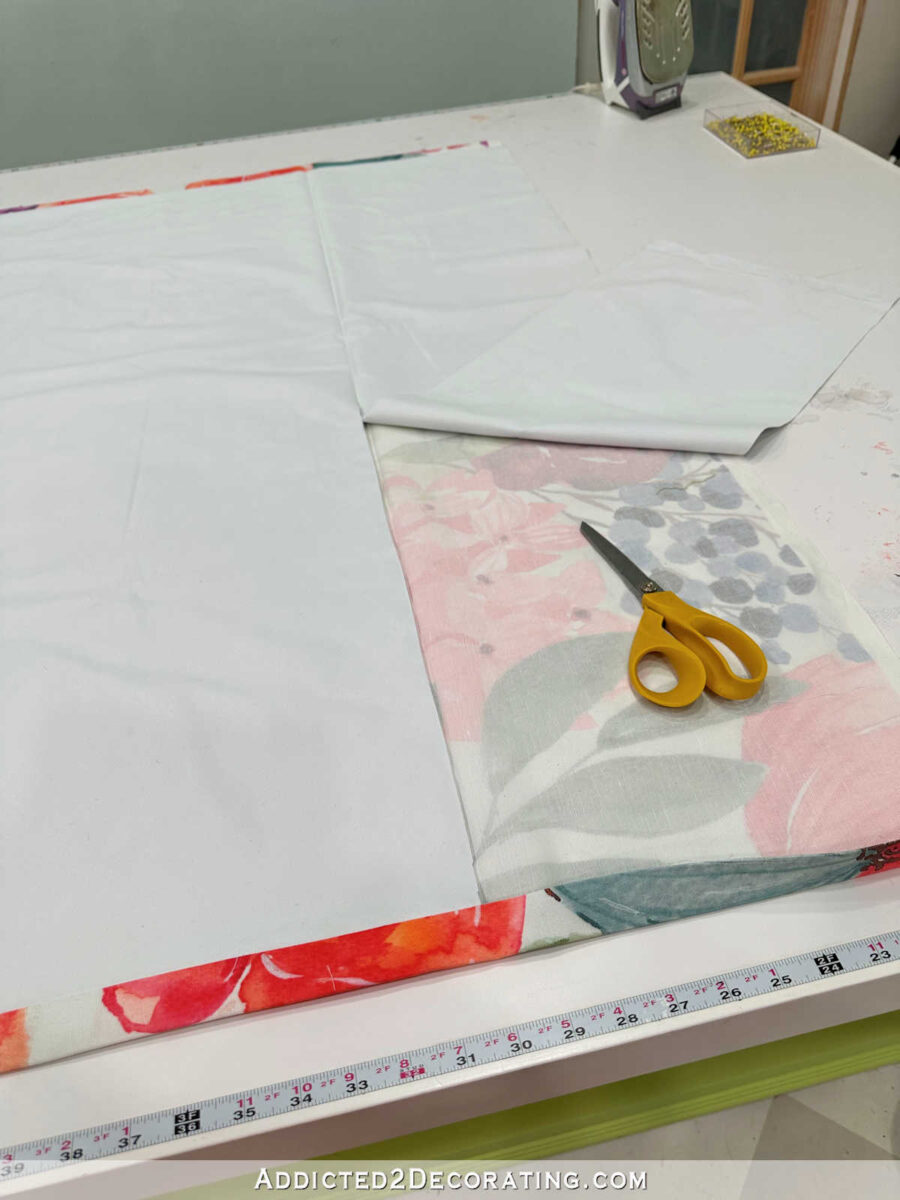
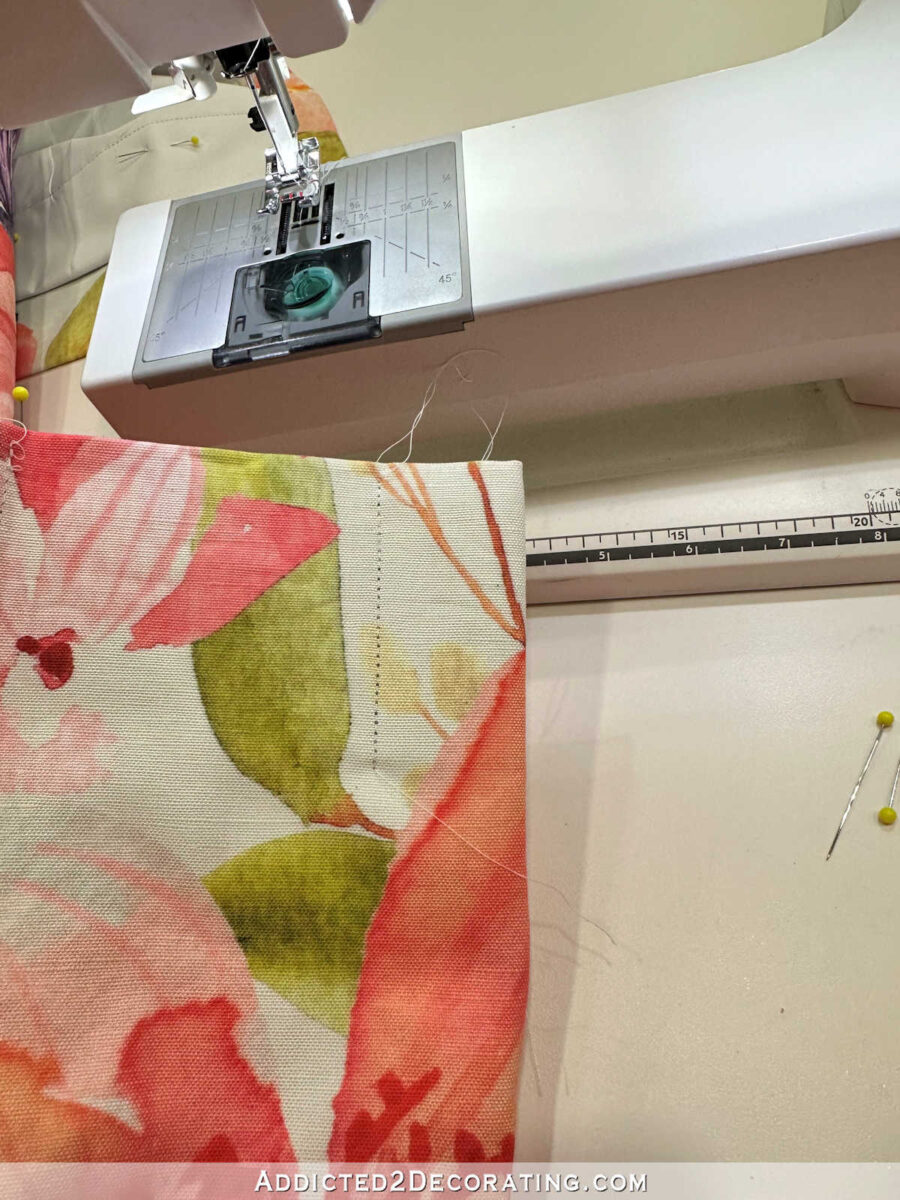
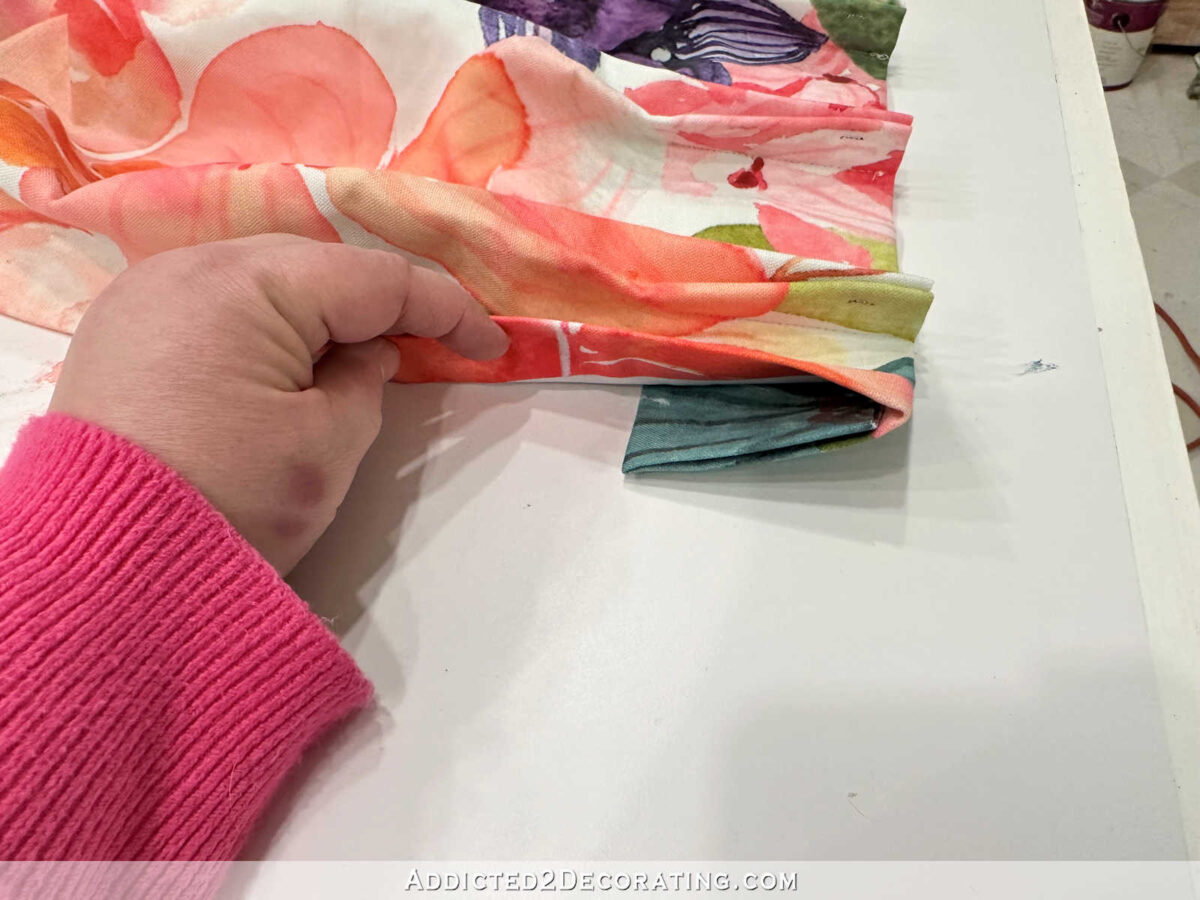
Then I eliminated the stitching holding the face cloth to the liner from the very prime all the way down to that ironed-in crease.
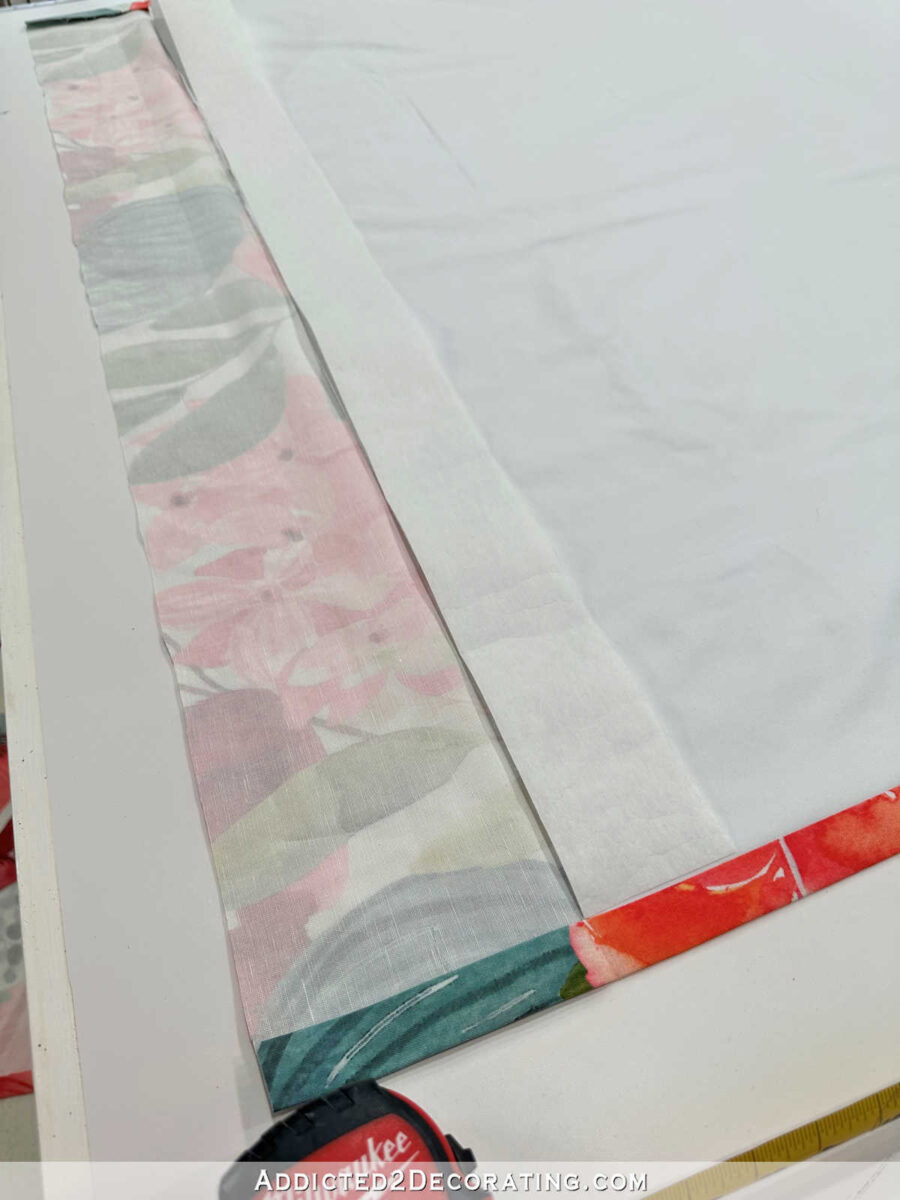
After which I used that ironed-in crease as a information to chop off the surplus lining. I don’t assume that is 100% mandatory, however I at all times take away the surplus as a result of it’s going to create two further layers of cloth to wrangle into pleats later, and that simply creates pointless bulk that makes pleating more difficult than it must be.
Subsequent, I reduce my material header tape to size. This can be a thick-ish materials that feels quite a bit like a heavy interfacing. You may get it in numerous widths, however I choose the three-inch width. You should buy it by the yard at locations like Joann Materials.

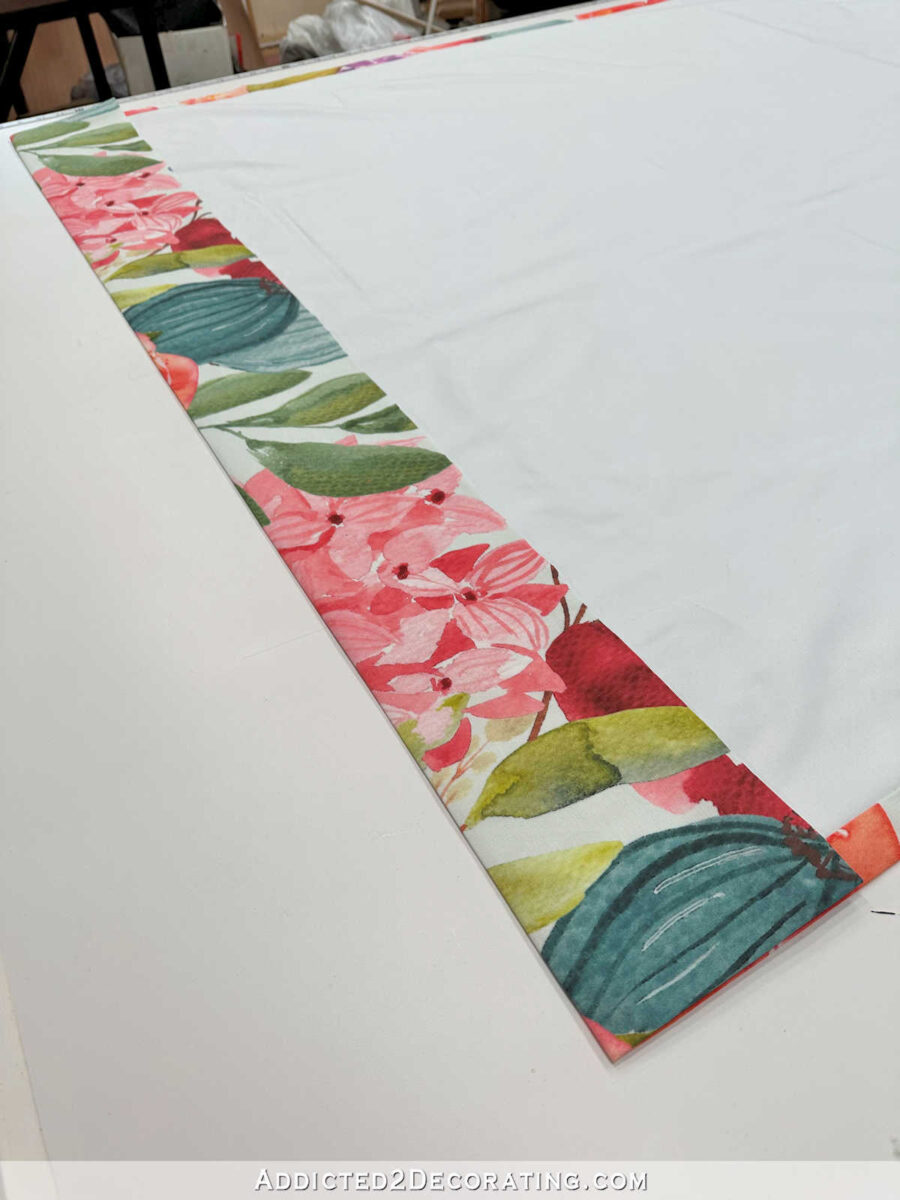
I reduce it to size in order that it spans the width simply contained in the 1-inch aspect folds.
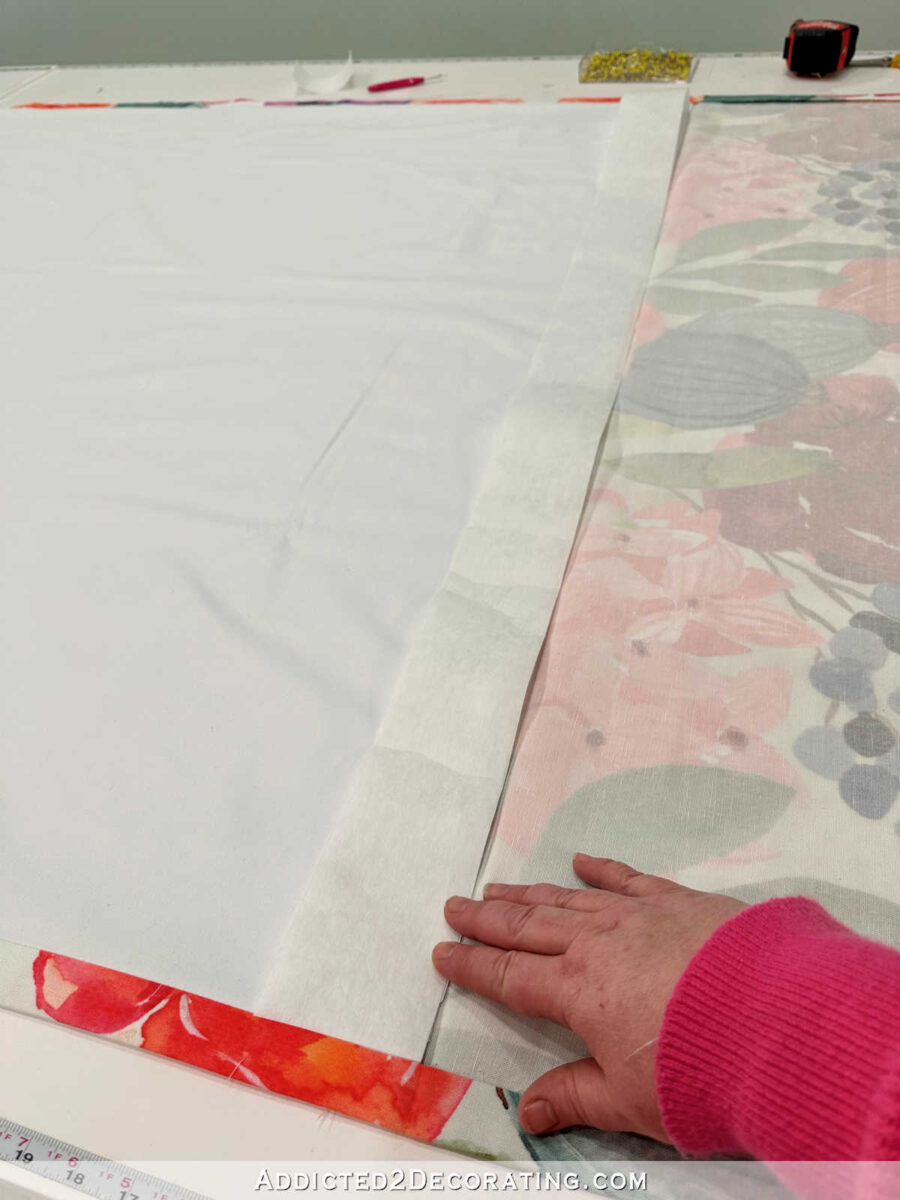
Since my header tape is three inches huge, that meant that I wanted to chop away a number of the extra cloth on the prime. The material wants to increase previous the highest of the reduce lining at a measurement equal to 2 occasions the header tape width, minus only a smidge. (That’s the technical time period for it. 😀 ) Since I used to be utilizing three-inch header tape, I reduce the material to 6 inches minus a smidge (about 5 7/8 inches) previous the reduce fringe of the liner.
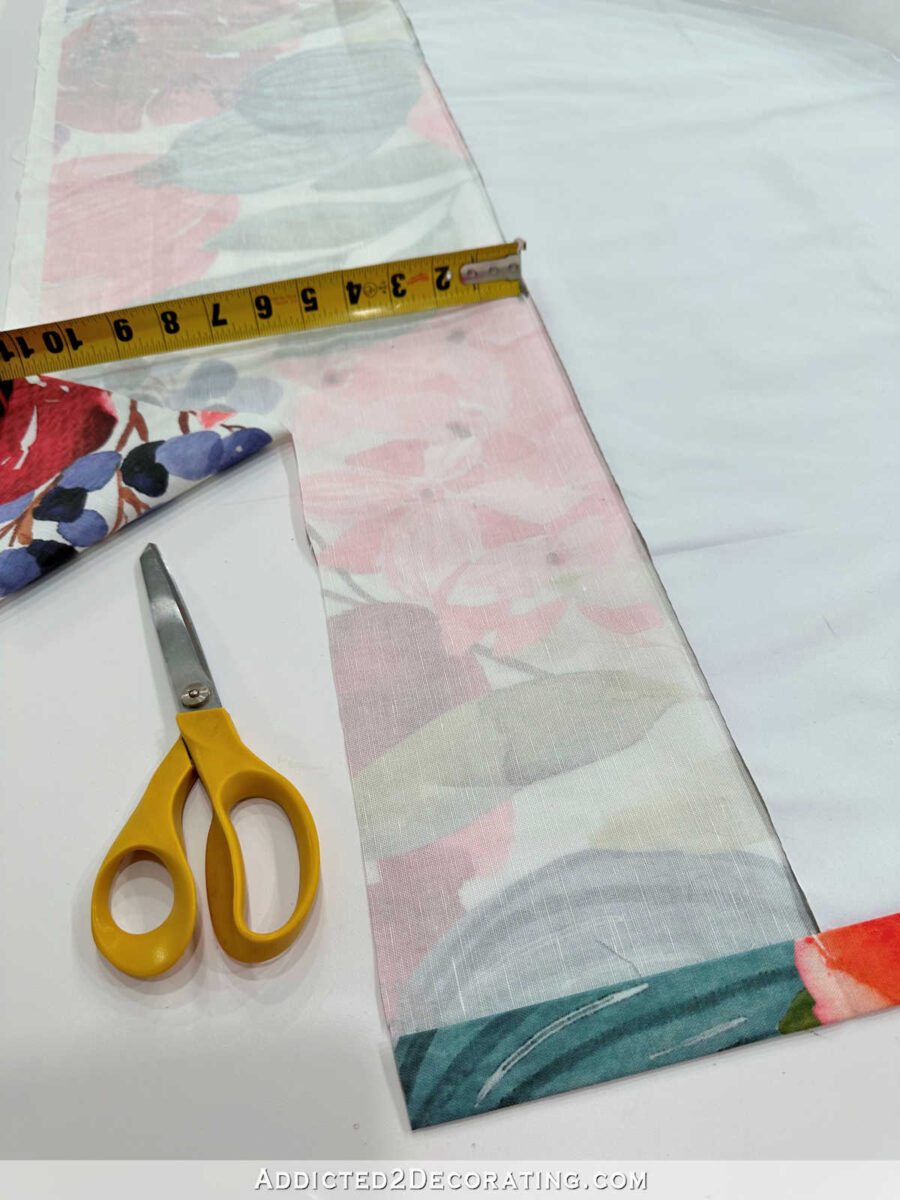
So as soon as I had the surplus reduce off and it regarded like this, I used to be prepared so as to add the header tape.
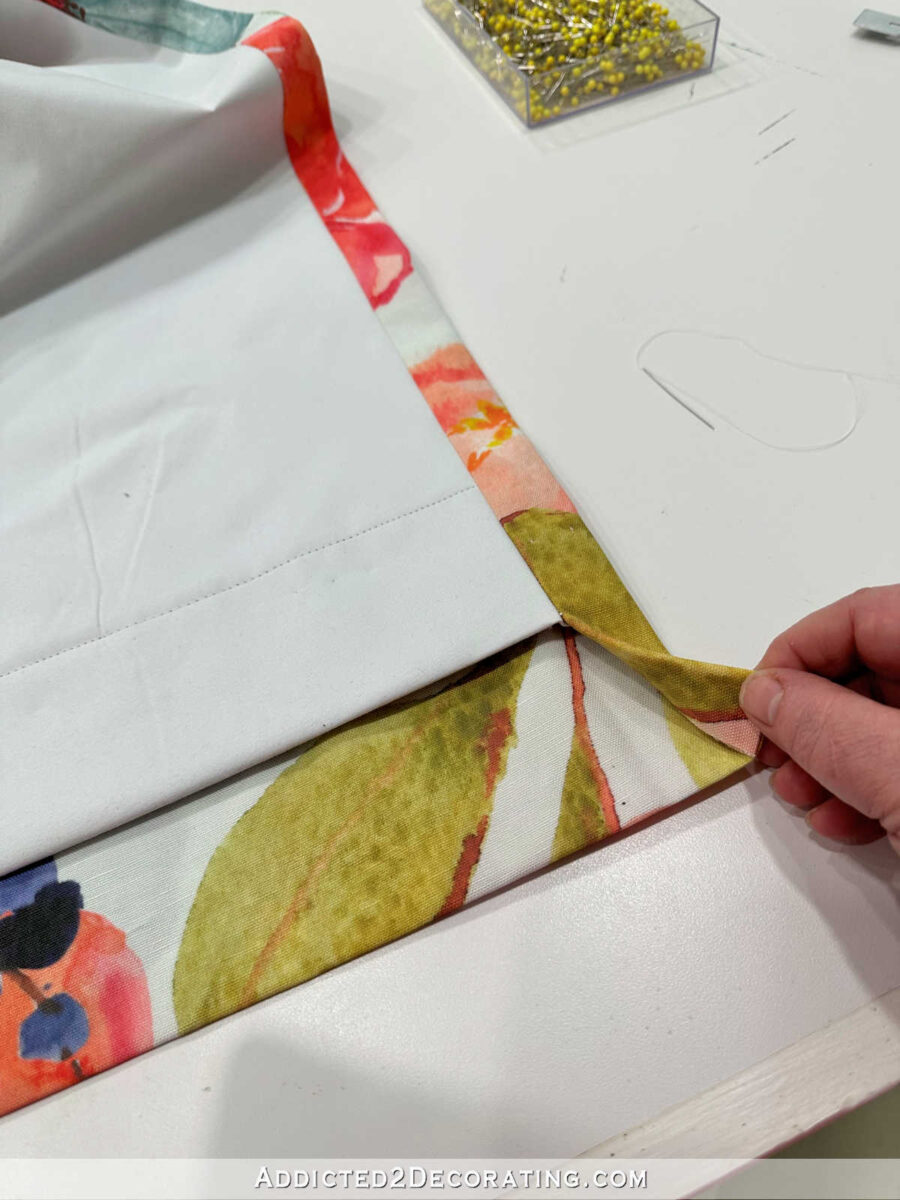
I began by putting the header tape in order that it lined up alongside the highest of the liner…
After which I folded the material down over the header tape alongside the ironed-in crease…
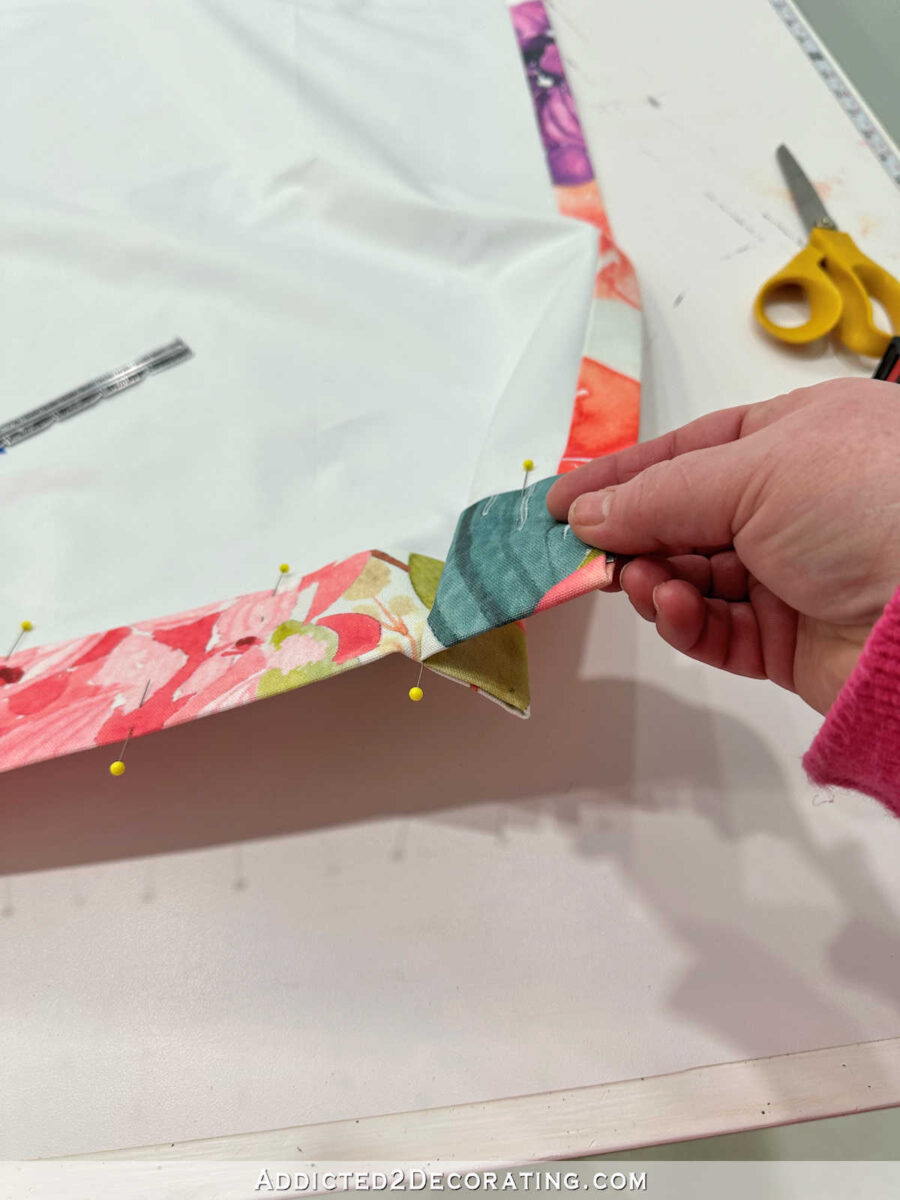
After which beginning within the center and dealing my method out to the ends, I wrapped the surplus cloth again beneath the header tape in order that the material enveloped the header tape. After which I pinned all of the layers into place.
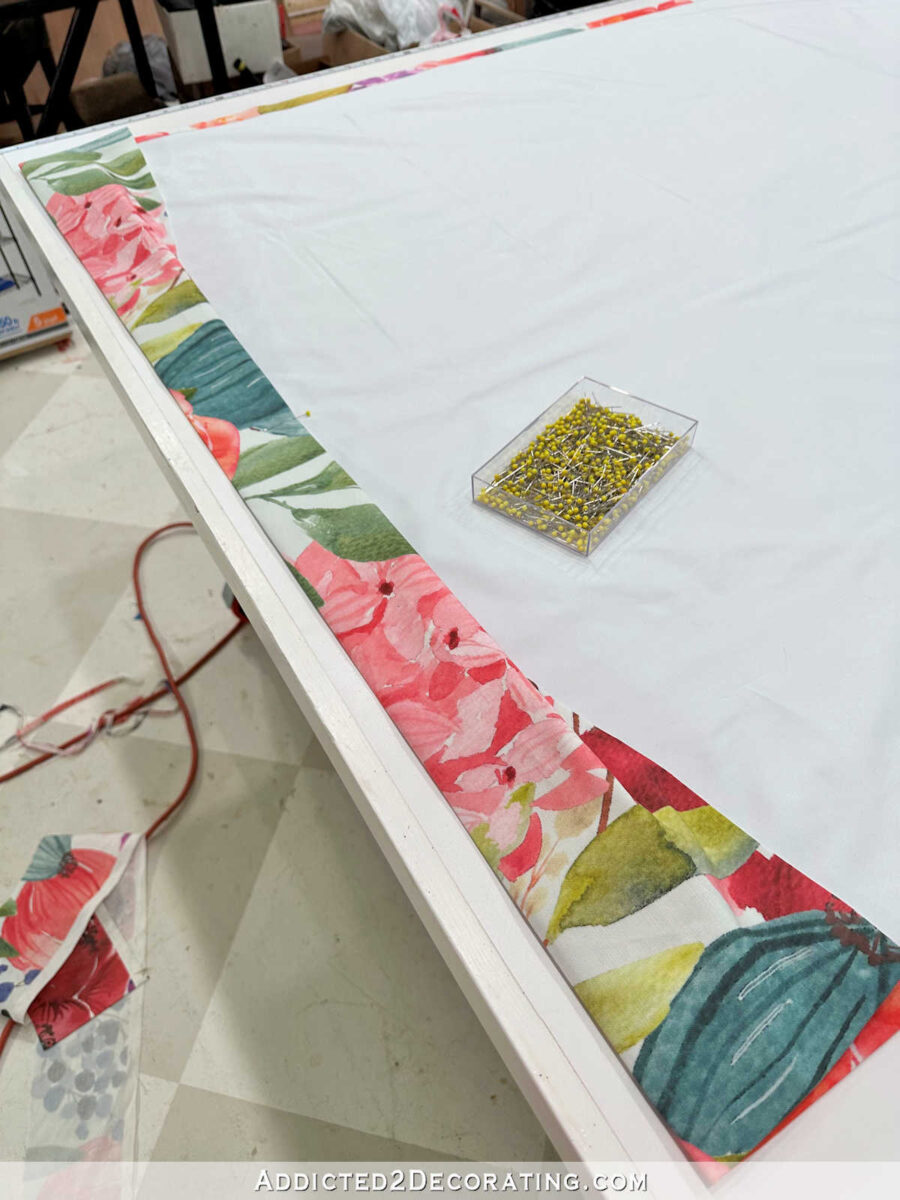
And right here’s what it regarded like as soon as it was pinned into place all the way in which throughout.

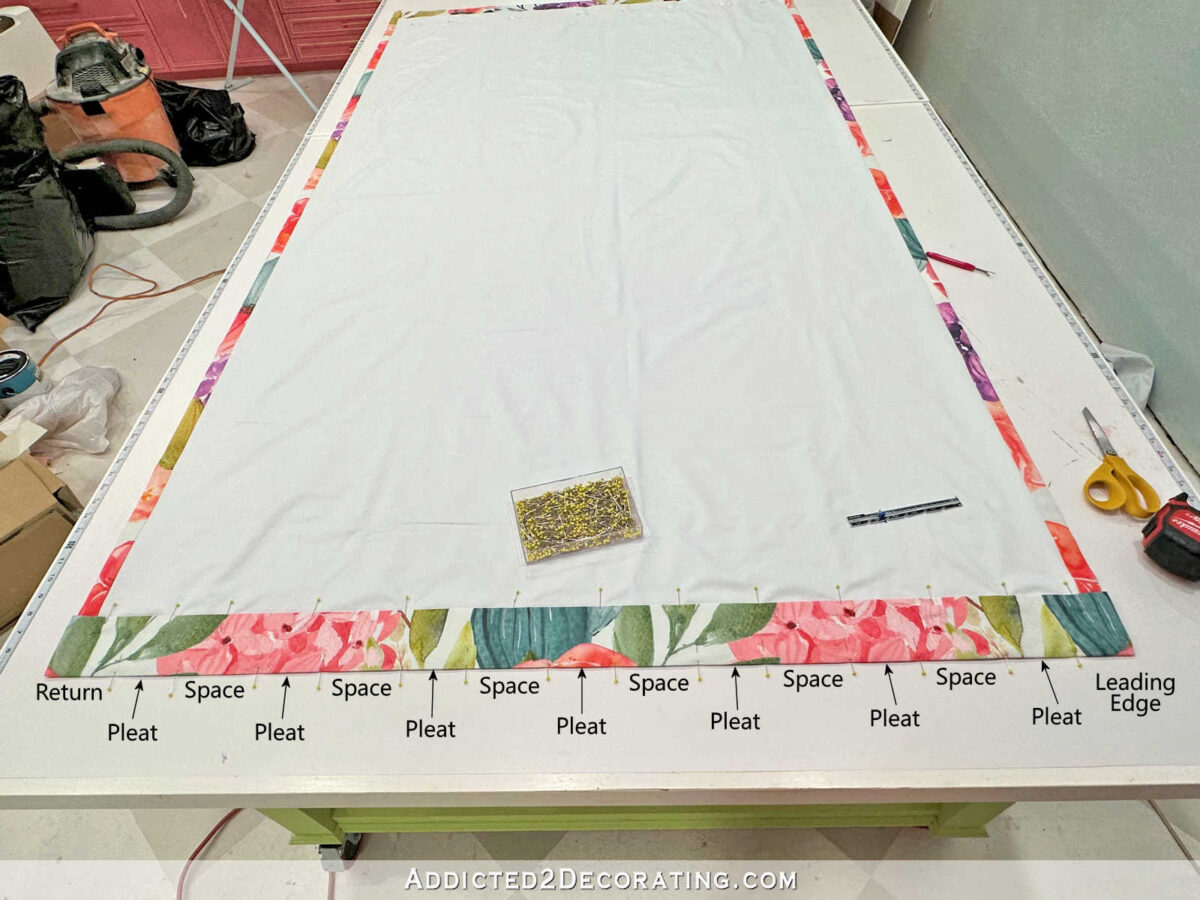
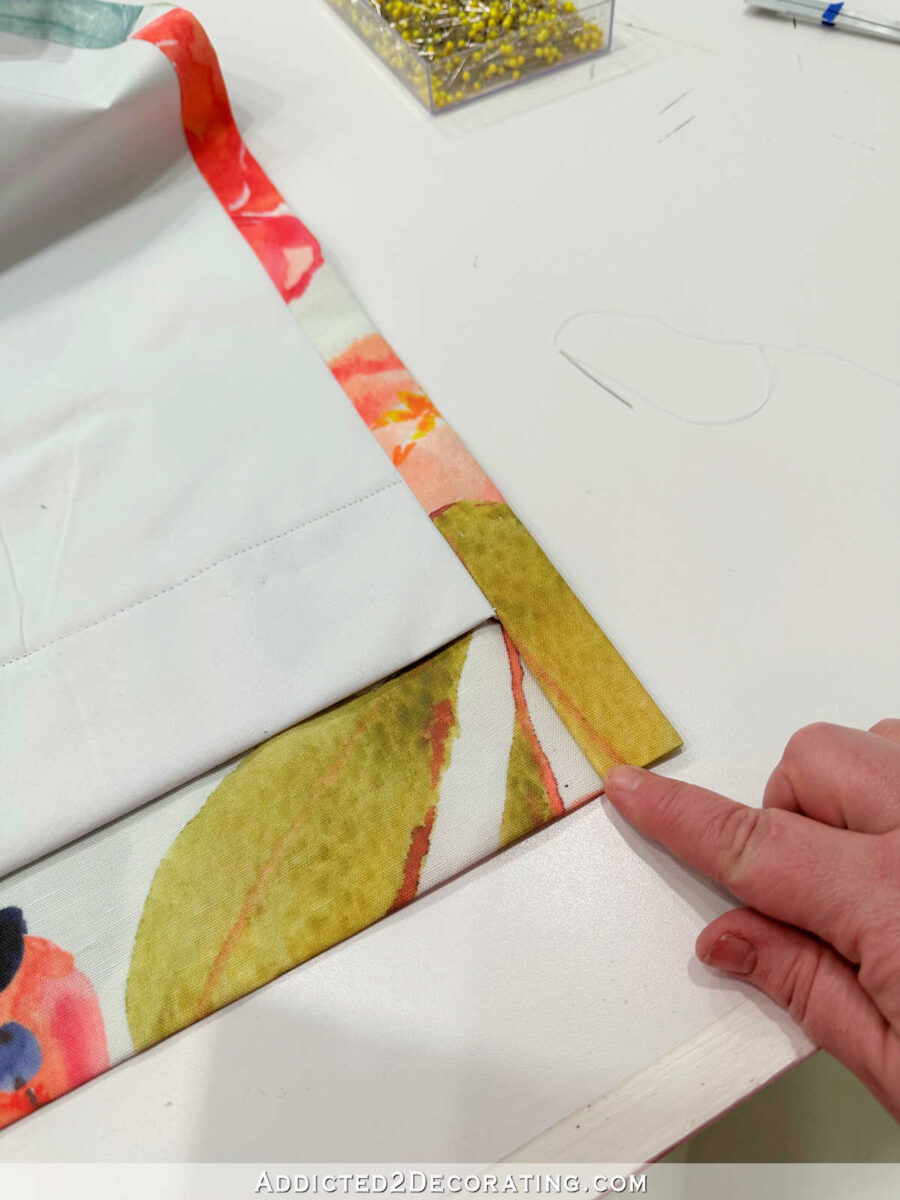
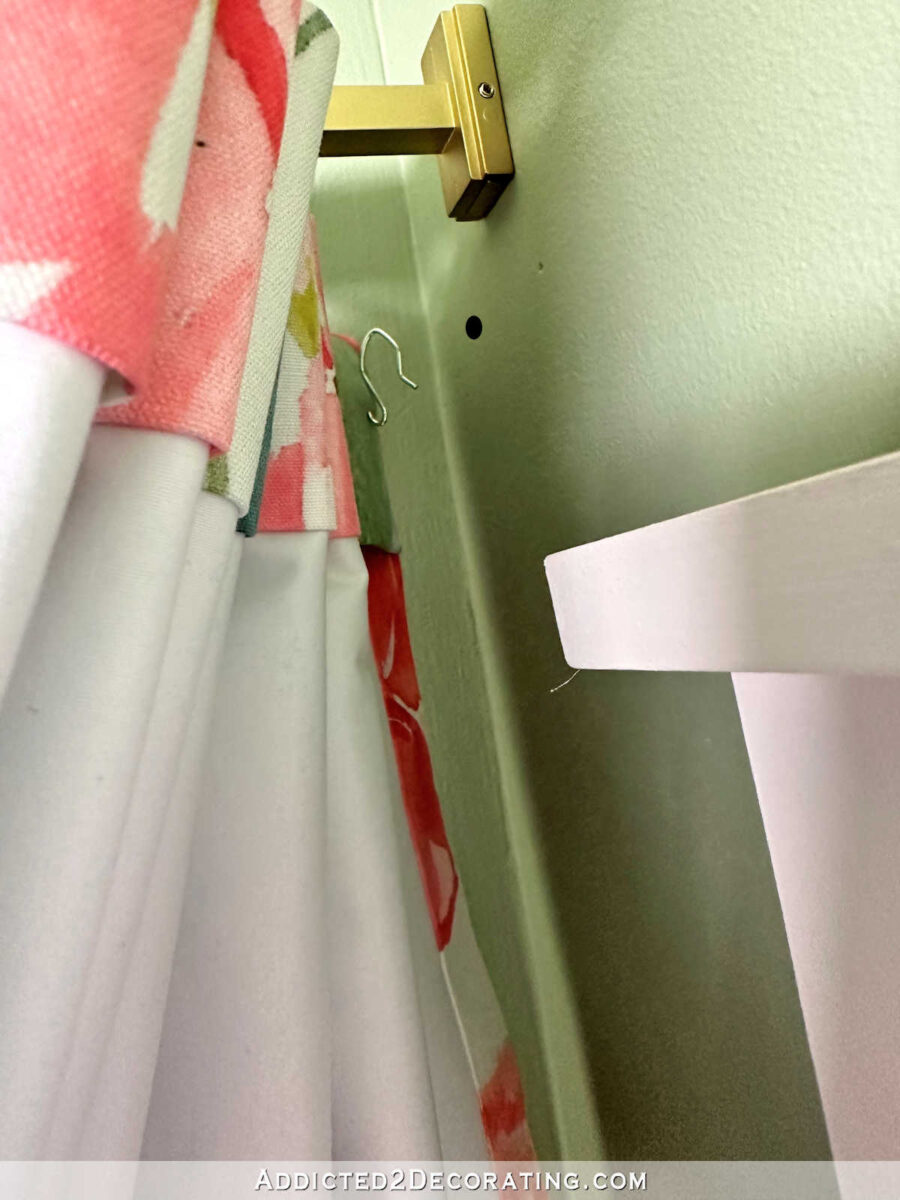
Subsequent, I needed to determine the location of my pleats. The primary measurement I wanted was the return for the skin fringe of the panel. The return is the piece that folds again from the curtain rod and meets the wall. To get this measurement, merely measure from the tiny material pin loop on the curtain ring to the wall. It’s exhausting to see from the attitude within the photograph under, however the measurement from the wall to my curtain rod/rings is 3 1/4 inches.
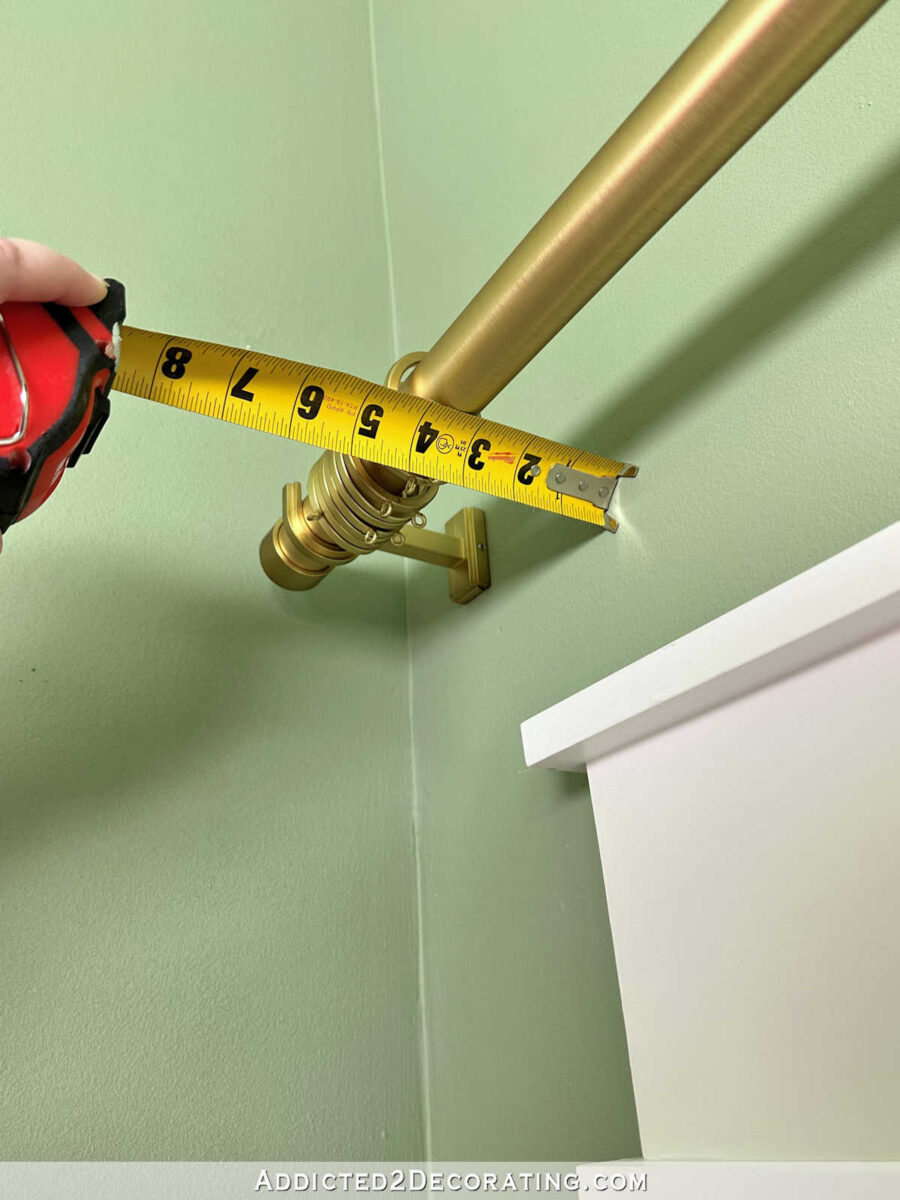
So I took that measurement and marked off 3 1/4 inches on the outer fringe of the header.
After which I measured and marked off an area on the vanguard (the within edge) of the header. I simply went with 2.5 inches as a result of I feel that appears good. However you may regulate relying on what you assume appears to be like good.
Or if you happen to’re including trim to the vanguard of your material panel (which wanted to be completed a number of steps in the past), you would possibly want to regulate this measurement relying on the width of the trim. The very last thing you need is getting an ornamental trim caught up in your first pleat. Coping with that bulk in a pleat is usually a nightmare, and it just about by no means appears to be like proper. Ask me how I do know. 😀 However anyway, about 2 1/2 to three inches for that vanguard will do.
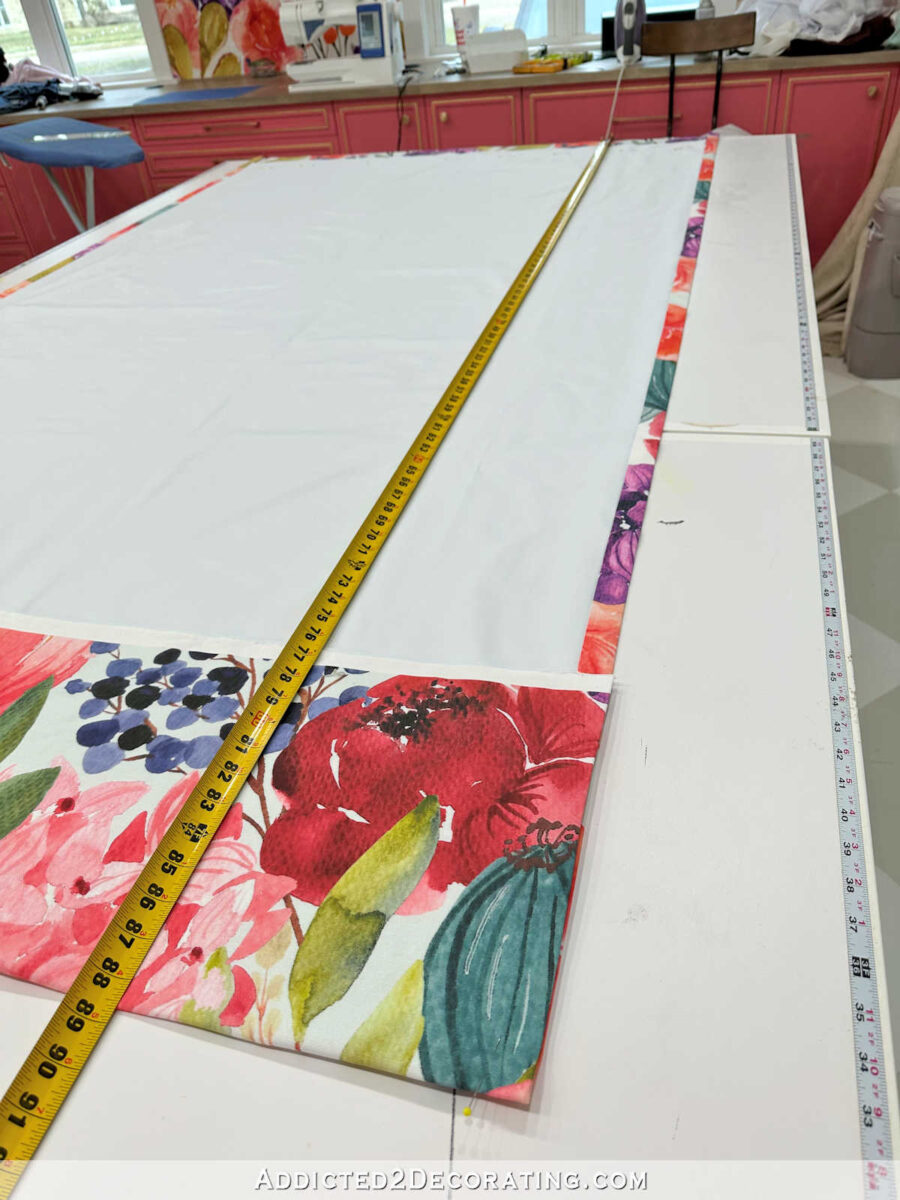
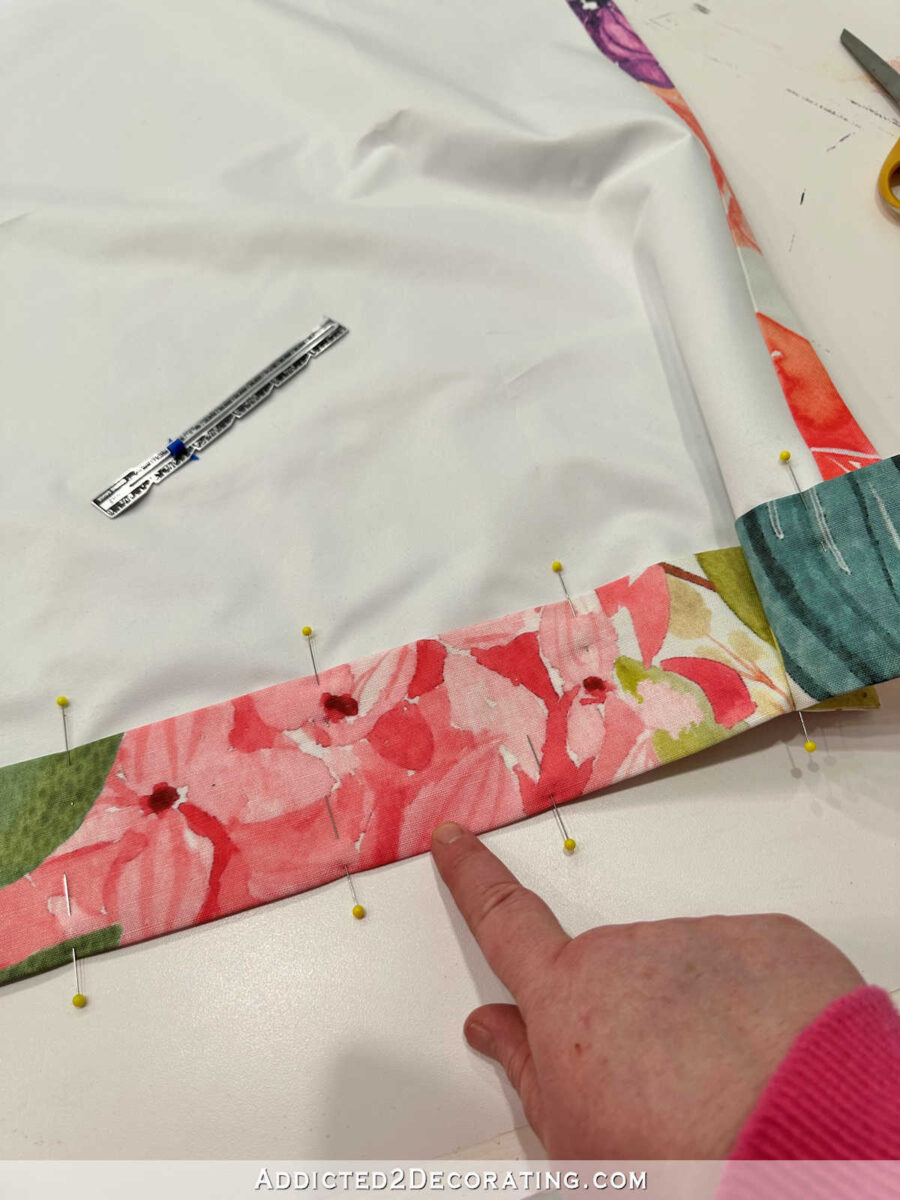
As soon as I had the return and the vanguard marked off, I measured the width remaining between these pins. So I positioned my tape measure proper on a kind of pins…
And measured to the opposite one. That gave me a measurement of 43.5 inches. (Once more, the attitude on the photograph under makes that look a bit off.)
On a single width material panel, I wish to have seven pleats. And I wish to have a minimal of three inches of cloth width to work with per double pleat, or a minimal of three.5 inches per triple pleat. I made a decision to make use of double pleats on these material panels, so I multiplied 7 (pleats) occasions 3 (inches per pleat), which meant that I wanted a complete of 21 inches for my pleats. That left me with 22 1/2 inches of cloth that wanted to be divided by 6 areas between the pleats. (If I’ve seven pleats, I’d have six areas. If I’ve 9 pleats, I’d have eight areas. So the variety of areas is at all times one lower than the variety of pleats.) So 22 1/2 divided by 6 signifies that every house wanted to be 3.75 inches huge.
So I used my pins to mark off these areas.
Subsequent I wanted to pin the pleats in order that I may sew them into place. To do that, I folded the material in order that the to pins marking off the pleat met.
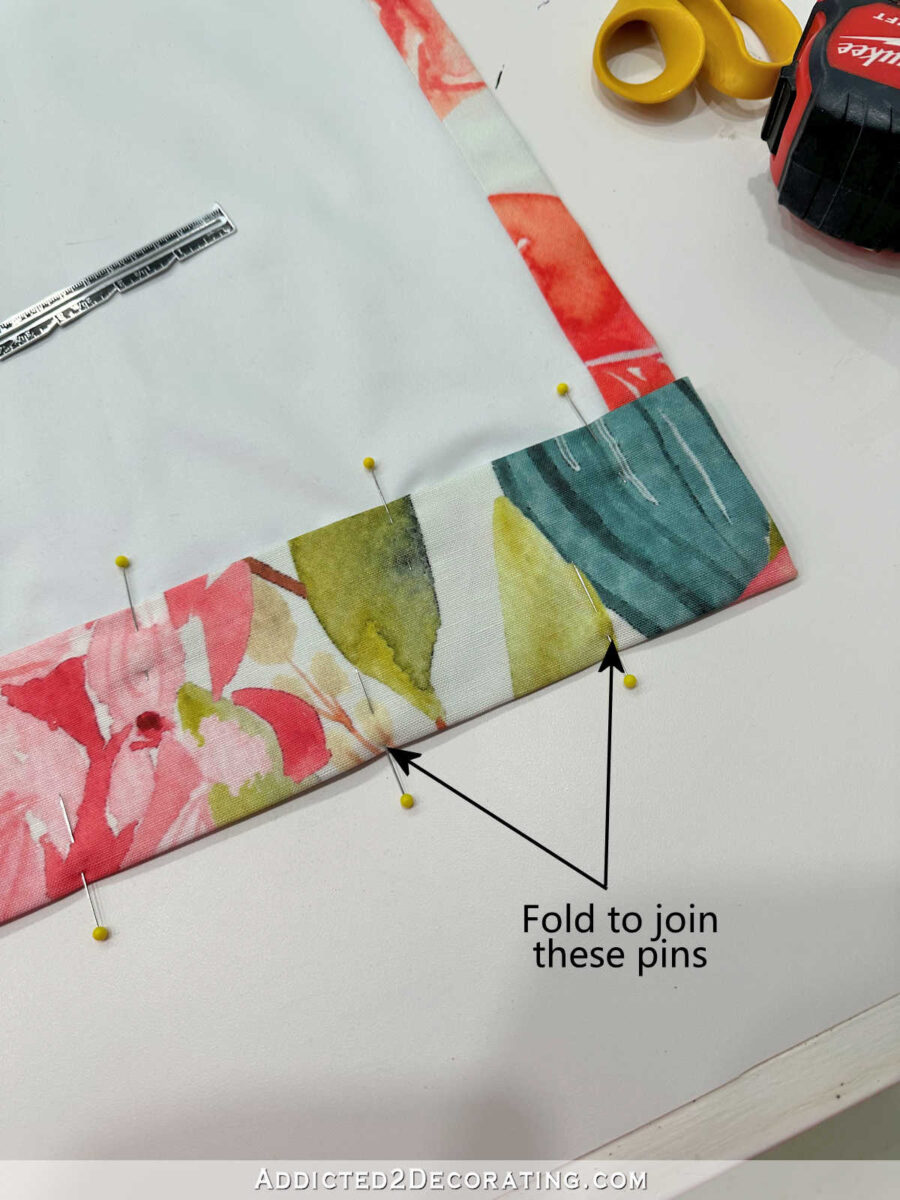
I folded the material in order that the again sides had been collectively as proven…
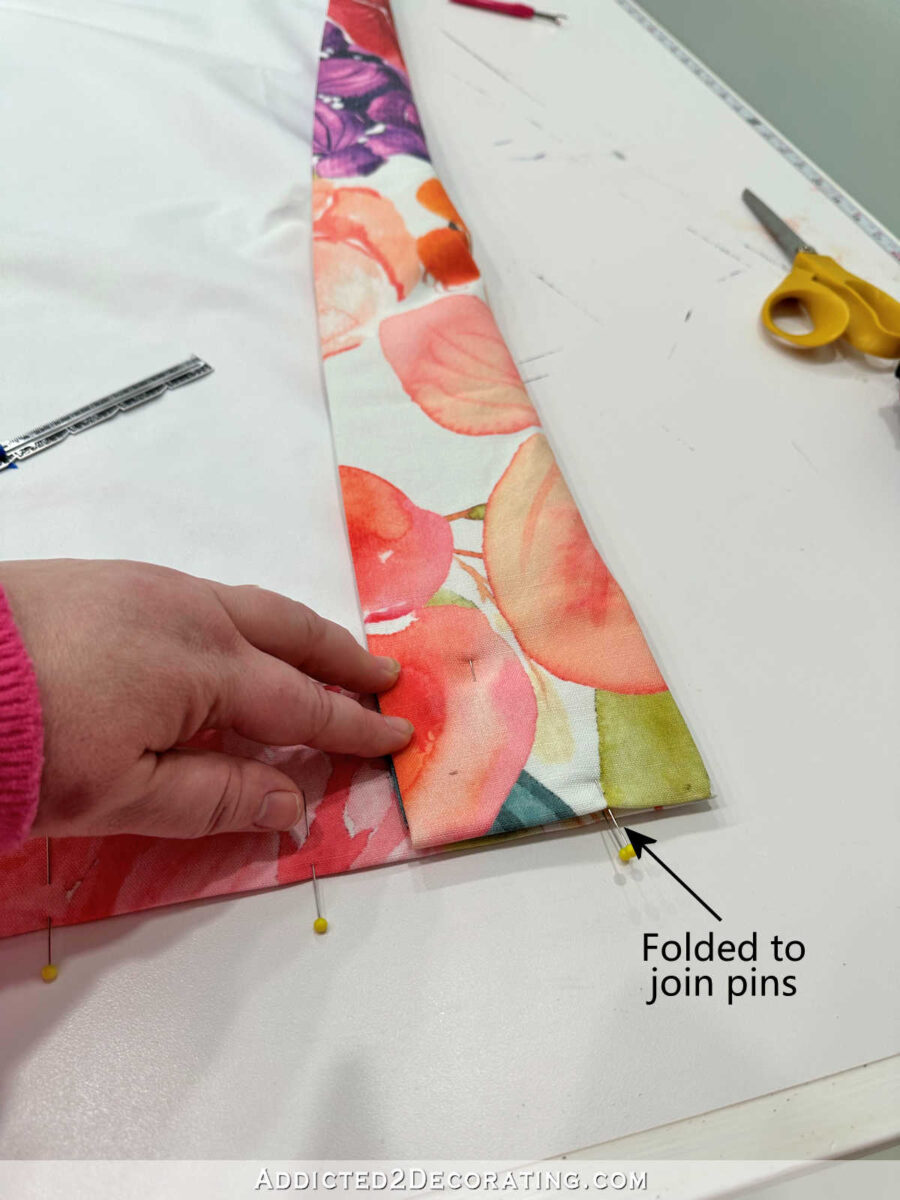
After which I eliminated one of many pins, and pinned all layers along with one pin.

Right here’s what that regarded like pinned in…
Then I skipped the house subsequent to that pleat…

And moved on to the subsequent space marked off as a pleat, and repeated that folding and pinning course of.
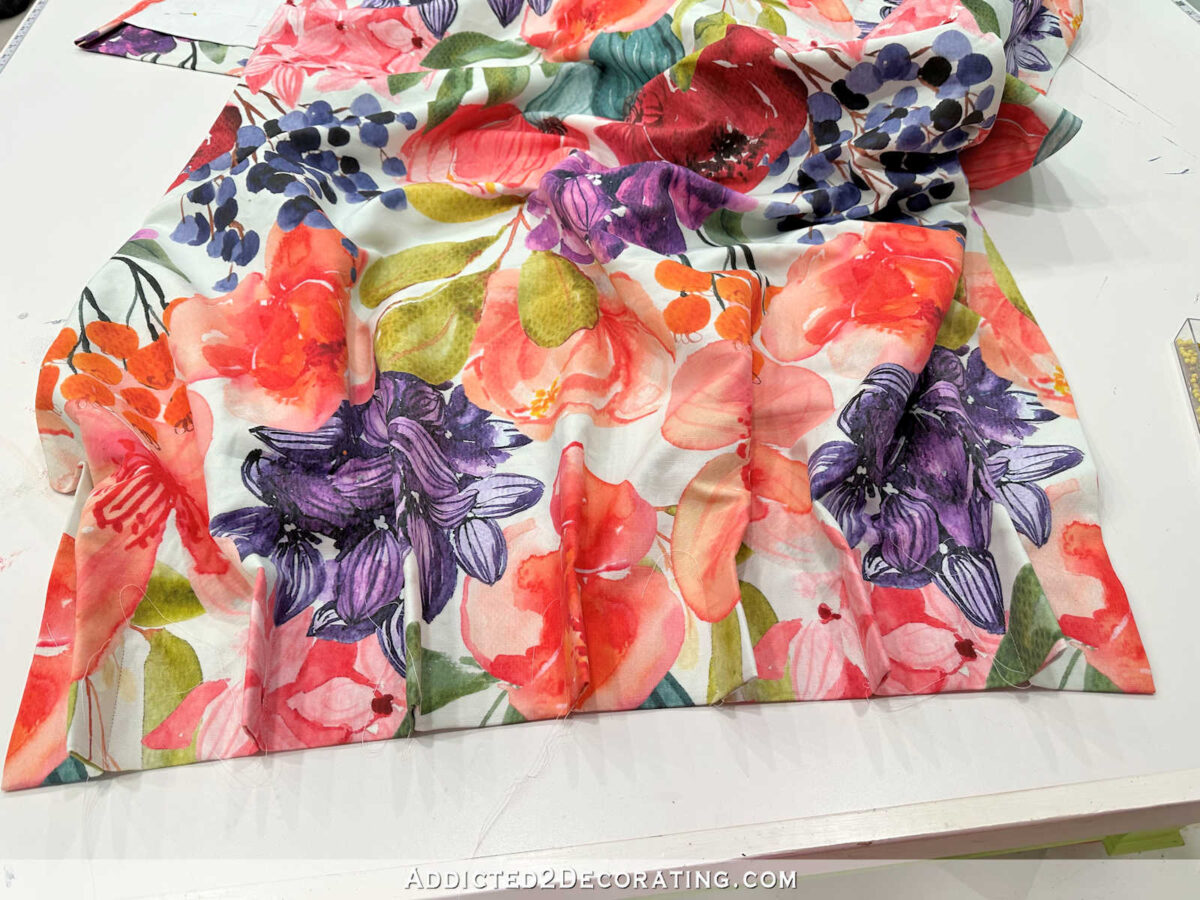
So with two pleats pinned in place, that is what it regarded like…

I repeated that every one the way in which throughout till I had all seven pleats pinned.

At this level, these different pins alongside the underside of the material header tape/folded cloth may be eliminated. They’ve served their objective effectively, however at this level they’ll simply be in the way in which.
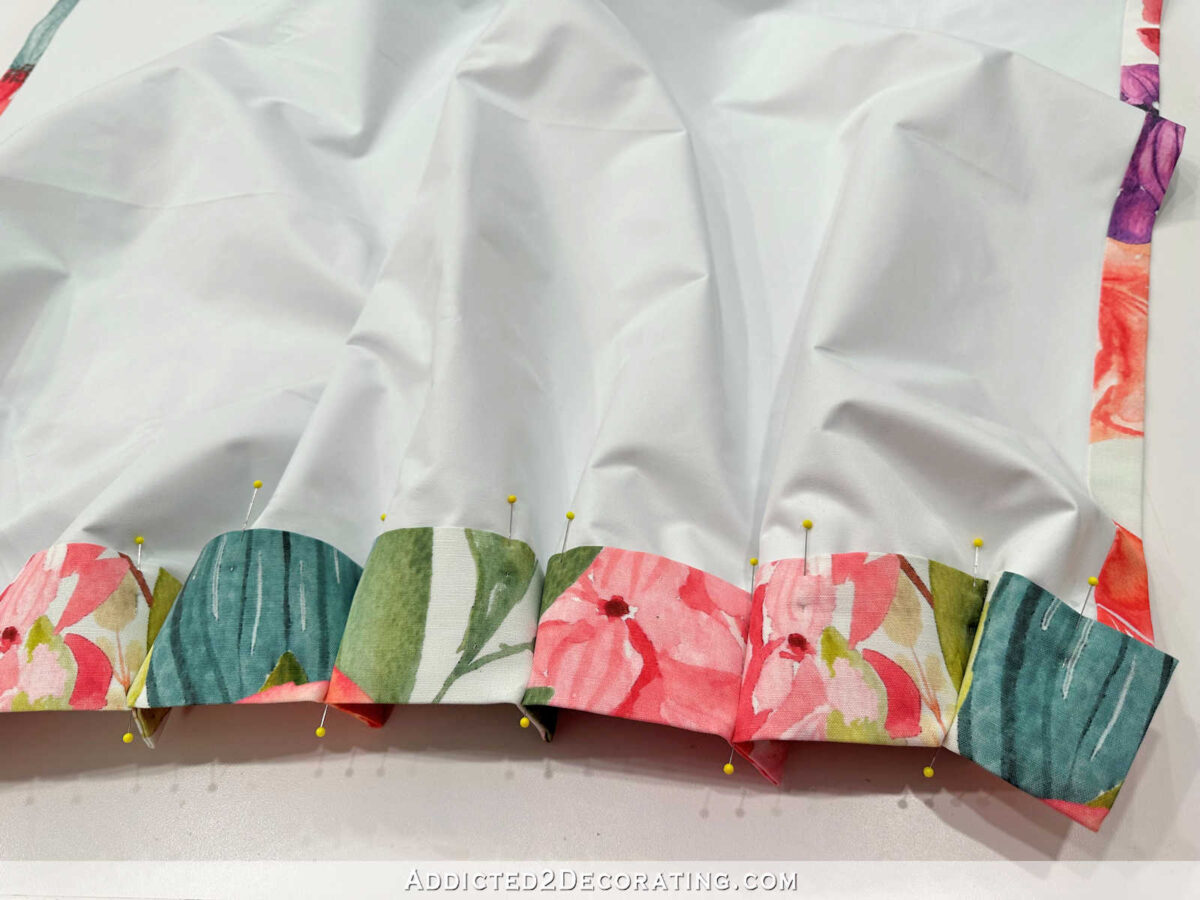
So with the pleats pinned into place, that is what they appear like from the entrance. I used my fingers to crease and press the entrance folds into the header tape earlier than I took the panel to the stitching machine.

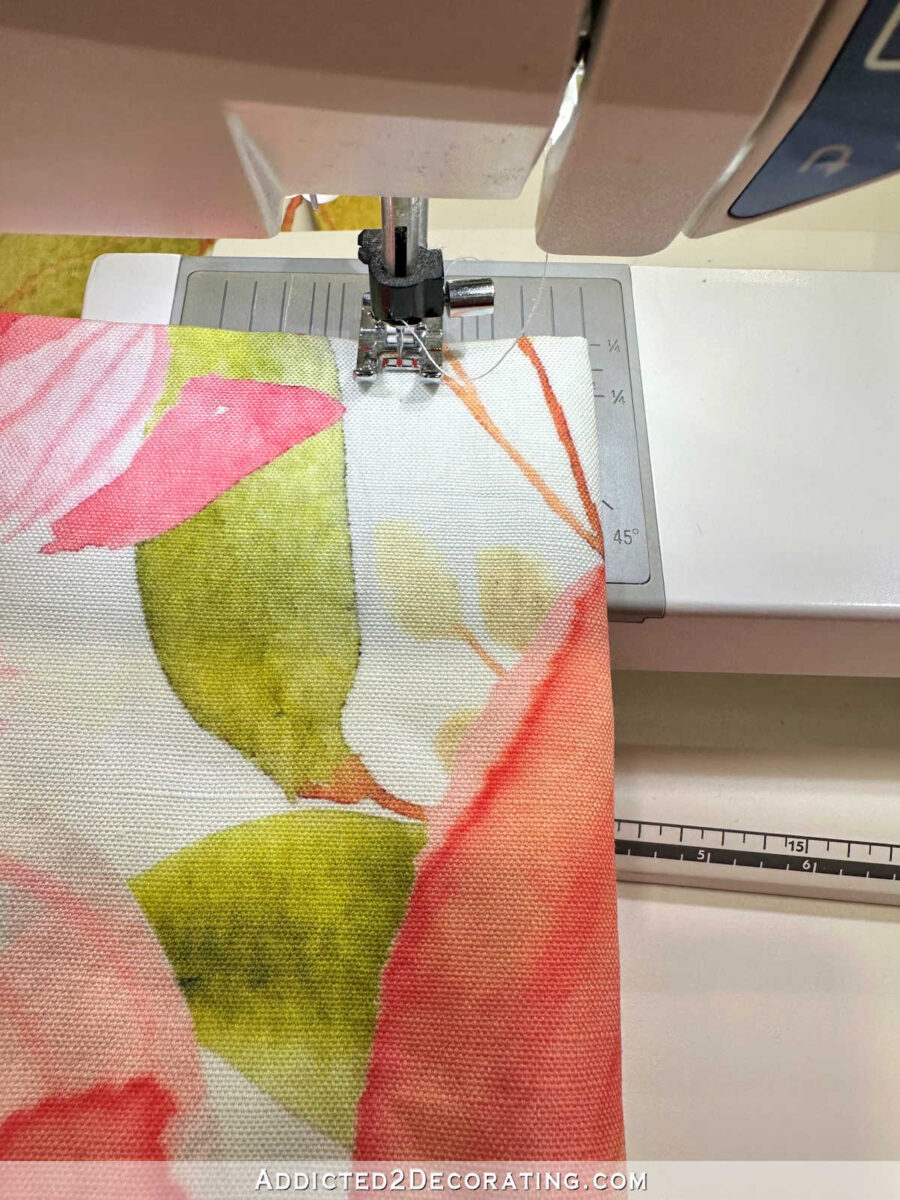
Stitching the pleats into place is finished with a fundamental straight sew.

To find out the place to stitch, simply divide the pleat cloth width (once more, mine was three inches) by two, and stitch straight down the header tape from prime to backside at that distance. So I sewed my sew at 1 1/2 inches from the sting.
And right here’s what it appears to be like like with the pleat sewn into place.
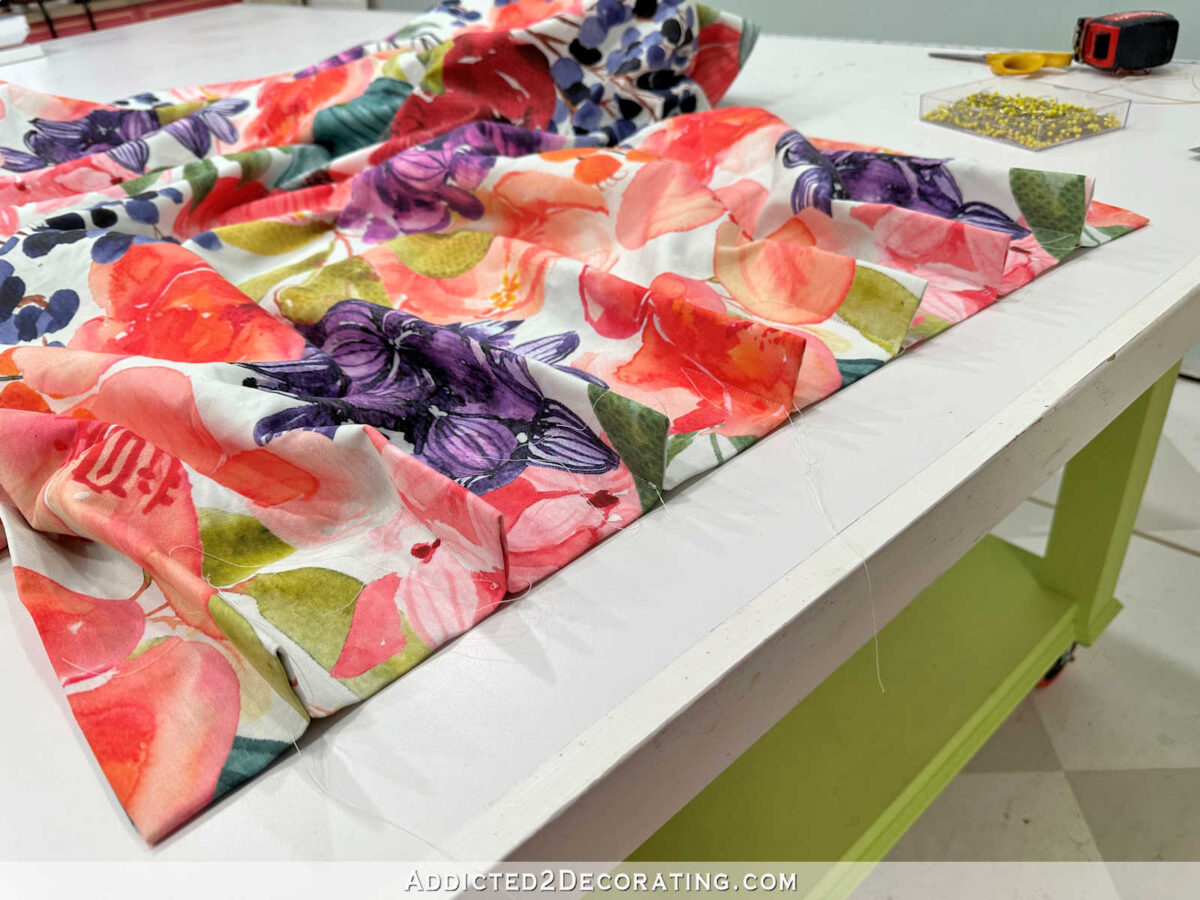
I repeated that on the opposite pleats, and that is what the header regarded like with the entire pleats sewn in.
Right here’s a aspect view for a greater look.
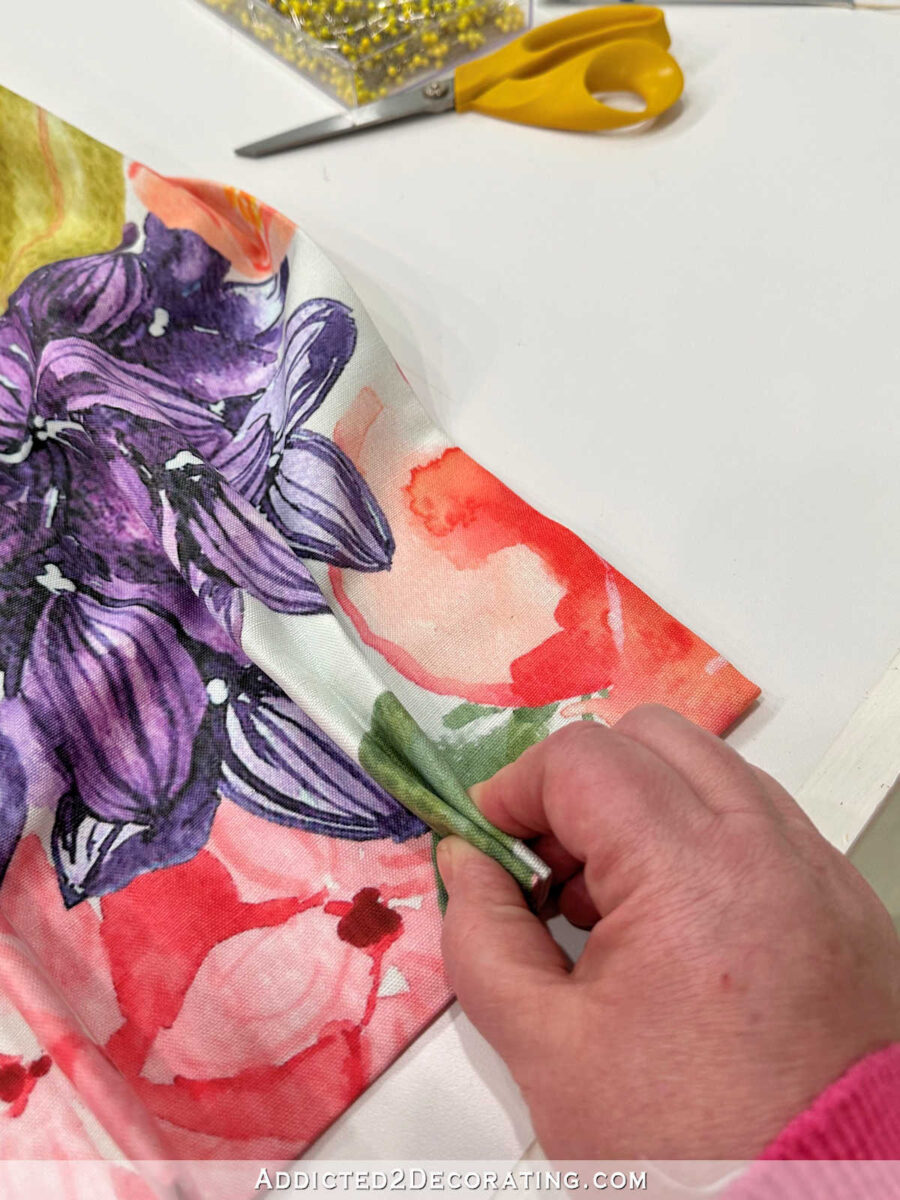
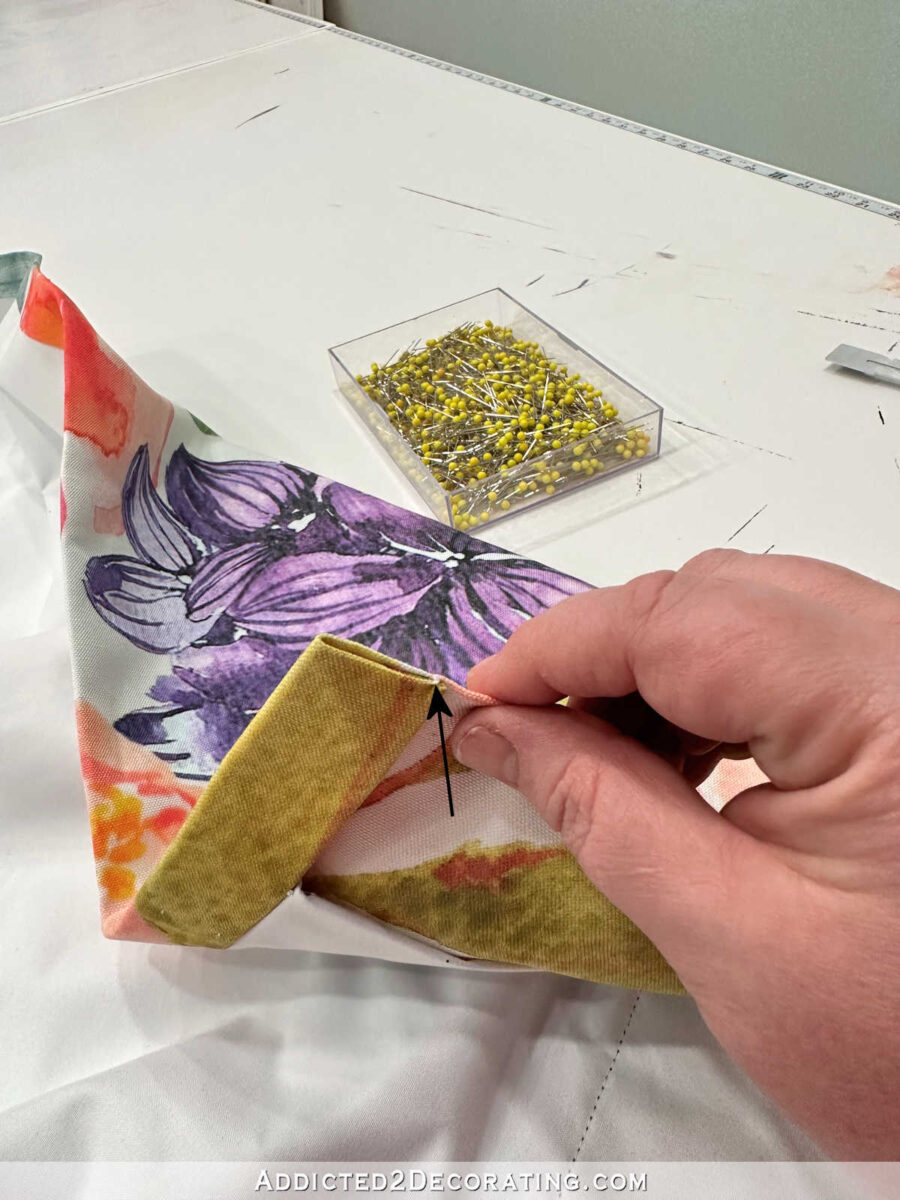
These are the fundamental pleats, however now I needed to type the “double” a part of the double pleats. To do that, I began my utilizing my finger inside that fold and urgent the seam of the header tape open.
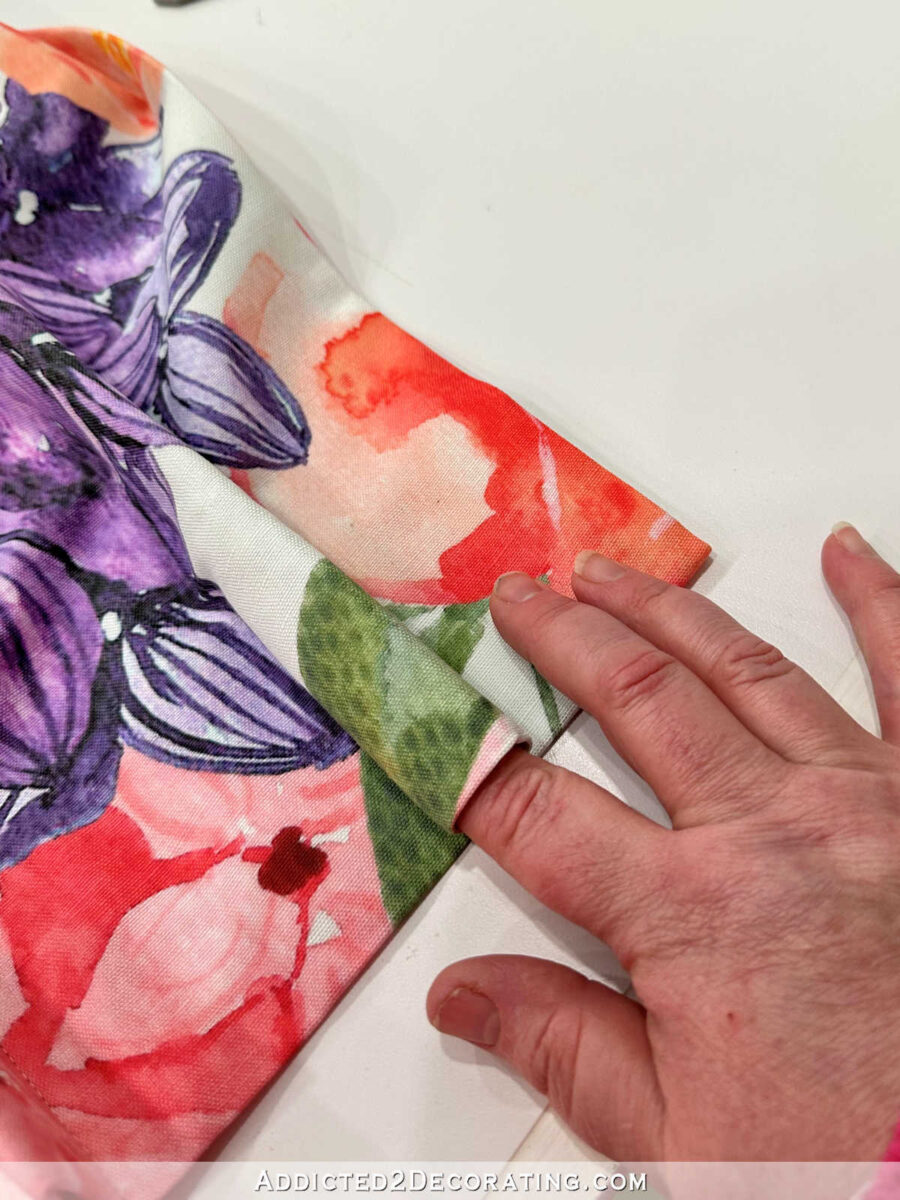
After which I pressed the fold of the pleat down to fulfill the seam…
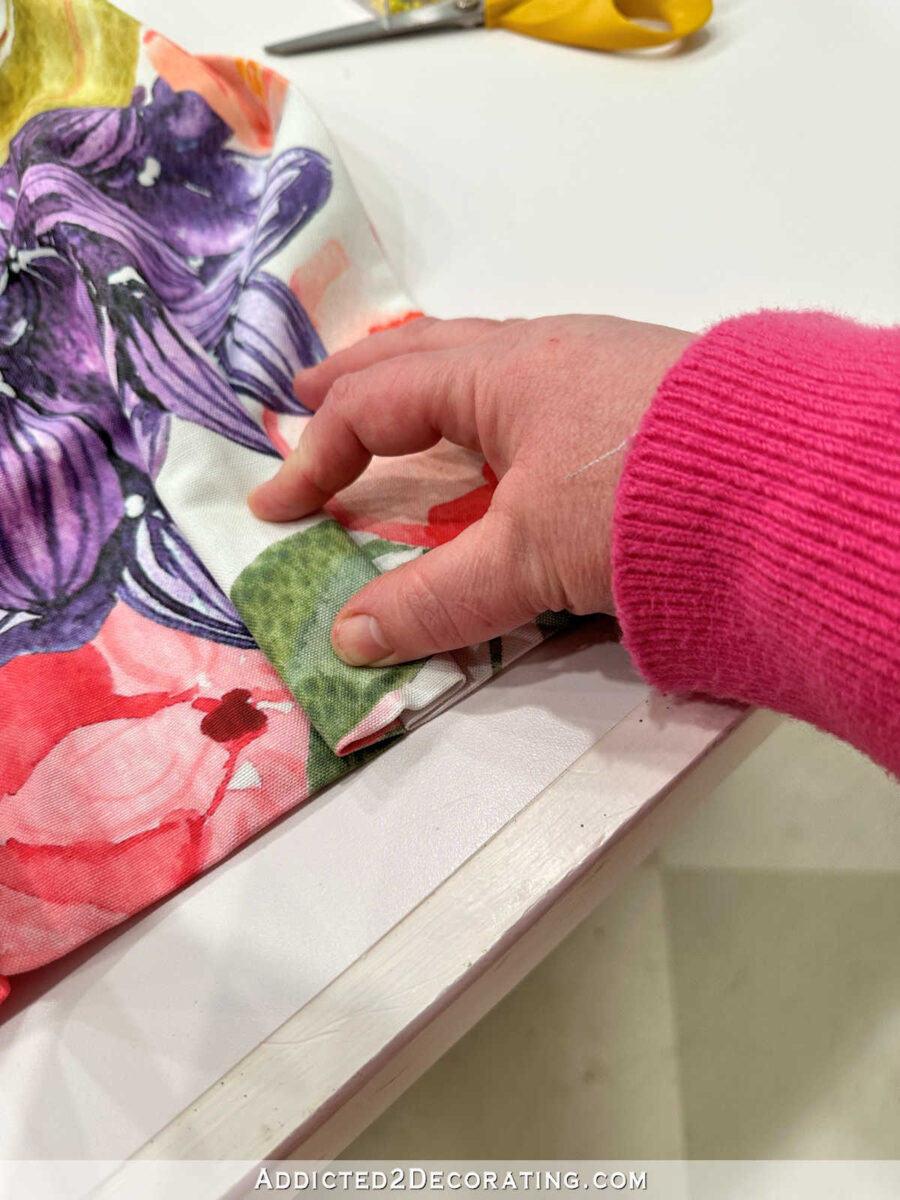
After which I introduced the 2 sides as much as meet. And that types the double pleat.
Pleats may be sewn in other places to get completely different appears to be like. For instance, if I sew them into place in direction of the underside of the header tape, it ends in a extra conventional French pleat.
If I sew extra in direction of the highest, it offers a little bit of a extra fashionable look. That is known as a Parisian pleat.
I made a decision to go together with extra of a Parisian pleat by stitching the folds collectively about 3/4 inch from the highest, and 1/4 inch from the entrance folds.

Every stitching machine can be somewhat completely different, however that is what the sew appears to be like like on my stitching machine.

If you happen to don’t have a sew that appears like that, you should use a large zigzag sew with a stationary foot (i.e., set it in order that the foot doesn’t stroll the material ahead).
And right here’s what the sew appears to be like like from the aspect.

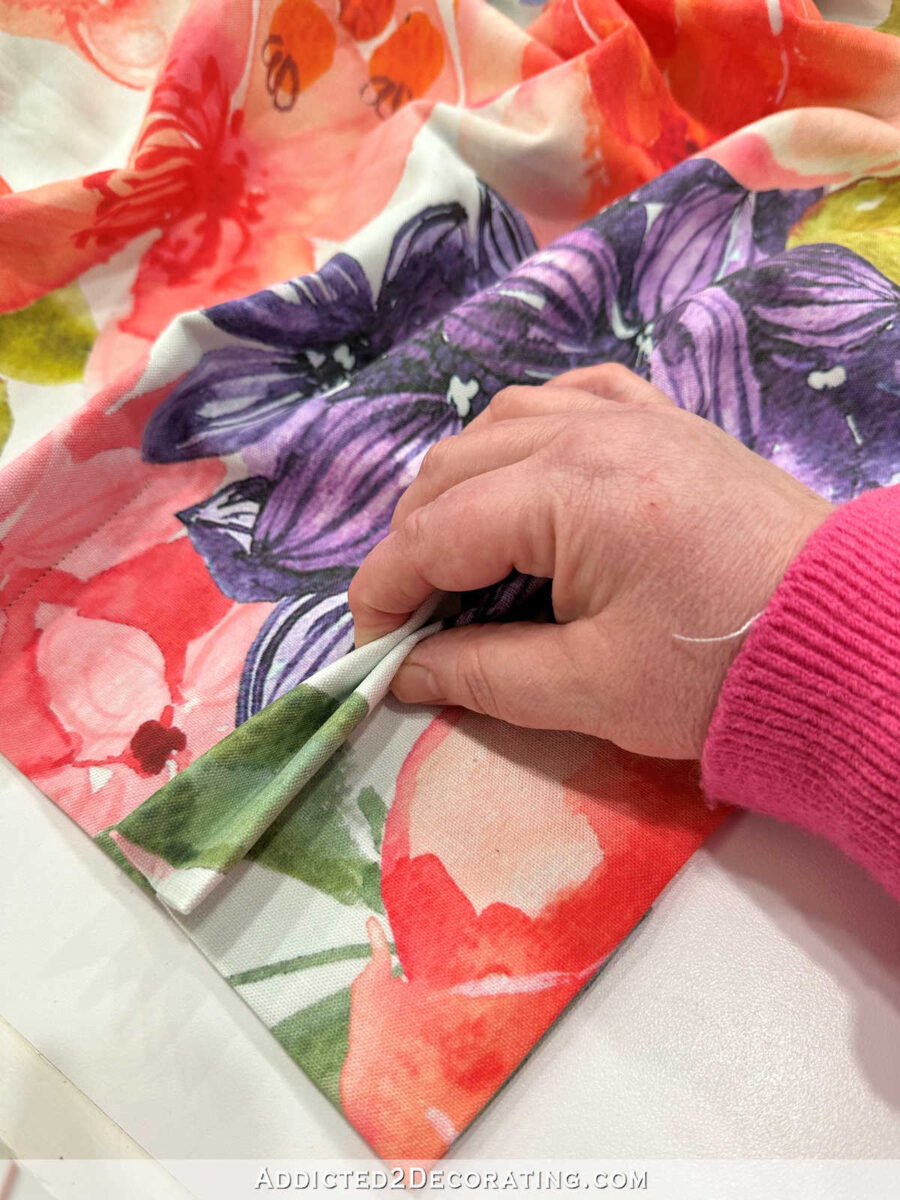
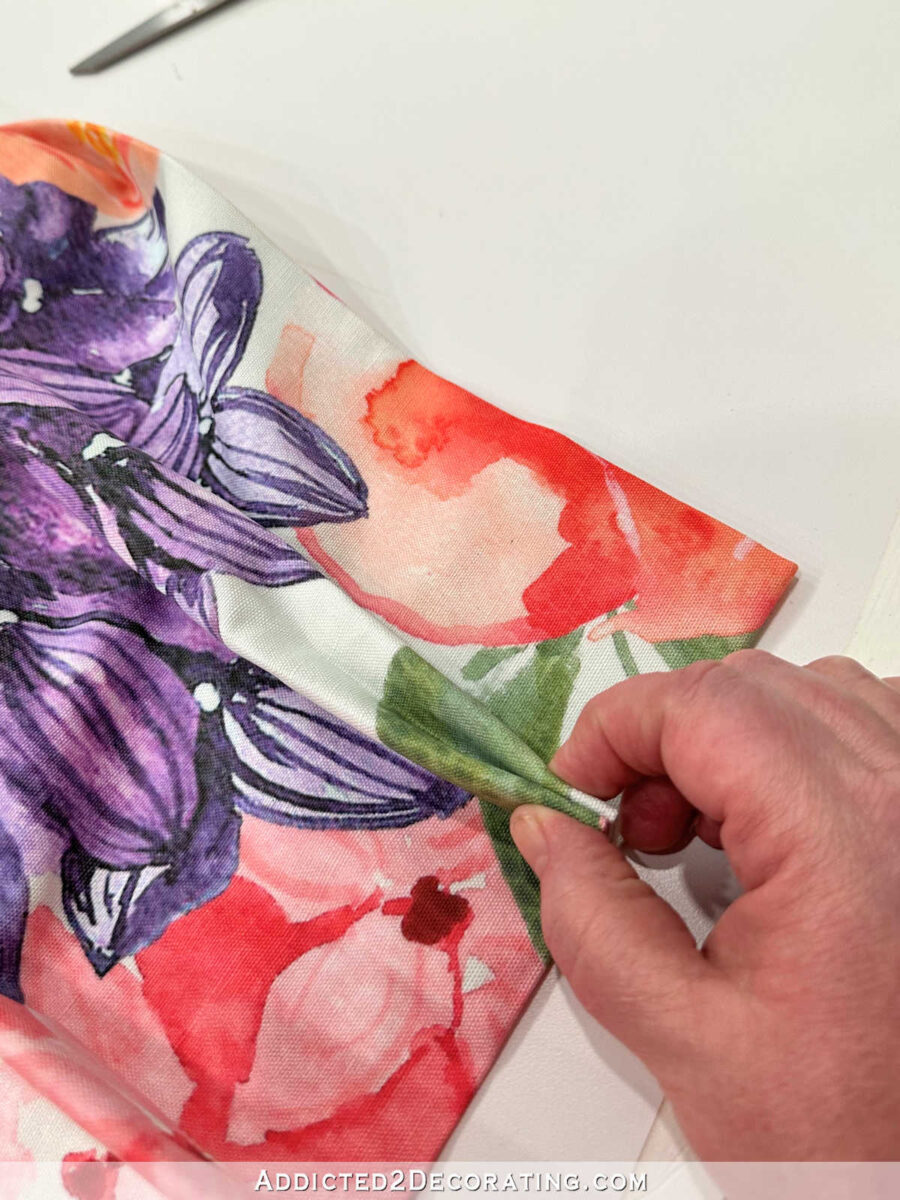
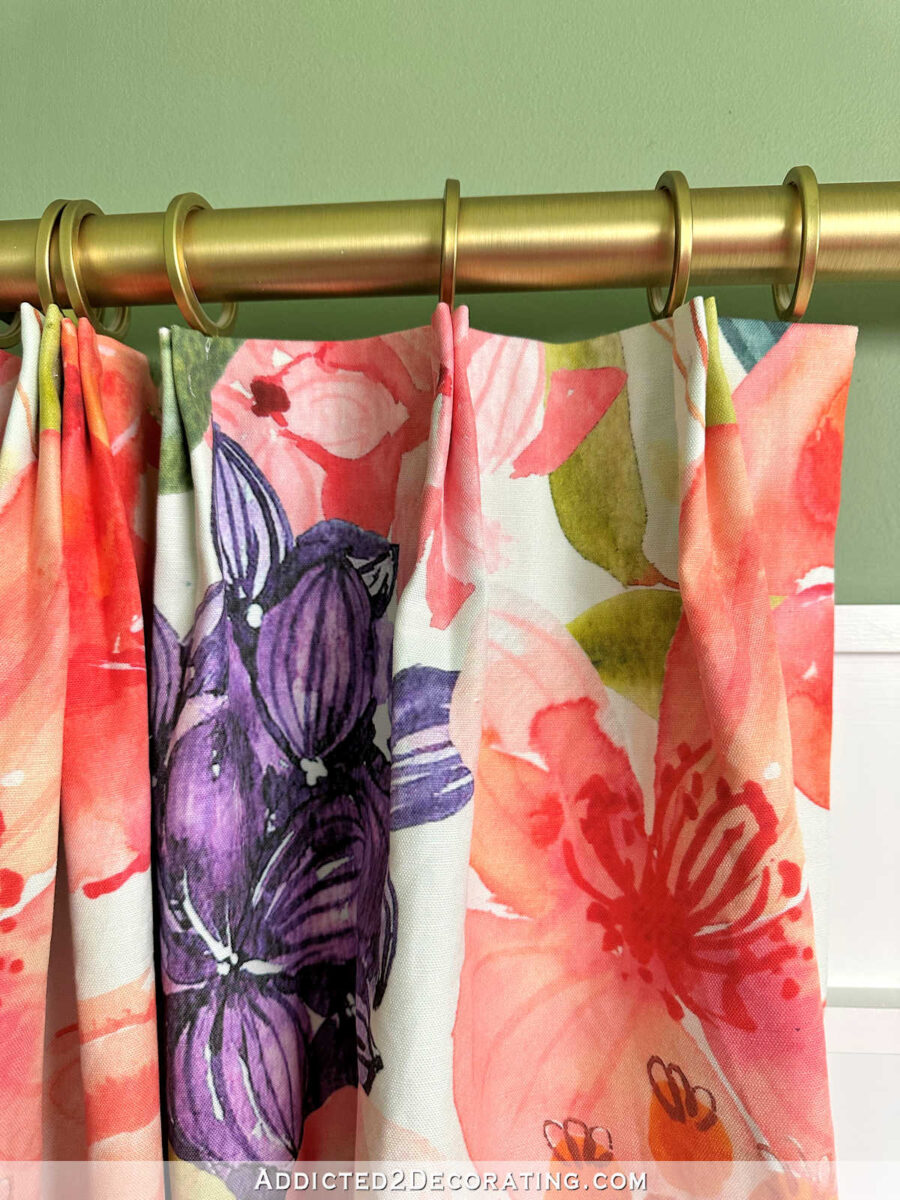
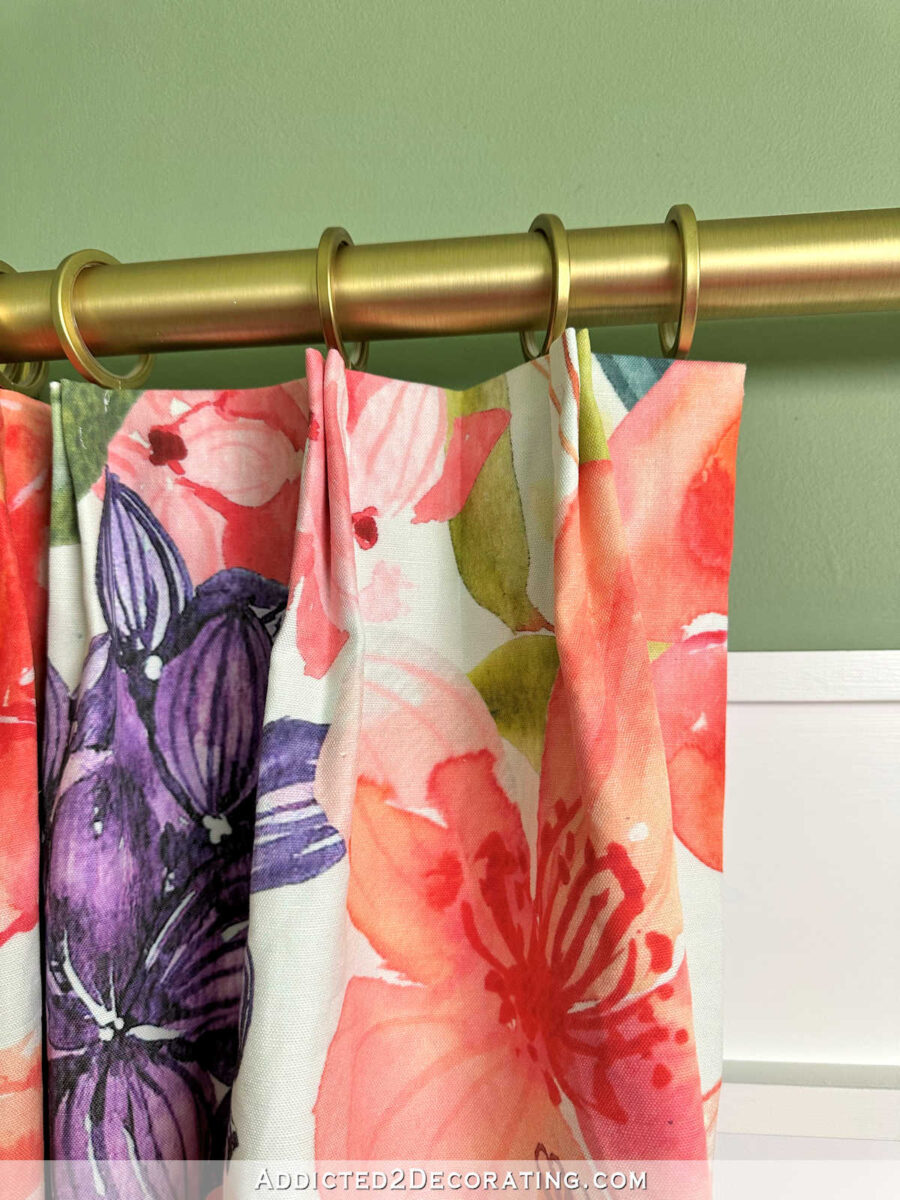
And right here’s what our double Parisian pleat appears to be like like from the entrance.
After repeating that course of on the opposite six pleats, my header regarded like this…

Solely a few ending touches remained. First, I wanted to sew the very ends of the header closed. I personally do that by hand, and never on a machine.
I’m not the easiest at hand stitching, however I nonetheless assume it appears to be like higher and cleaner than making an attempt to stitch these layers collectively as near the sting as doable utilizing a machine.

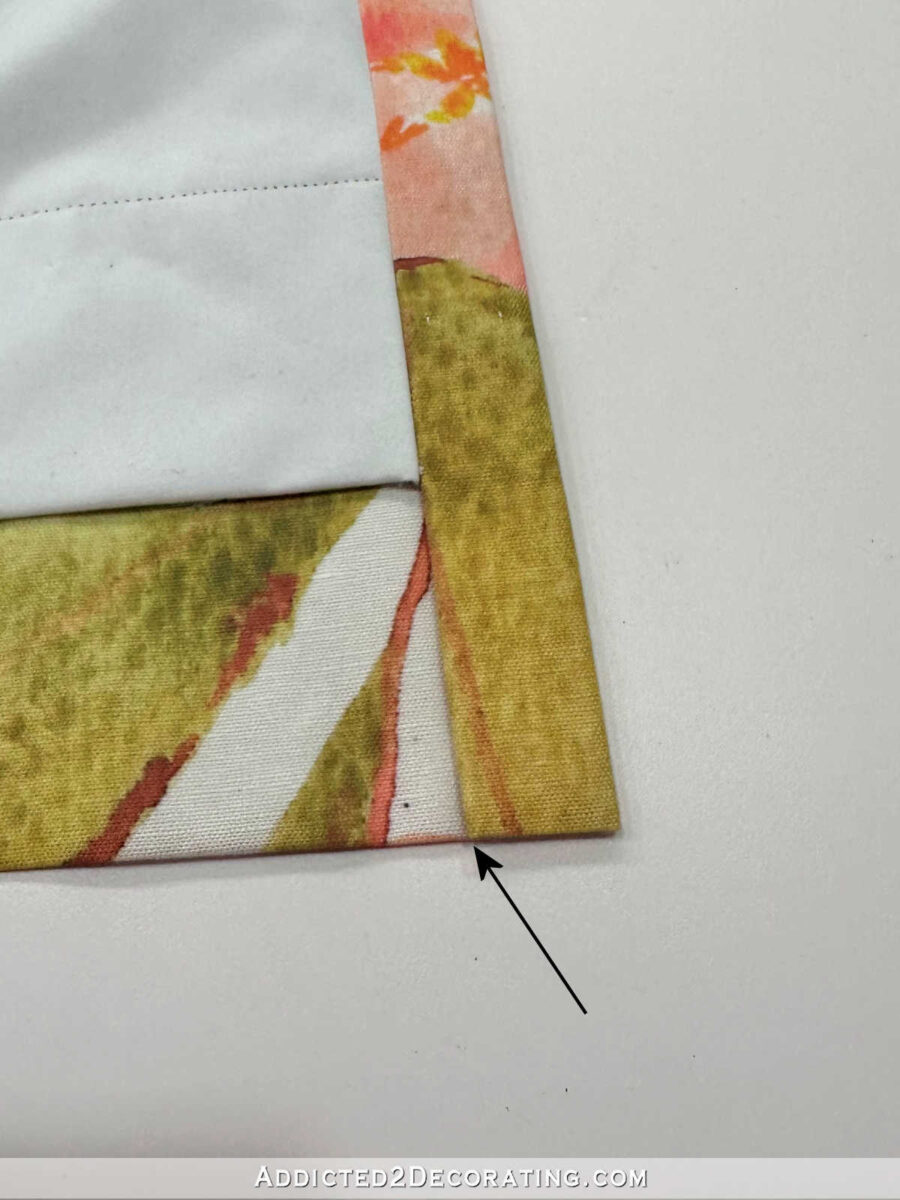
After which I hand sew the very backside corners in order that they keep put. At this level, they had been nonetheless free and never sewn collectively in any respect.
I do that through the use of the least quantity of hand stitching doable simply because I don’t need it to point out.
So since I used to be utilizing 100% cotton that stays put, I simply put a easy tack sew proper on that inside fold and thru to the entrance cloth.
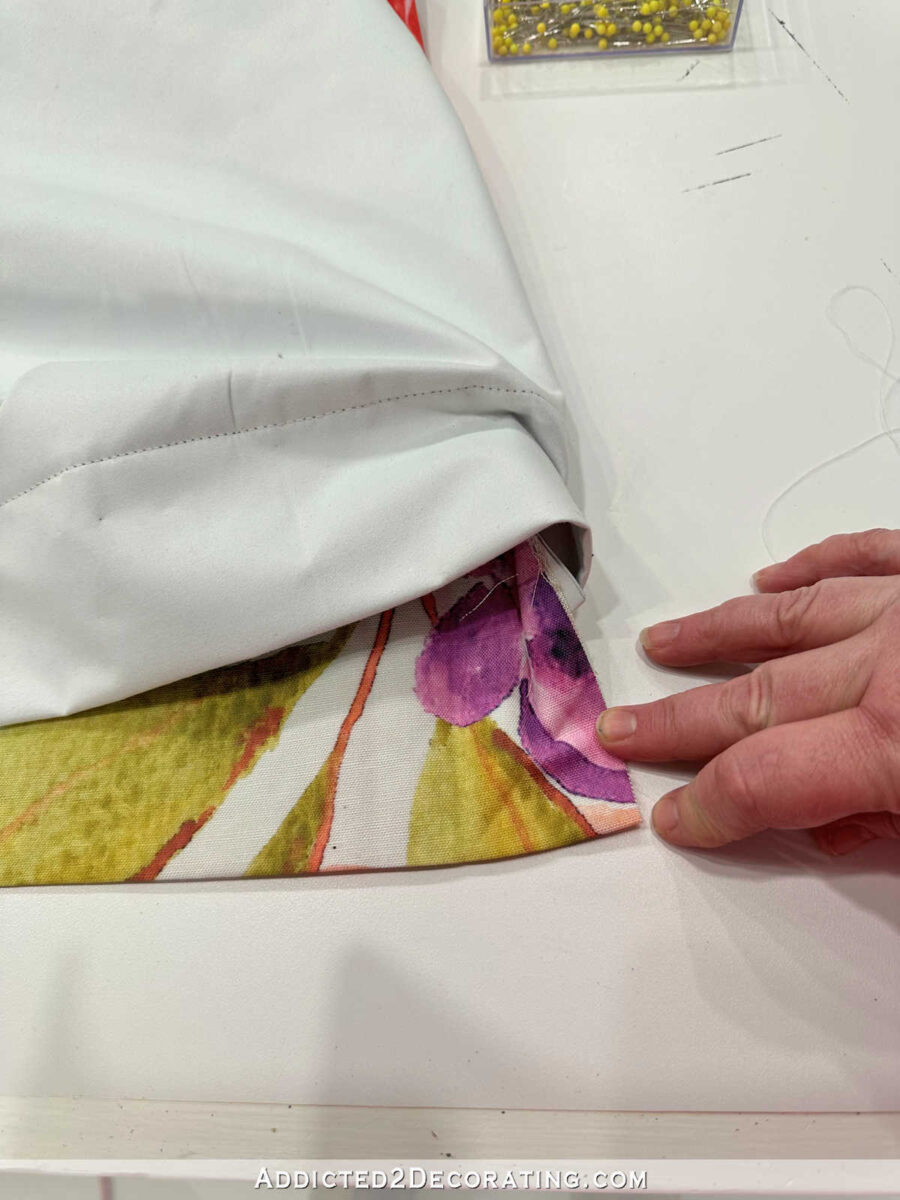
That’s not how I realized to do it in my material workroom coaching, although. So let me present you what I used to be taught is the correct method, simply in case you favor it.
First, unfold the nook of the material like this…
Fold the nook up at a 45-degree angle in order that the sting meets that inside ironed-in crease…
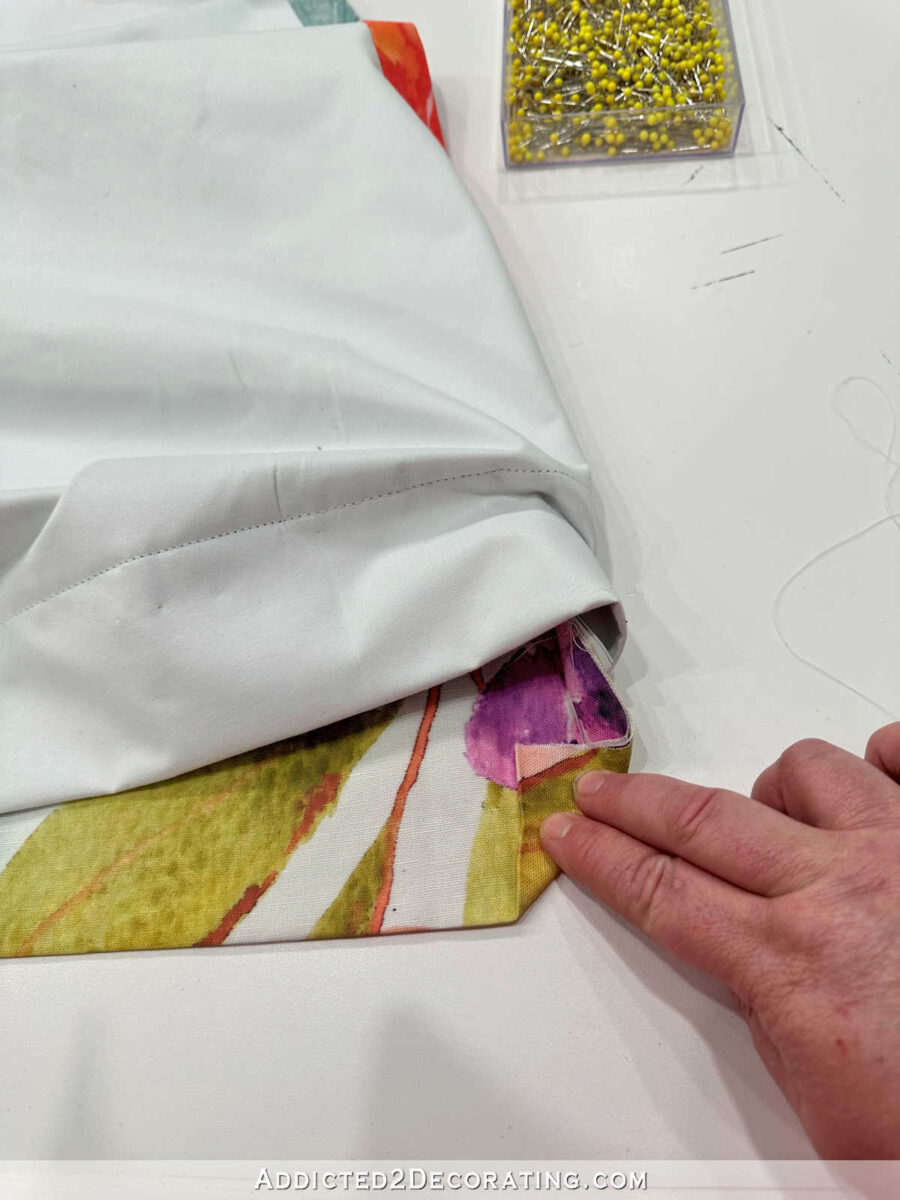
After which refold the sting. That offers you a nook that appears like this…
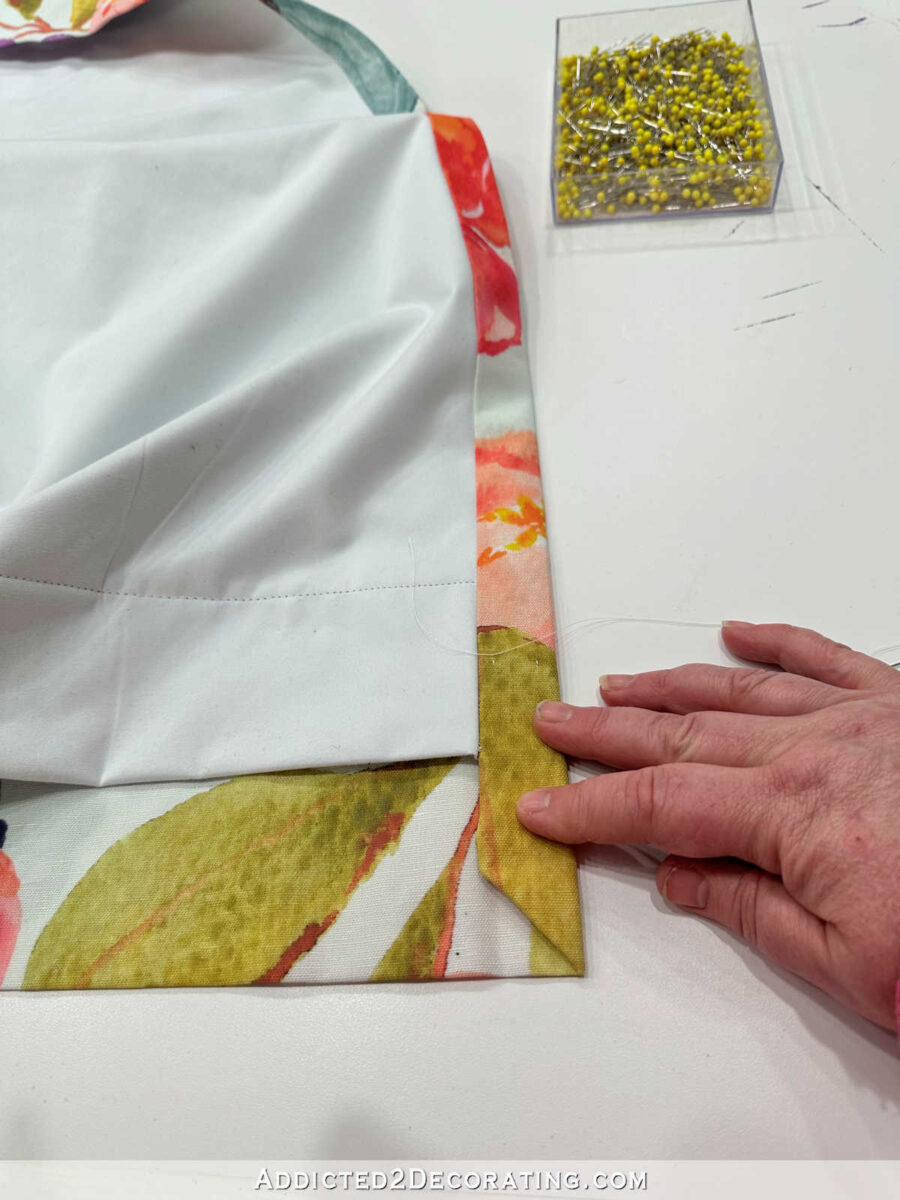
I personally don’t like that. I feel it’s pointless work, creates the necessity for extra hand stitching, creates further bulk. Plus, I simply don’t like the way in which it appears to be like. However that’s a private choice. You could choose that method, which in fact, is completely high-quality. However I personally simply preserve mine folded straight, add a tiny little tack sew to maintain the flap of cloth closed, and depart it at that.
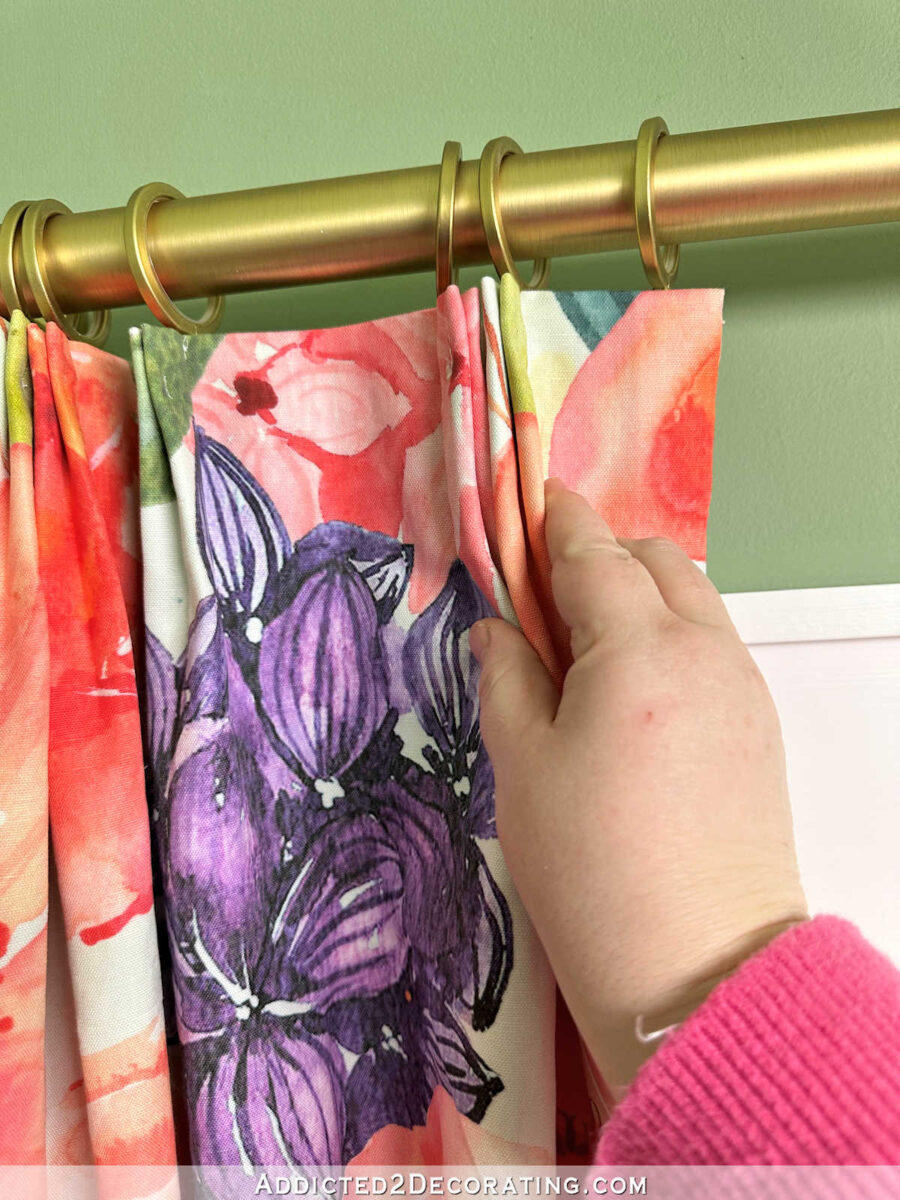
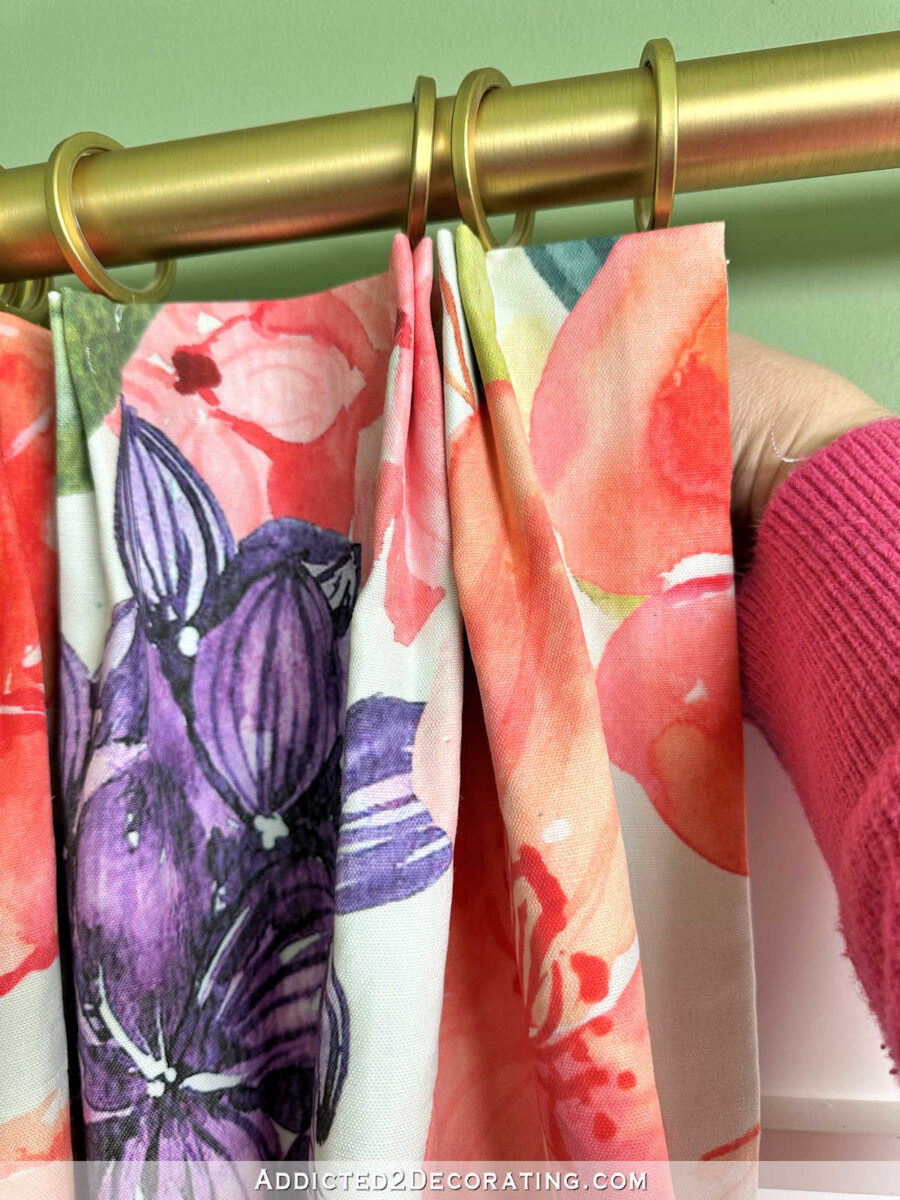
The panel is formally completed! To hold the panel, I had so as to add the material pins to the backs of the pleats. Material pins appears to be like like this…
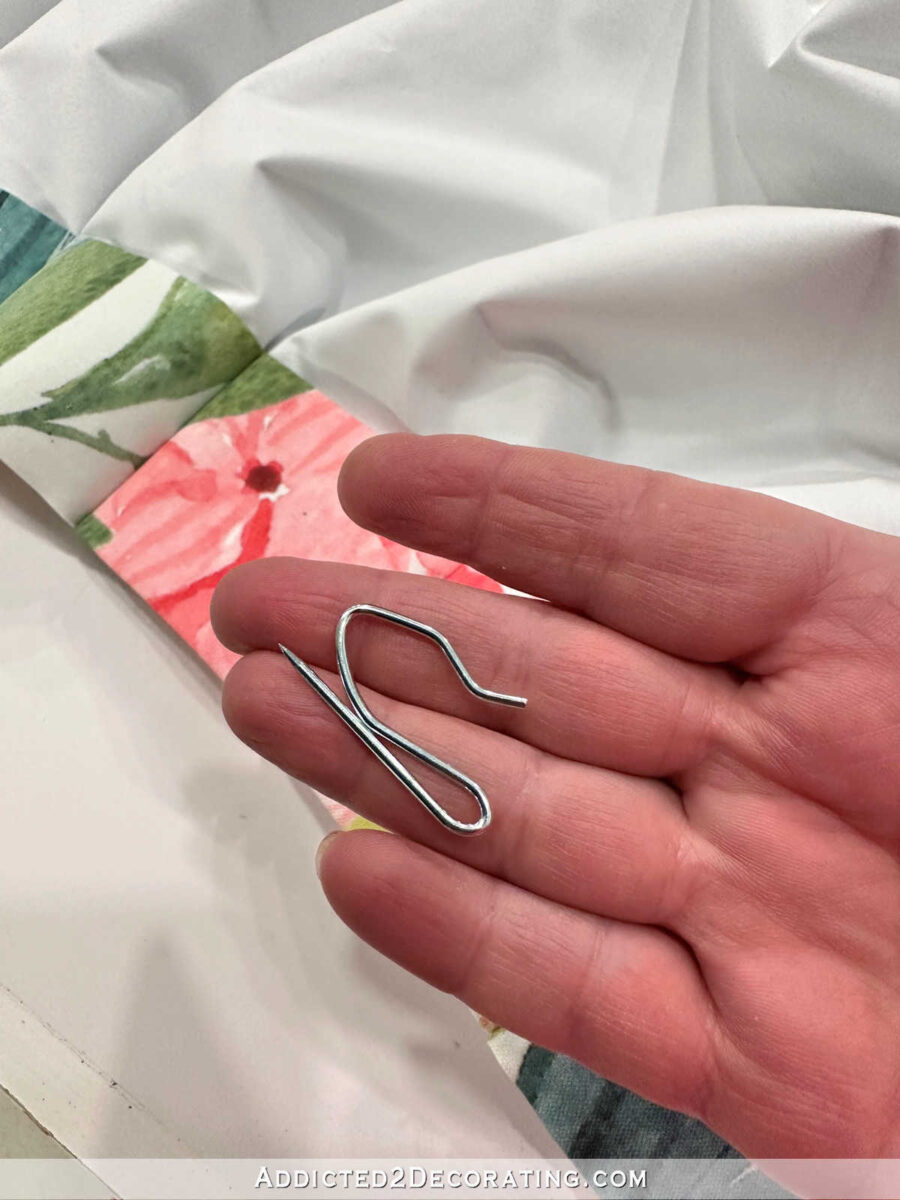
They’re inserted proper behind every pleat with the hook dealing with down and the sharp level going up. They only slide proper beneath the stitches holding these pleats collectively. You’ll get some resistance when placing them in as a result of these stitches needs to be tight. However if you happen to’re getting a number of resistance when making an attempt to place them in, you’re most likely needlessly forcing the pins into layers of cloth. Simply take away the pin and check out once more.
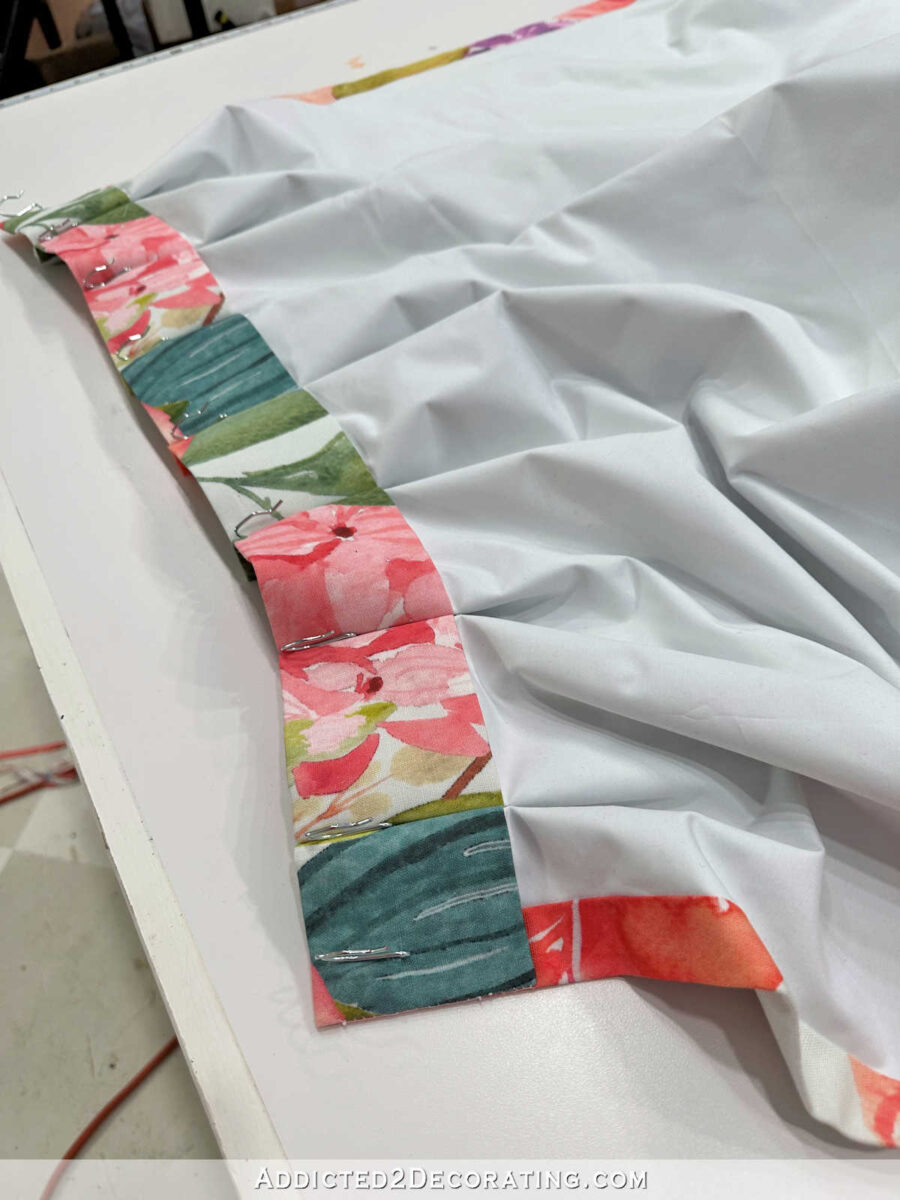
And I additionally added a pin on the sting of the skin return, and about an inch from the vanguard…
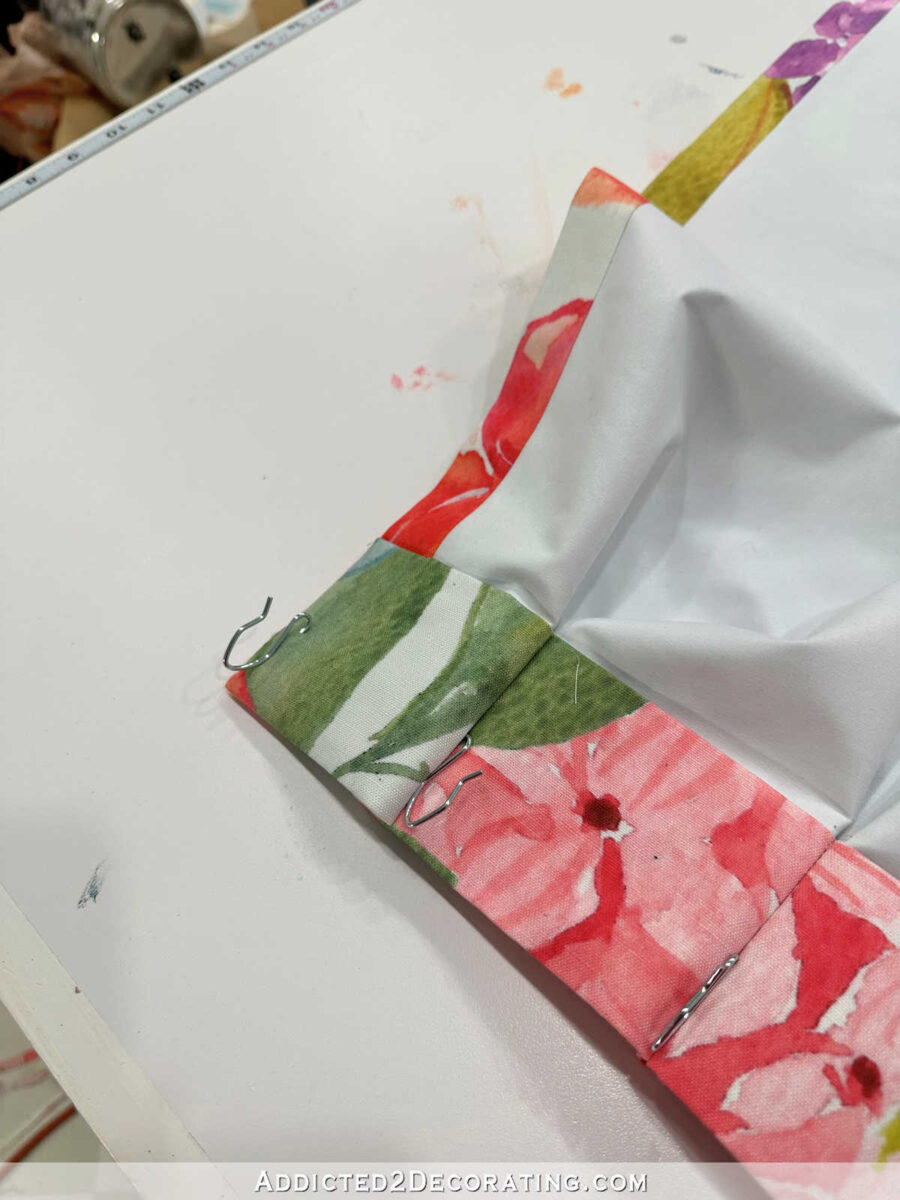
Then I used to be prepared to hold the panel!
On that return on the outer fringe of the panel, I wanted to place a small eye hook into the wall proper about the place I added the black dot under with the intention to connect that final pin to the wall, however I used to be all out of eye hooks. As soon as I get that completed, I’ll add the image right here.
Then I wanted to crease the areas between the pleats in order that they’d keep wright here I wished them. So long as there’s no crease within the areas, that header tape will battle you if you attempt to correctly house your curtain rings.
To do that, I merely introduced two pleats collectively…
After which used my fingers to press in a crease within the header tape on the again.
This may permit the rings to remain the place I need them to remain somewhat than preventing me as I’m making an attempt to make changes.
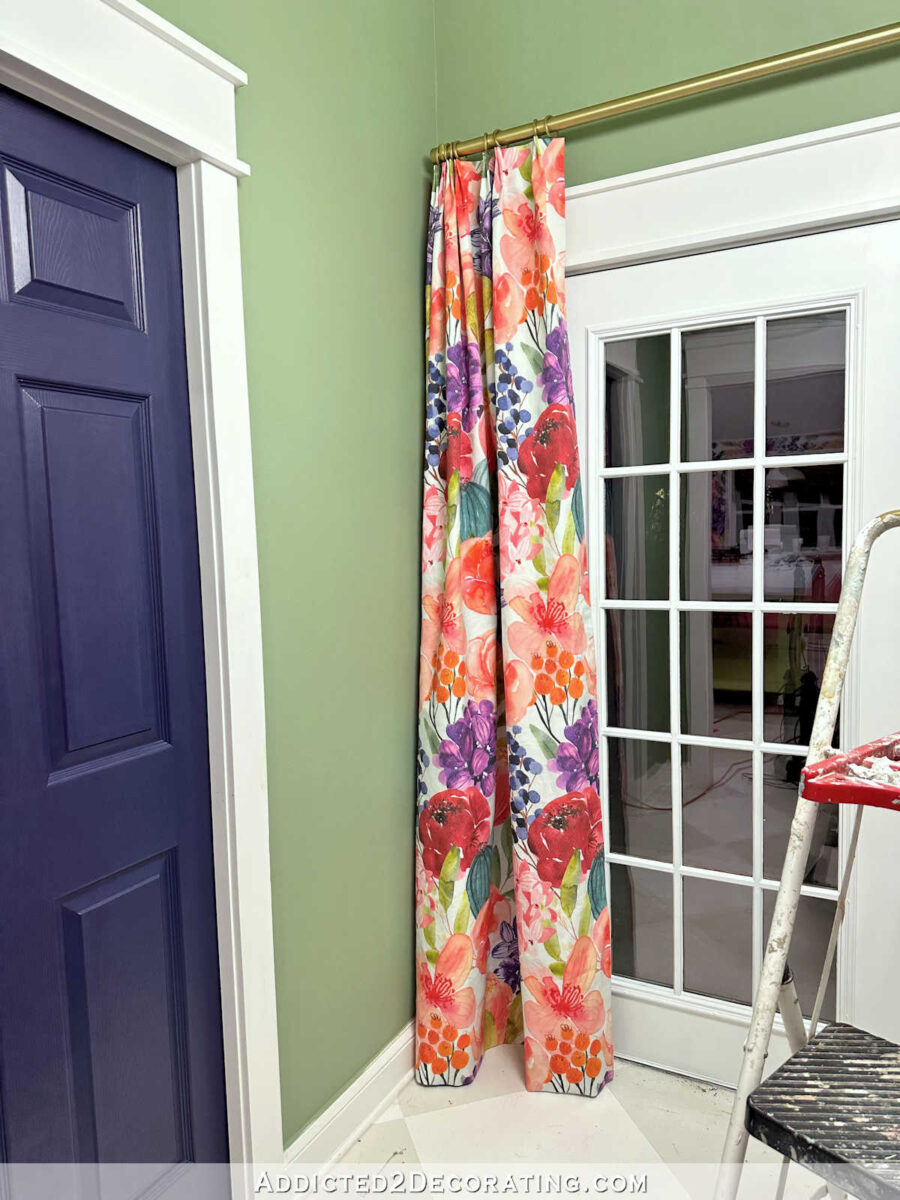
And at this level, the panel was completed and looking out lovely, if I do say so myself! 😀
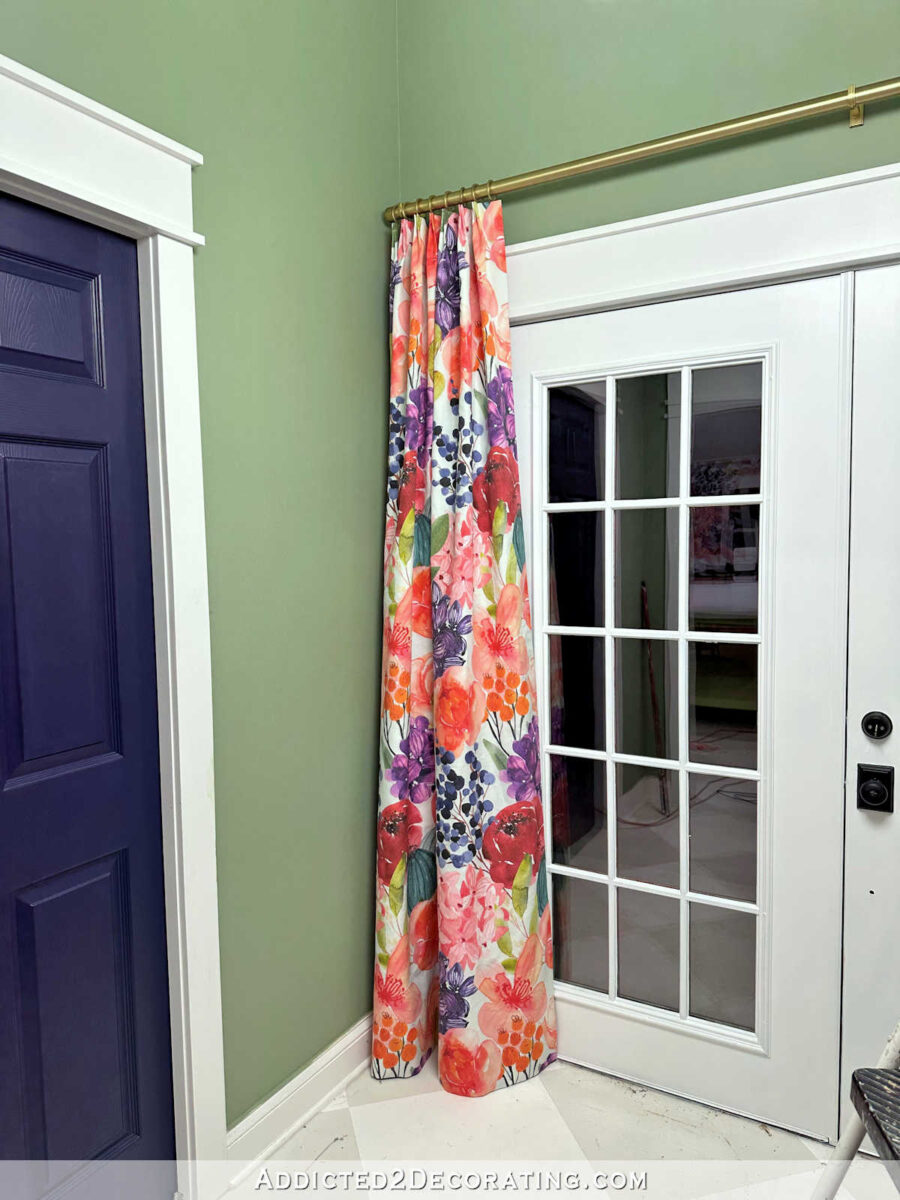
You possibly can resolve at this level whether or not you desire a extra informal look, like what’s proven within the image above, the place the folds within the cloth look type of carefree and are left to do what they naturally need to do.
Or if you’d like a extra formal, polished, tailor-made look, you’ll have to “prepare” your pleats and folds. Do that by beginning on the prime and patiently folding the material in step with the pleats. When you get a couple of foot or two down the panel, use some scrap cloth to tie the folds into place.

Proceed working your method down till it’s tied in about three or 4 locations and appears like this…

You possibly can depart it like that for a day or two, or you may velocity up the method through the use of a garments steamer or steam iron to steam in these folds.

And as soon as these folds are educated, it’ll look extra like this…

I usually don’t like my creases too creased (as they appear above), so as soon as they’ve had a number of days like that, I’ll usually get my steam iron and hit them with some steam whereas smoothing them out a bit in order that they appear extra like light waves within the cloth as an alternative of harsher folds bordering on creases. However you’ll have to find out what your panel wants based mostly in your private style in addition to the material that you just used.
I’m unsure which look I choose but, however I’m leaning in direction of the primary one for my studio. If I resolve to go that path, I can simply use my steamer to get these folds out, after which floof the panel like a bridesmaid floofing a bride’s wedding ceremony gown and prepare, and that’ll return it again to that extra pure, carefree look.
I hope this tutorial was useful! In case you have ANY questions concerning the course of, please let me know and I’ll do my perfect to reply.

Addicted 2 Adorning is the place I share my DIY and adorning journey as I rework and adorn the 1948 fixer higher that my husband, Matt, and I purchased in 2013. Matt has M.S. and is unable to do bodily work, so I do nearly all of the work on the home on my own. You can learn more about me here.
Trending Merchandise


