

I’ve already shared about how I carpeted the primary ground of the house health club utilizing FLOR carpet tiles (you can see that here), so I hadn’t really deliberate on sharing the method of ending the ground within the closet space of this room. However as soon as I obtained began on the precise challenge yesterday, I made a decision that I wanted to share it.
I needed to share this course of for one purpose — to point out that even perfectionists like myself generally must undertake a “simply get it achieved” angle.
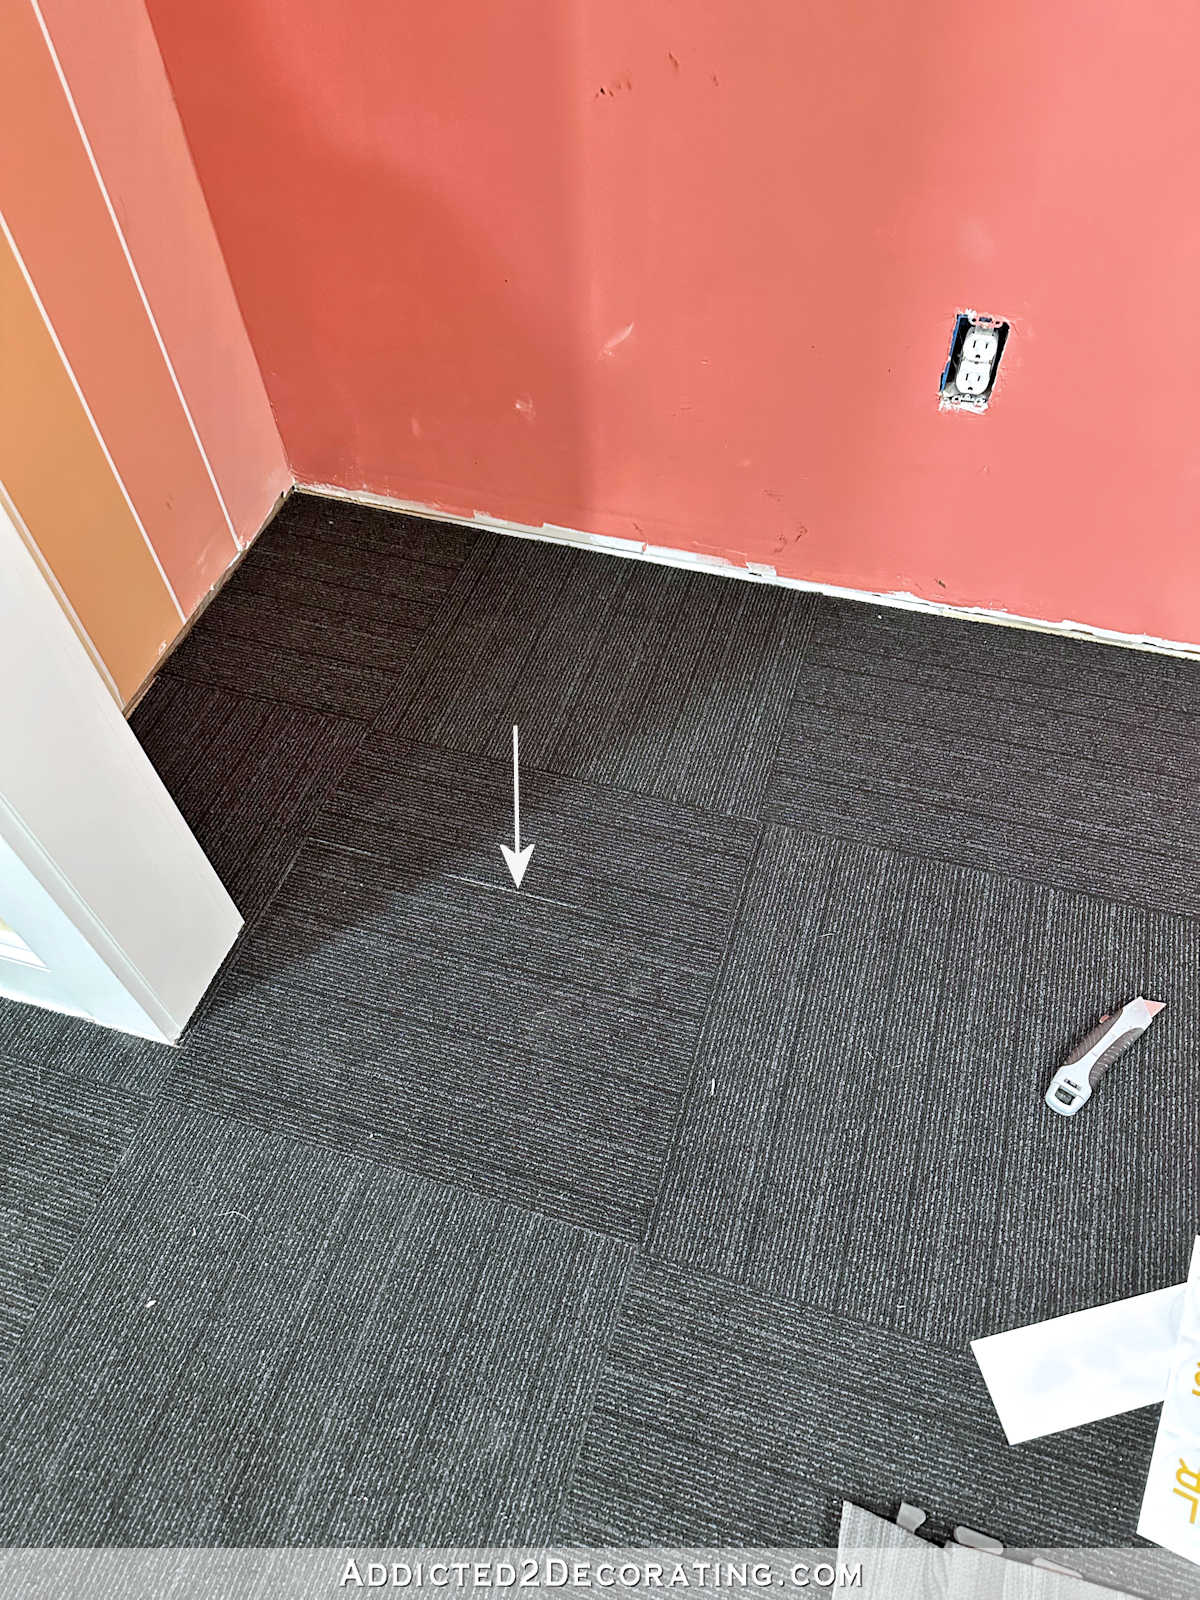
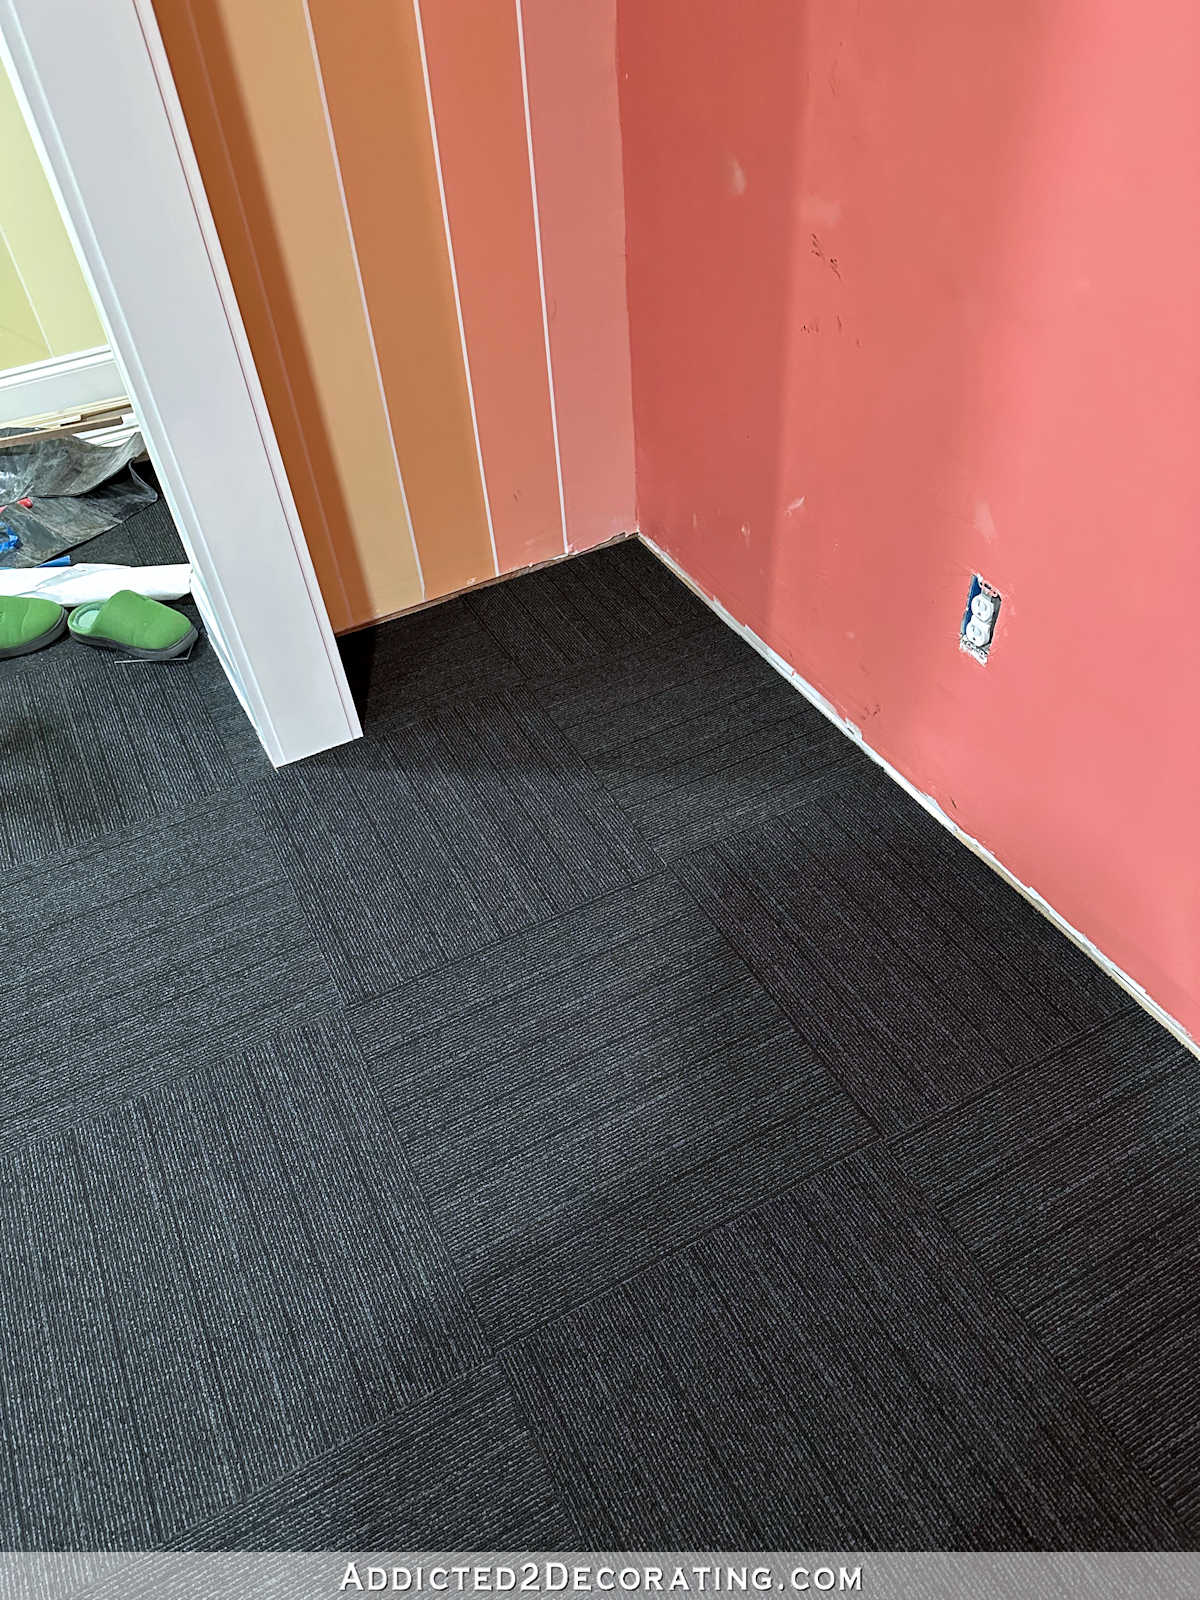
Right here’s what the closet space seemed like earlier than I completed it yesterday (besides that the primary a part of the room had the brand new carpet squares, not the outdated foam tiles)…
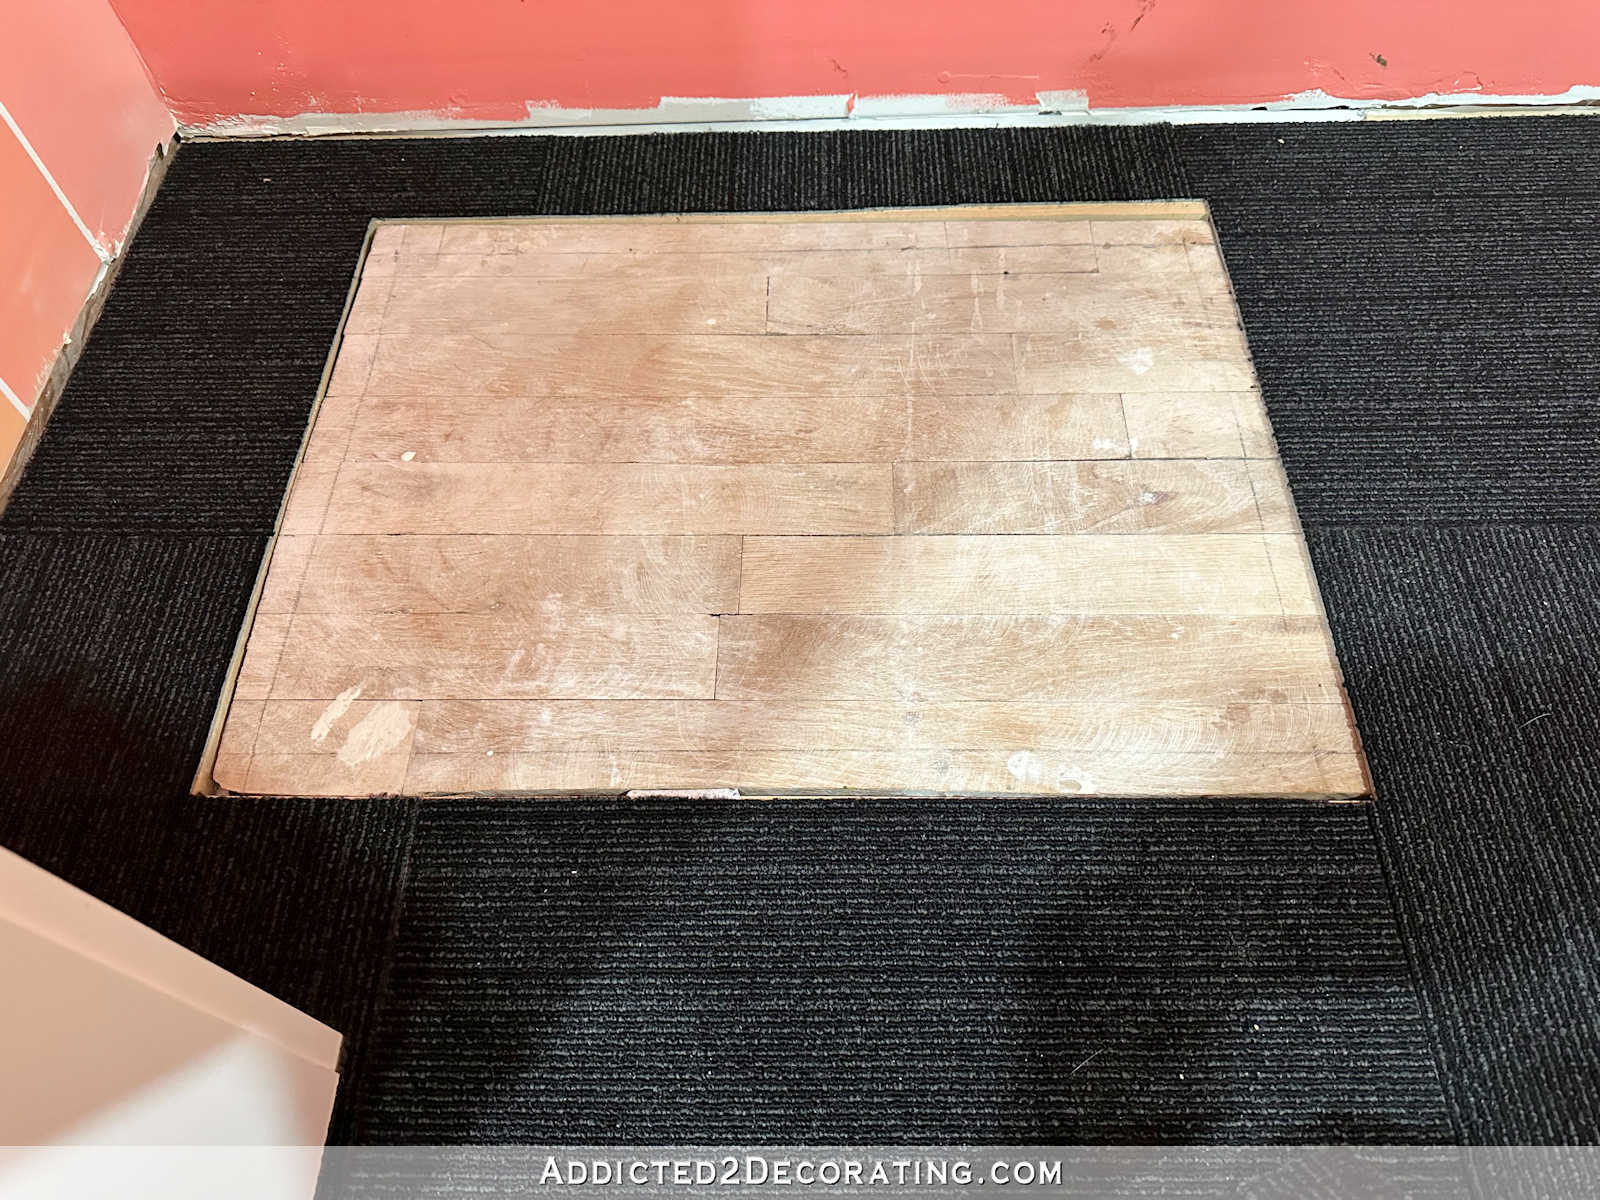
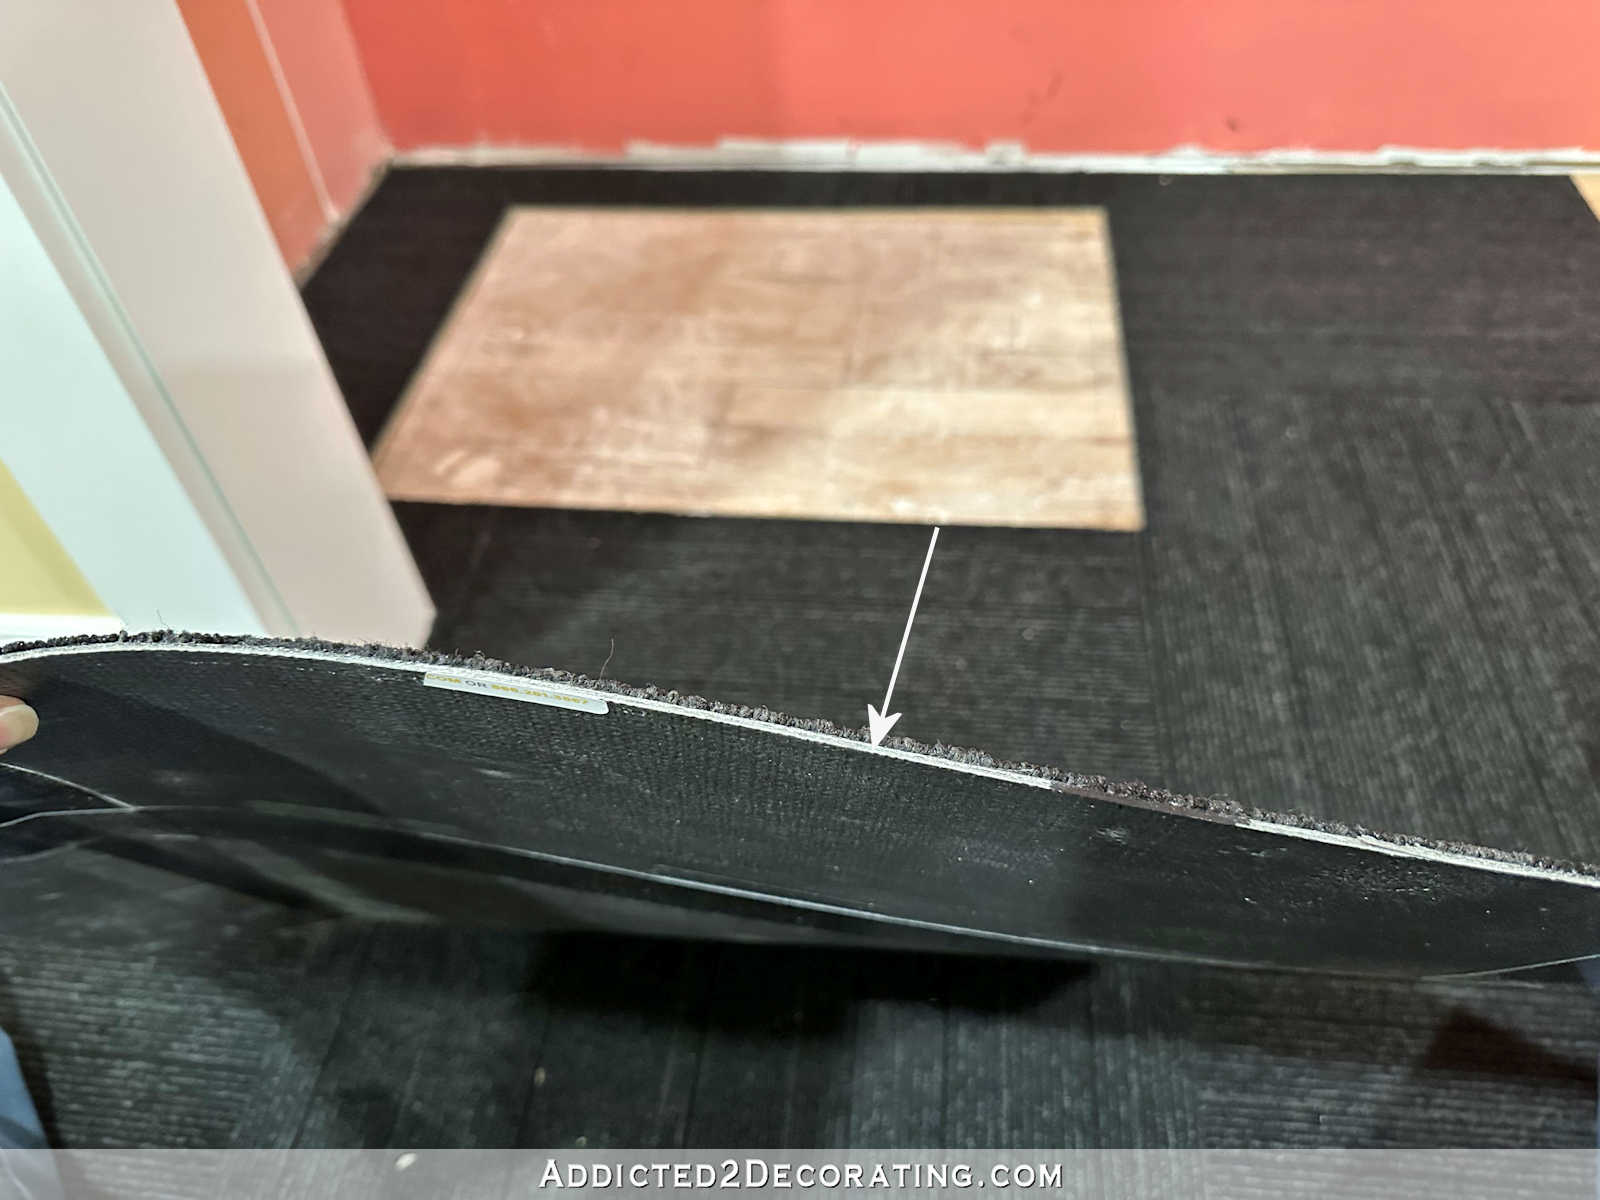
So I needed to transfer every little thing out earlier than I might even get began. And as soon as every little thing was out, right here’s what the precise ground in there seemed like…
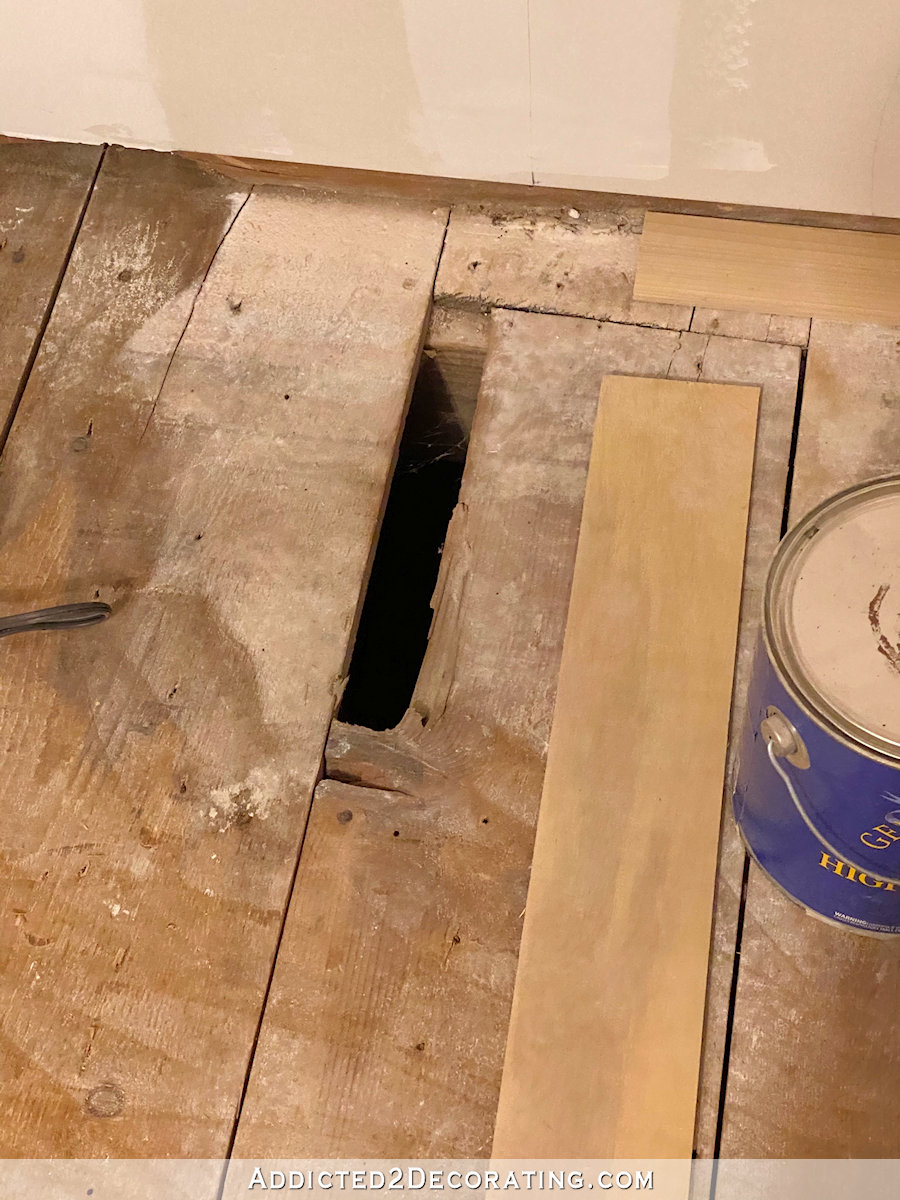
That’s subfloor. This home is over 70 years outdated, and the unique subfloor is 1″ x 8″ and 1″ x 10″ boards, and as you’ll be able to see it had some points.
The entire ground on this whole room has points, and that’s why I didn’t choose to sand and refinish the hardwood flooring. Sooner or later within the very distant future, I’d prefer to have all the flooring and subfloor on this room eliminated and changed. However for now, I simply wanted a strong base on which to place the carpet squares.
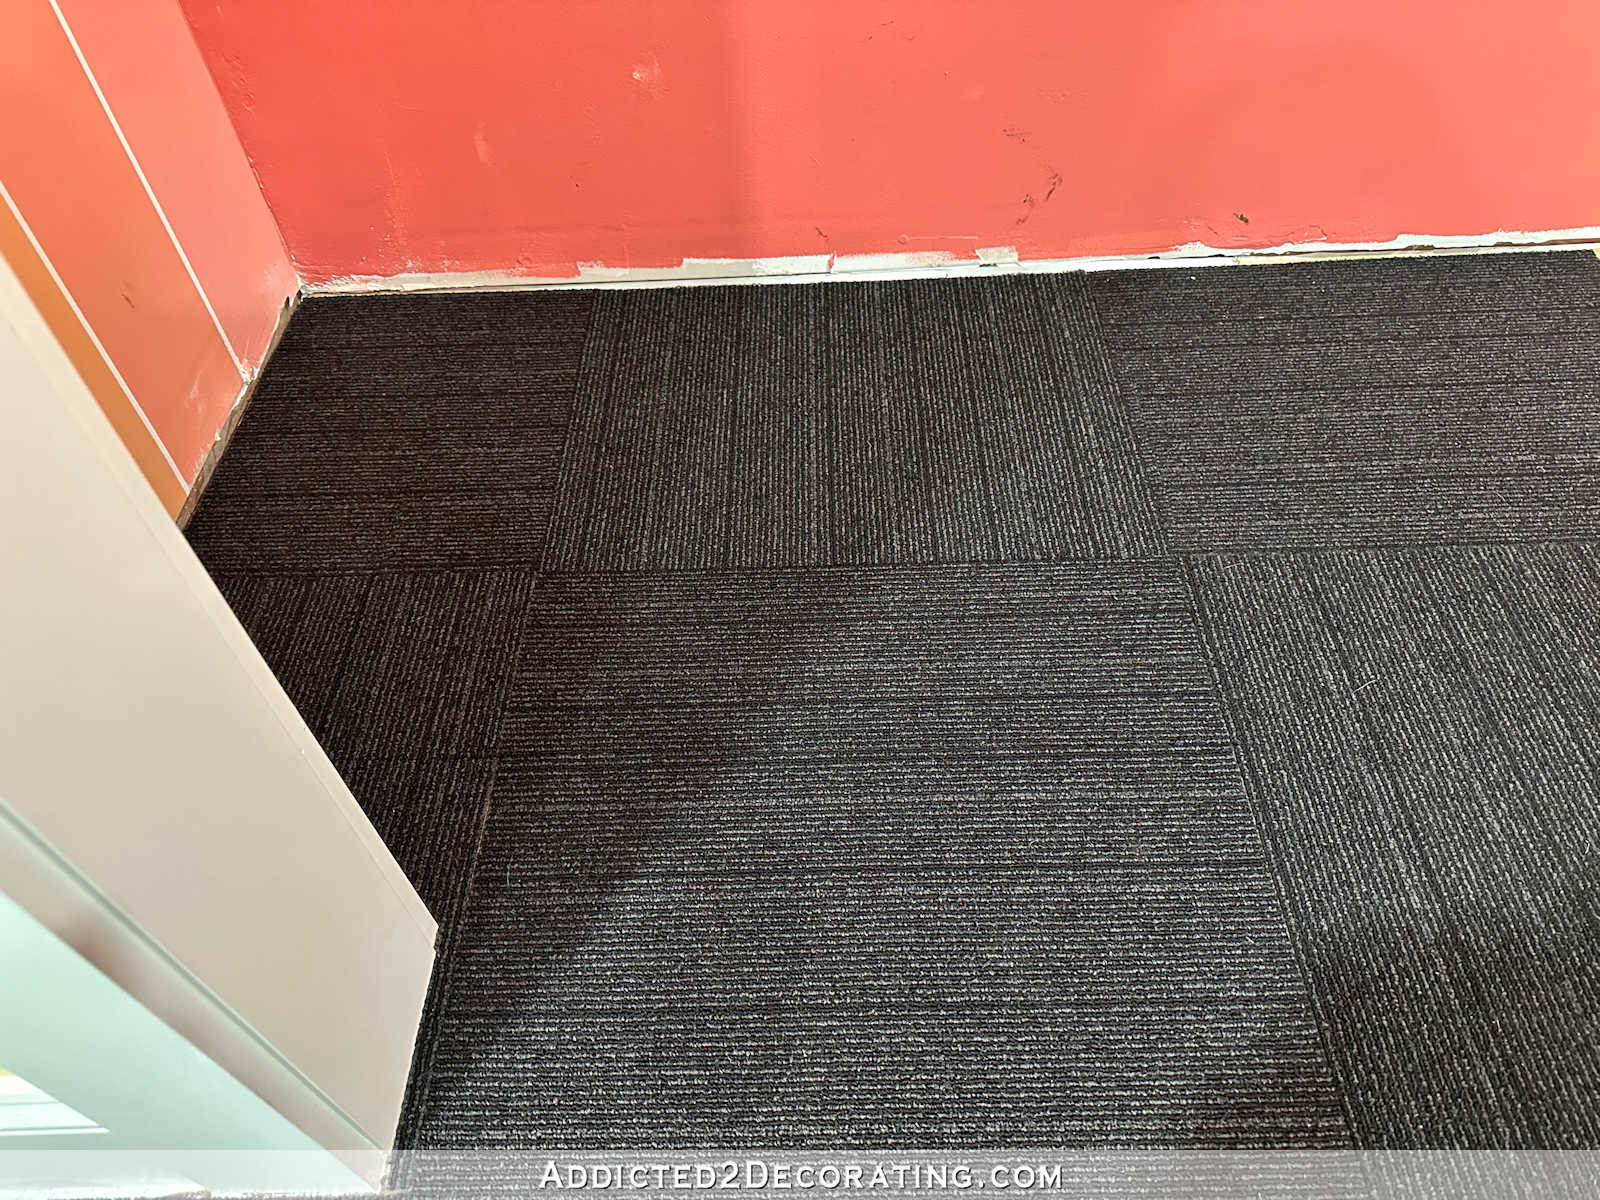
So after working all afternoon and night, that is what the ground within the closet seemed like after I was completed…
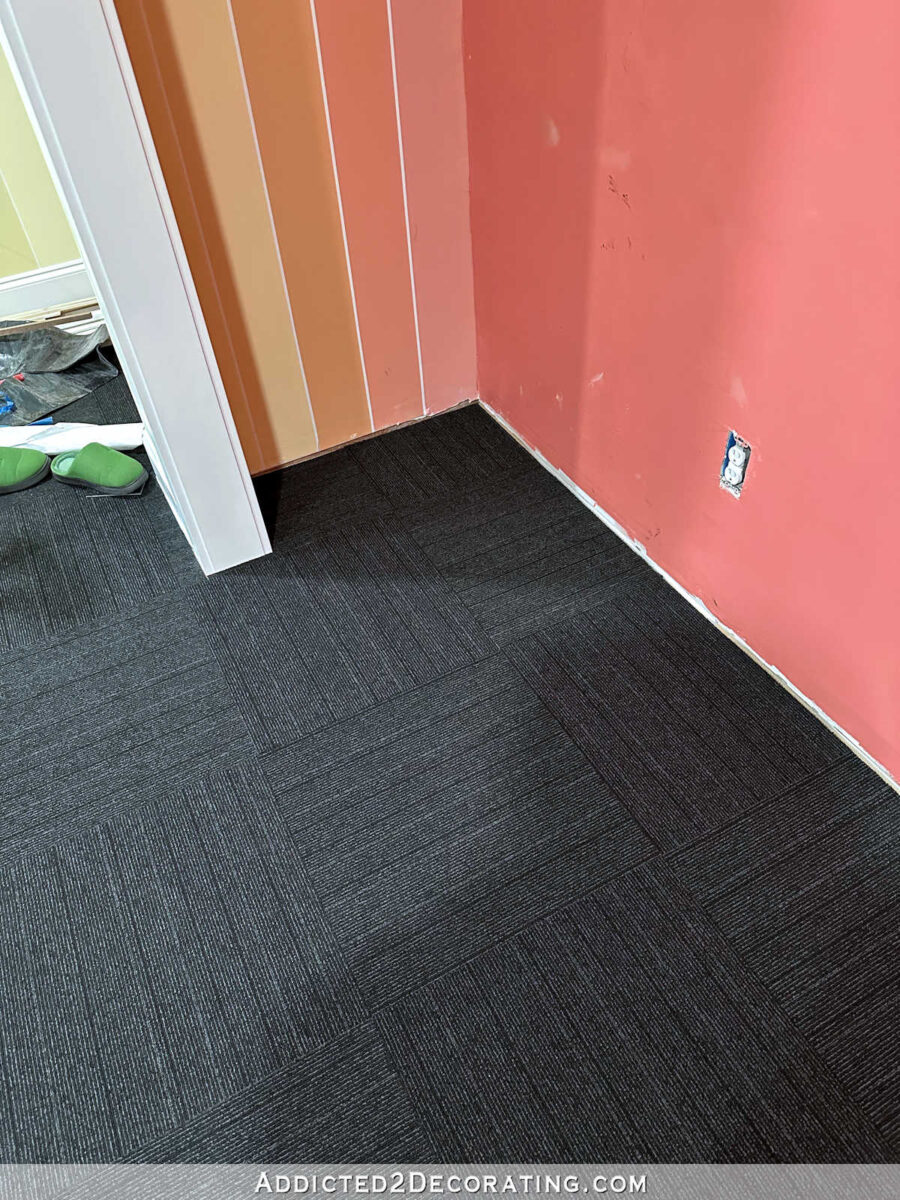
It nonetheless wants baseboards and quarter spherical, however doesn’t that look so good!! I used to be so excited to lastly have this achieved. I’ve been taking a look at that subfloor since 2019, so I’m thrilled to lastly have this completed.
However once more, the purpose of this publish is to point out you that generally, even I, a perfectionist, must undertake a “simply get the factor achieved” angle, and though the method might look horrible, I arrive at an finish outcome that I can reside with.
My important aim was to get this achieved with out spending any more cash. That meant that I wanted to make use of solely what I had available. First, I wanted some type of vapor barrier, so I had some Tyvek home wrap available. I stapled that into place immediately onto the subfloor.
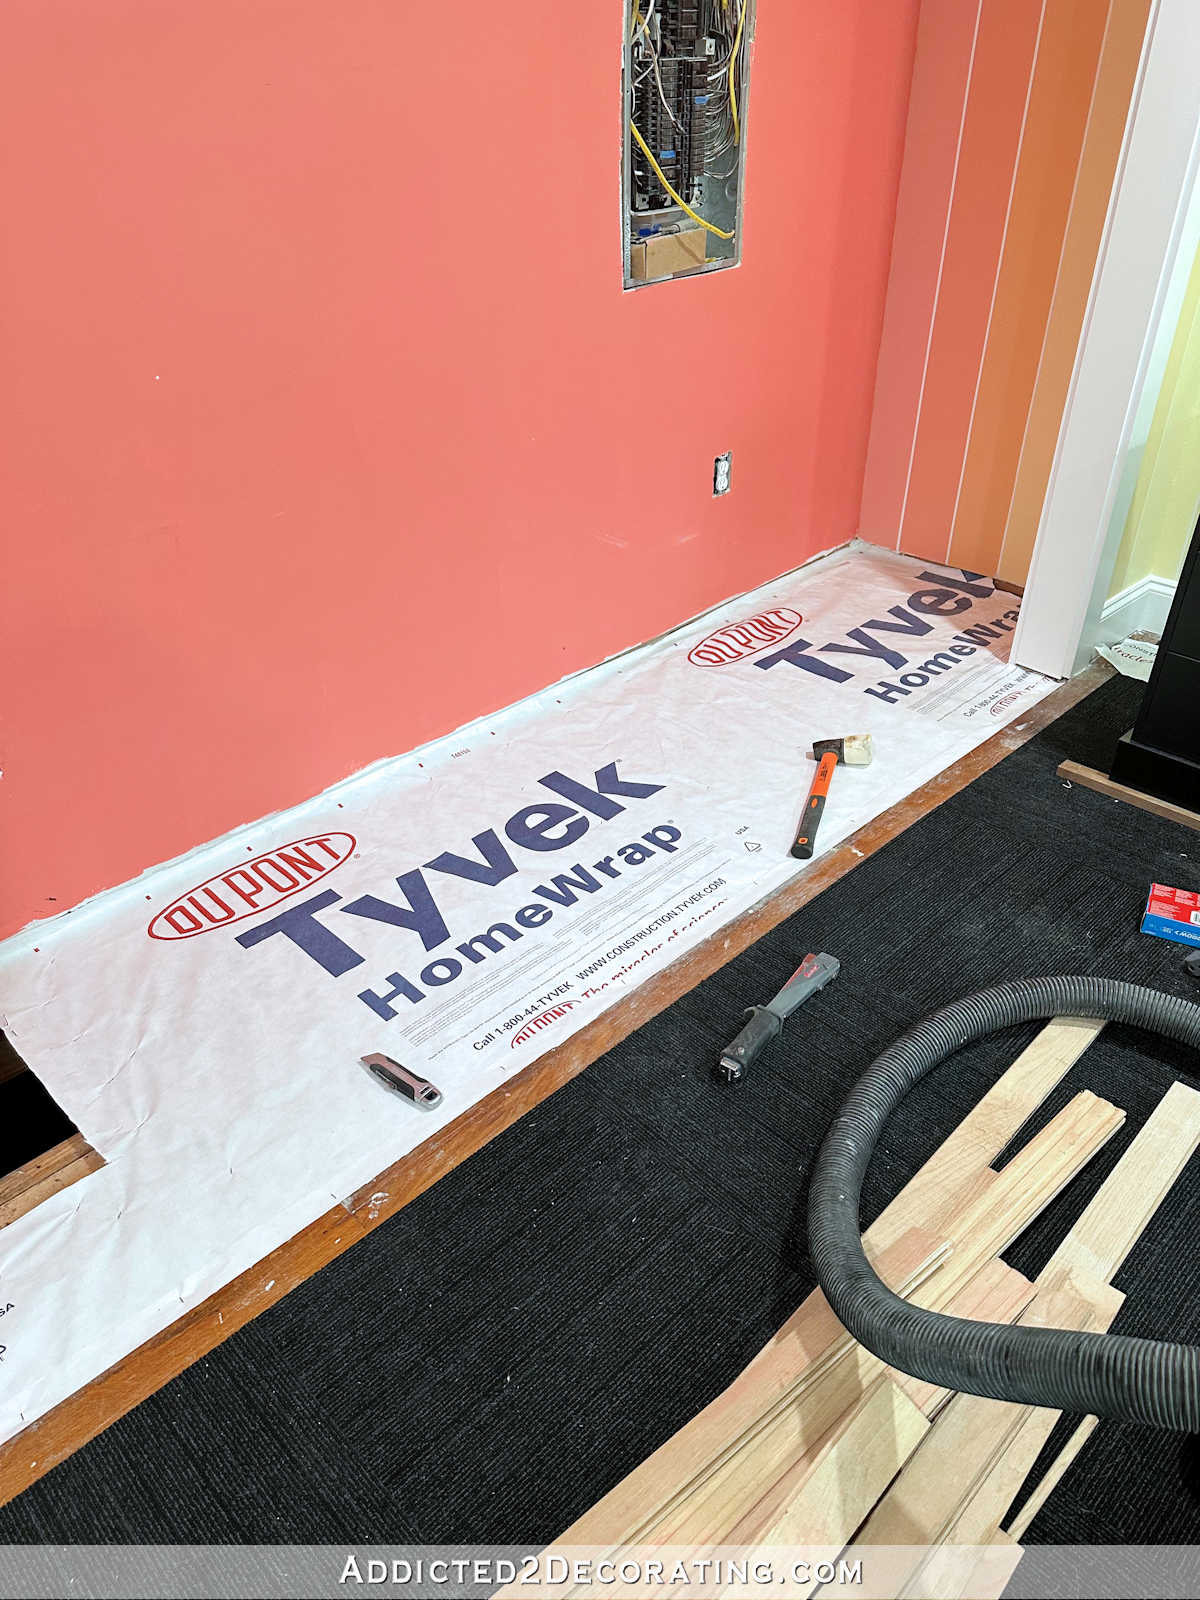
I needed to lower a gap for the scuttle gap entry into the crawl area on the left facet of the closet.
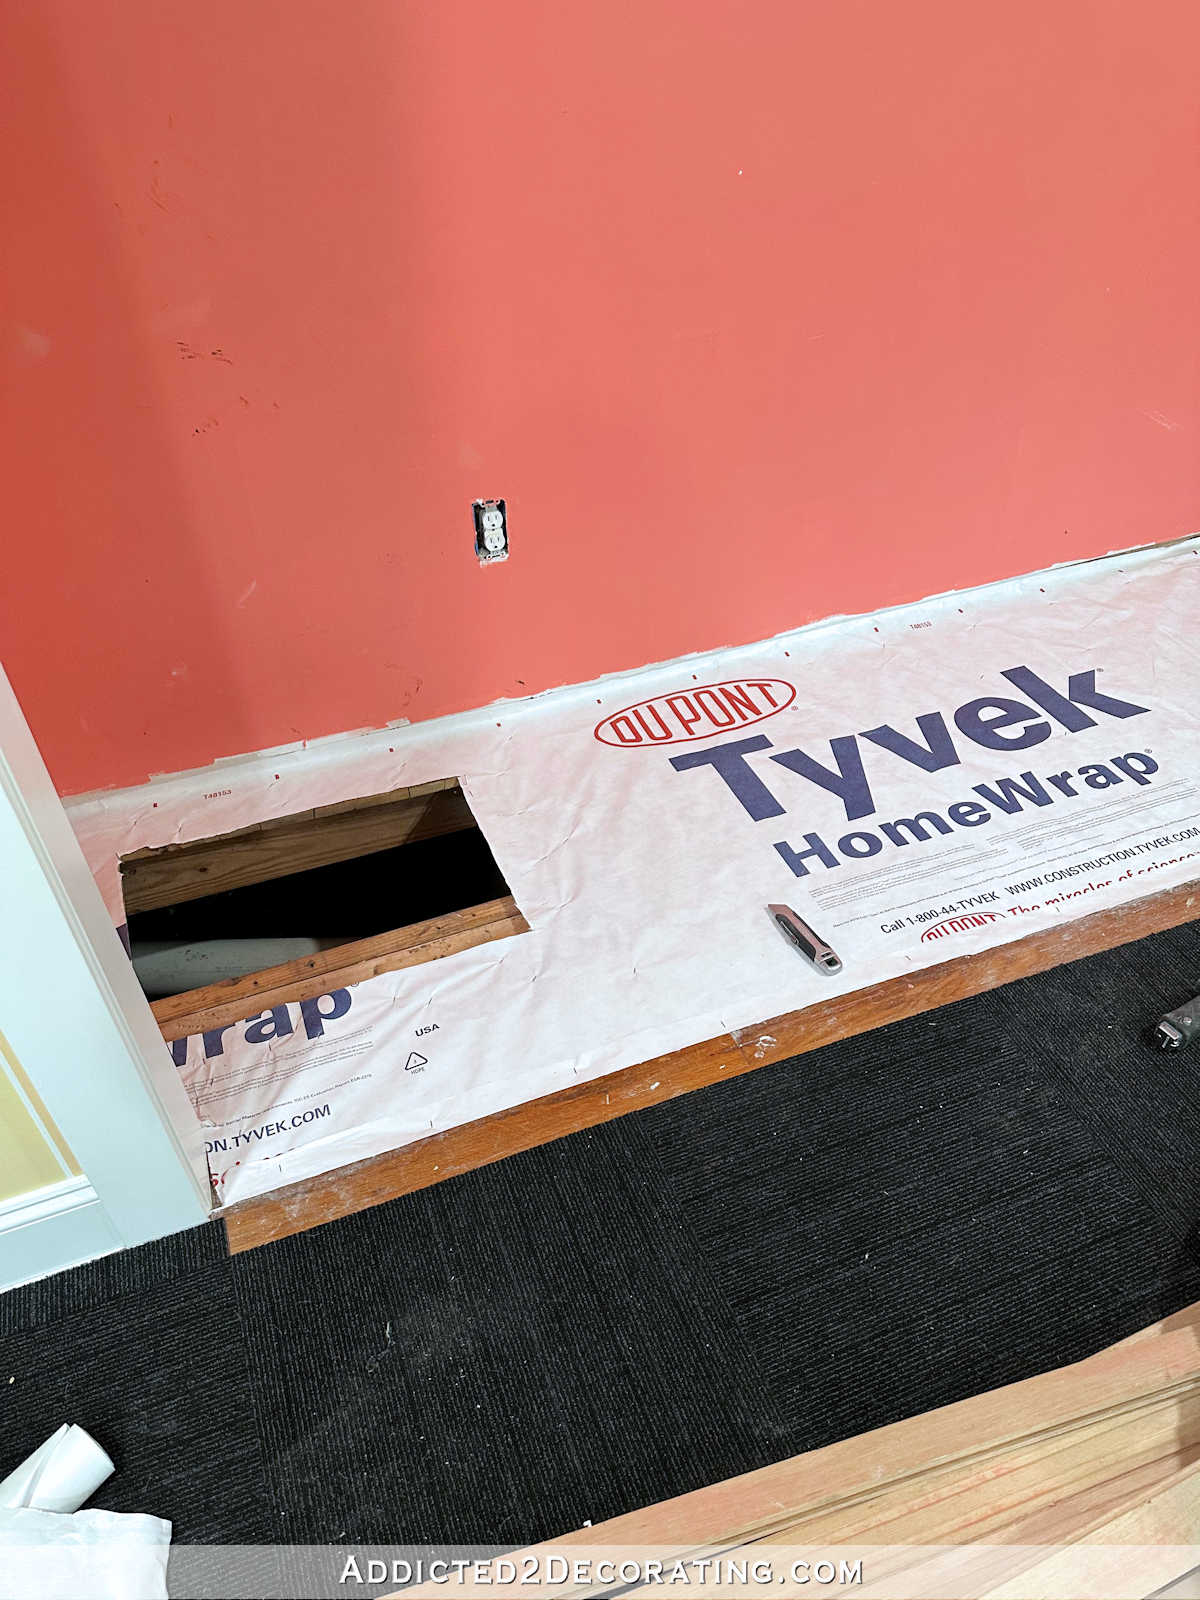

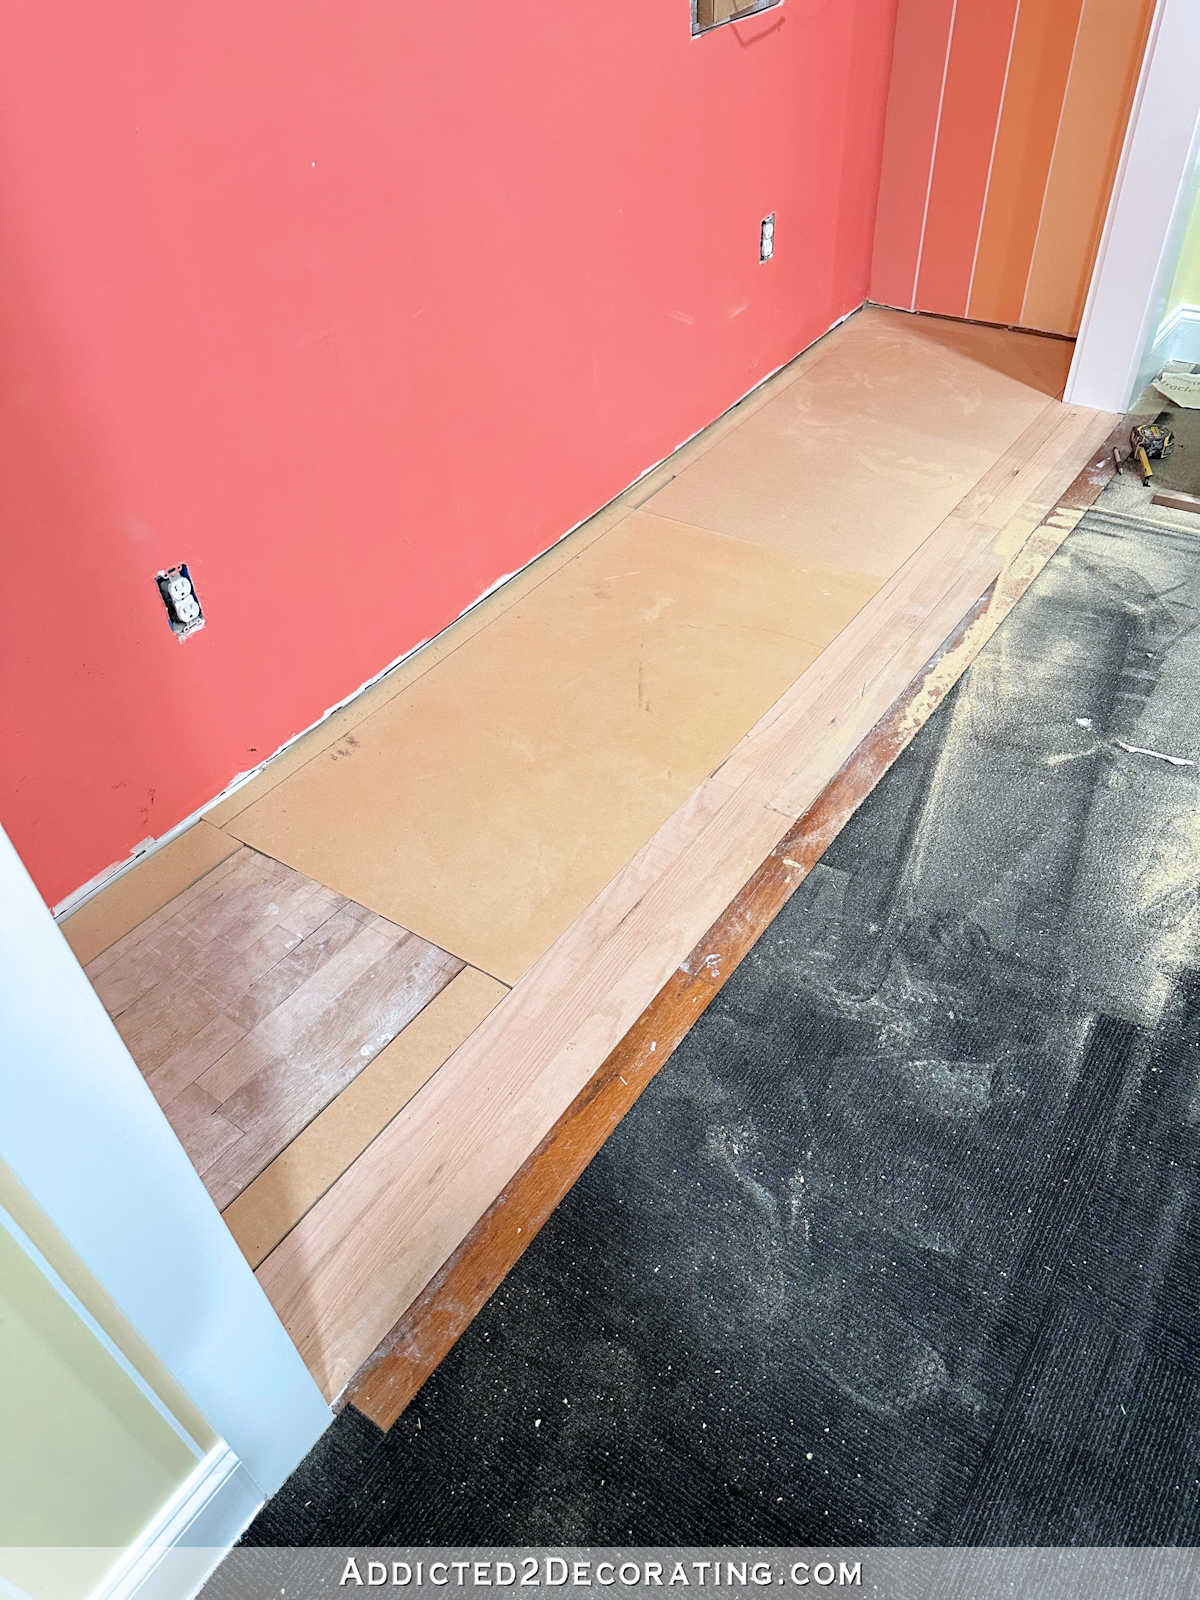
After which I used what I had available to construct that ground up 3/4 inch in order that it was stage with the hardwood flooring in the remainder of the room. I began with the few leftover items of hardwood flooring, and put in these till they had been even with the closet facet of the jambs on the cased opening.

After which I used items of three/4-inch MDF that I had available. Yep…MDF. 🙂 Once more, it’s what I had available, and I didn’t need to spend any cash on “flooring” that was simply going to be lined up.
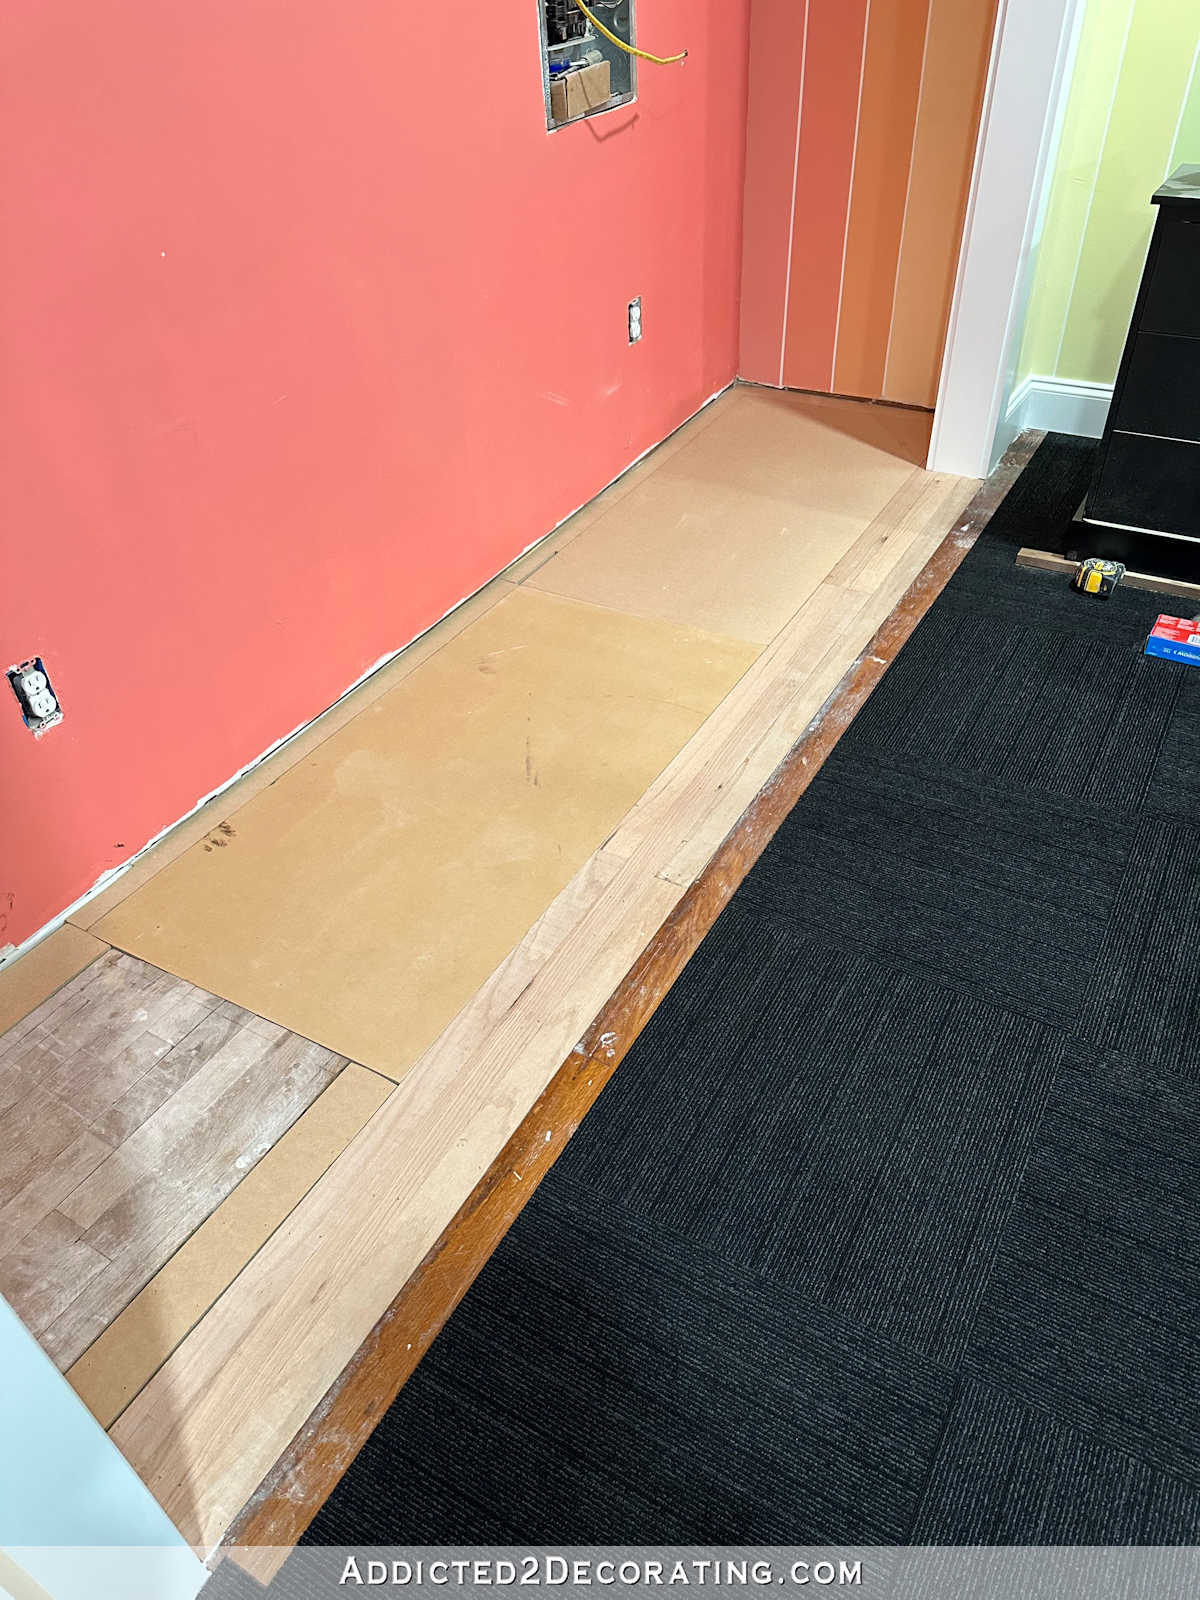
It required loads of reducing, and piecing collectively, and filling in edge gaps, however I lastly obtained the entire thing lined. I didn’t really feel the necessity to lower a brand new scuttle gap cowl, so I stored the unique one with the unique ground boards connected to it, and simply crammed within the areas round it.
And sure, I used my jigsaw proper there within the room, proper on my new carpet. 🙂 After residing with these FLOR tiles for a couple of days, and seeing how sturdy they’re, and the way straightforward they’re to hoover, I felt fairly assured that they’d be simply superb.
Right here’s a better take a look at the scuttle gap cowl with the unique ground boards, and the MDF round it. All the leftover ground boards and the MDF are nailed all the way down to the subfloor, so there’s no means they’ll shift round.

And simply to place your thoughts comfy, right here’s what every little thing seemed like after I vacuumed up the mud, and simply earlier than I began placing the carpet tiles down.
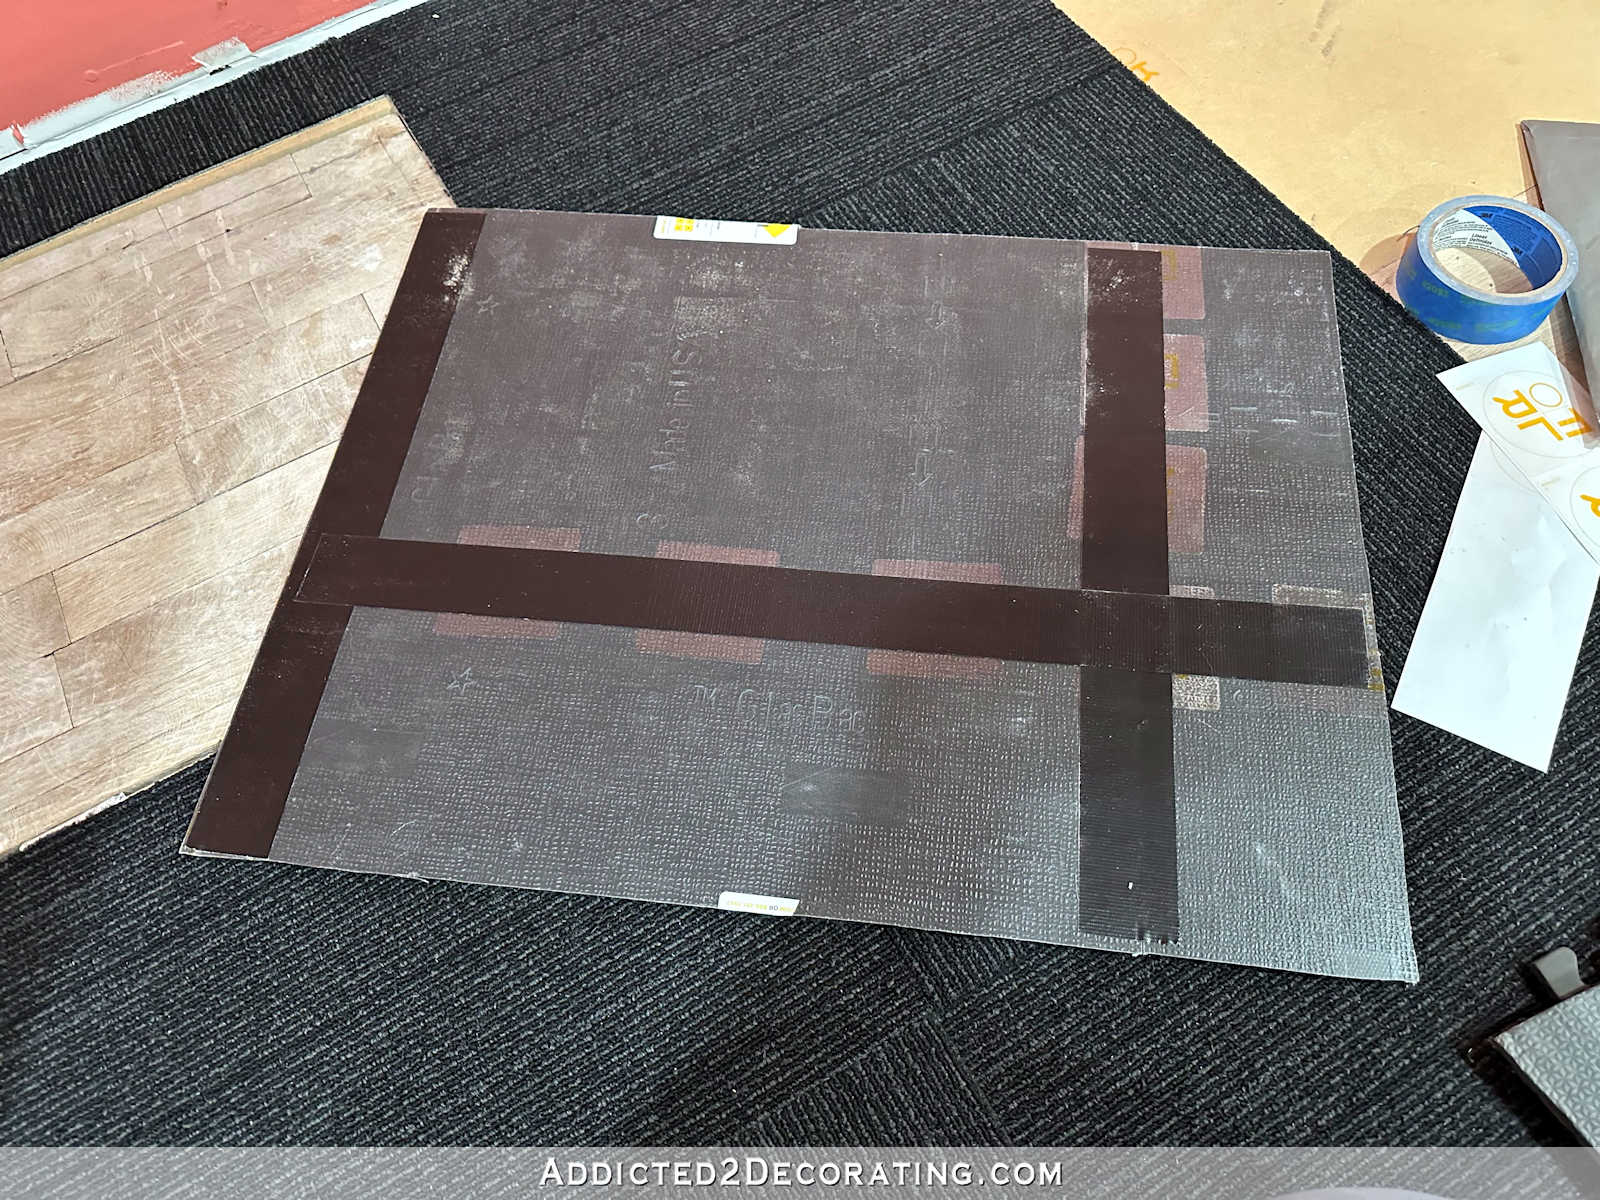
The toughest a part of placing the carpet tiles within the closet was reducing the piece out for the scuttle gap. By this time, I had had loads of expertise reducing the carpet tiles to go across the perimeter of the partitions, however this piece wanted to be lower completely as a result of it was going for use. I couldn’t have any snags on the perimeters, or jagged cuts.
I did handle to get it lower out with pretty clear edges, and naturally, the half that lined the scuttle gap was six separate items. So I used duct tape to tape these collectively securely on the again.
I’ll finally glue this carpet piece onto the wooden, however that may really require a purchase order of contact cement or one thing related, in order that didn’t get achieved yesterday.
However for now, the carpet piece lies nearly completely in place. Initially, I might see the lower fringe of the carpet sticking up simply barely. That’s the form of factor that this perfectionist finds unacceptable.
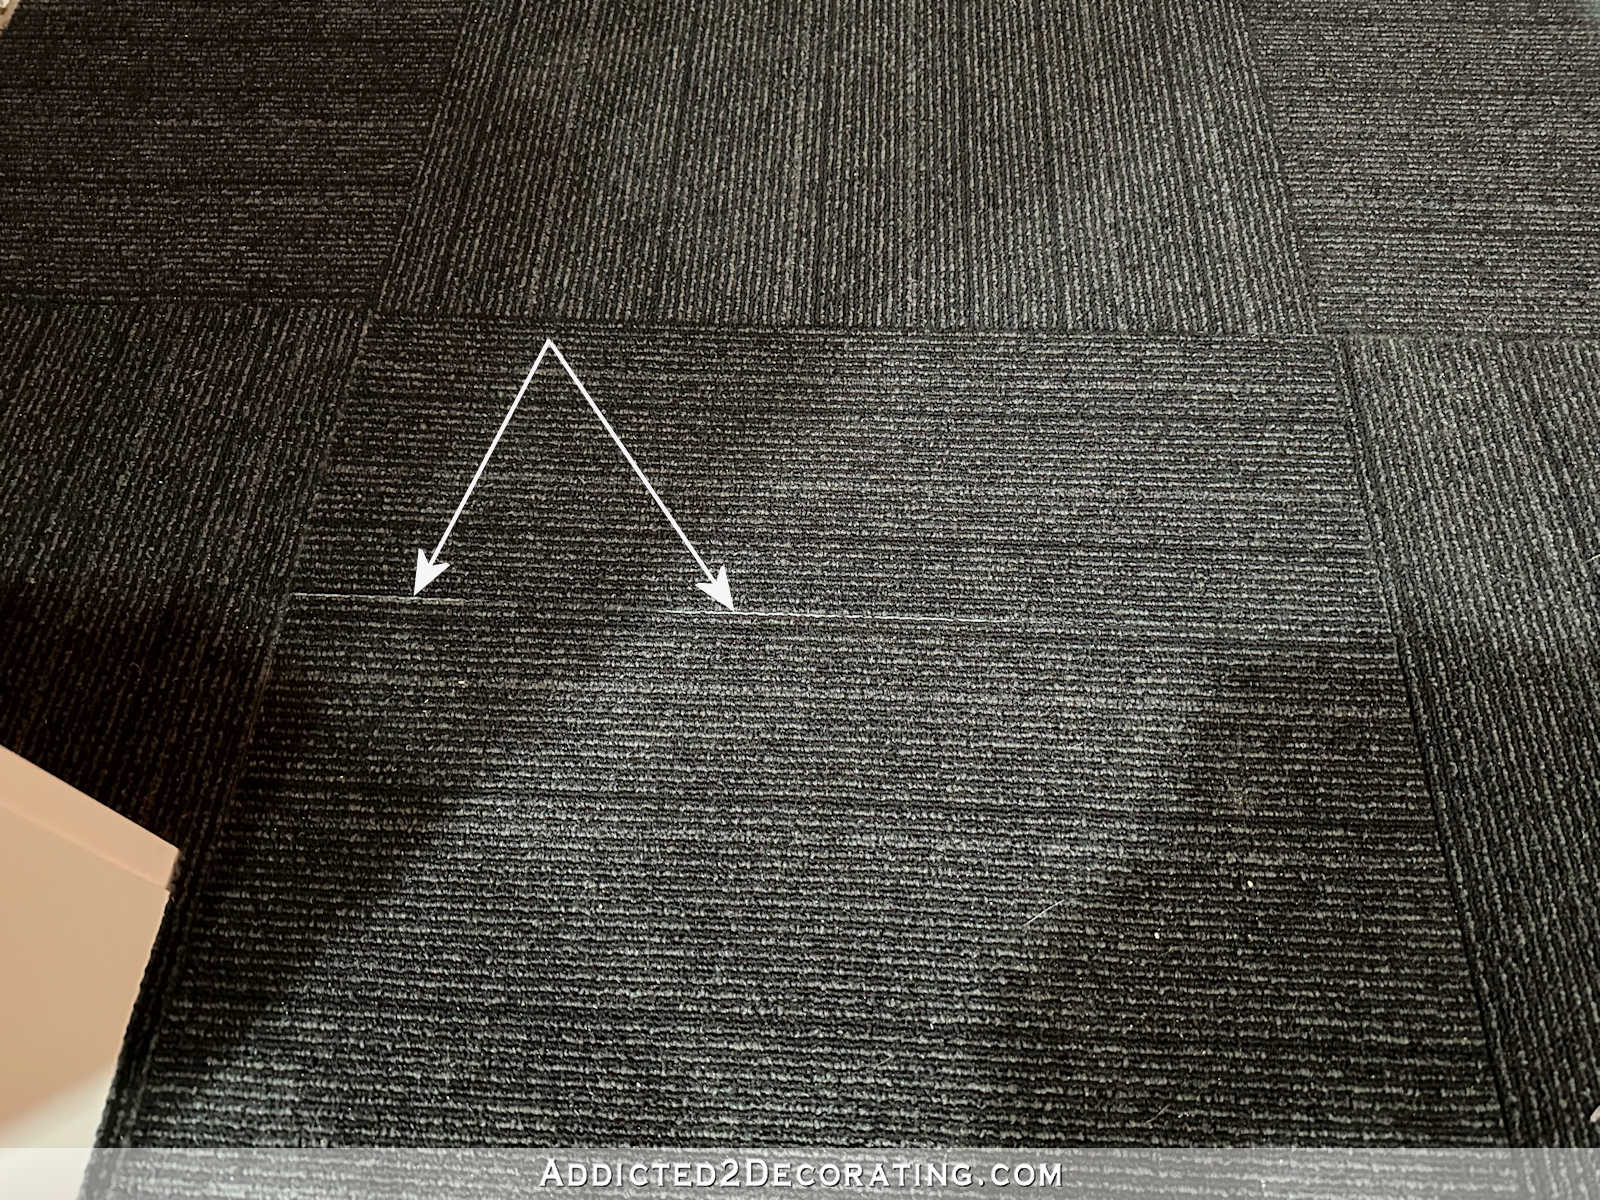
And in particular person, its apparent that it wasn’t only a stripe within the carpet as a result of the stripes go all the best way throughout. The white of the lower edge had begins and stops throughout the sting of the tile.
So I solved that drawback with a black Sharpie marker. I used it to make the lower fringe of the carpet piece black in order that it might mix in with the carpet significantly better.
And that labored completely! I actually don’t suppose that anybody would be capable to inform that there’s a scuttle gap to the crawl area proper there.
In order that daunting challenge — one I’ve been dreading for a lot too lengthy now — is lastly completed. And though it doesn’t look fairly in any respect beneath (it actually is a Frankenstein’s monster of a ground below there), the tip outcome seems fairly darn good, if I do say so myself. 😀

Subsequent up, I would like to put in the remainder of the trim (baseboards within the closet space, and quarter spherical in the entire room), after which do some paint touchups on the closet partitions, after which I can begin including the dresser, TV, cabinets, mirrors, and no matter else I determine to place into this closet.

Addicted 2 Adorning is the place I share my DIY and adorning journey as I rework and adorn the 1948 fixer higher that my husband, Matt, and I purchased in 2013. Matt has M.S. and is unable to do bodily work, so I do the vast majority of the work on the home on my own. You can learn more about me here.
I hope you’ll be part of me on my DIY and adorning journey! If you wish to comply with my tasks and progress, you’ll be able to subscribe beneath and have every new publish delivered to your e-mail inbox. That means you’ll by no means miss a factor!
Trending Merchandise


